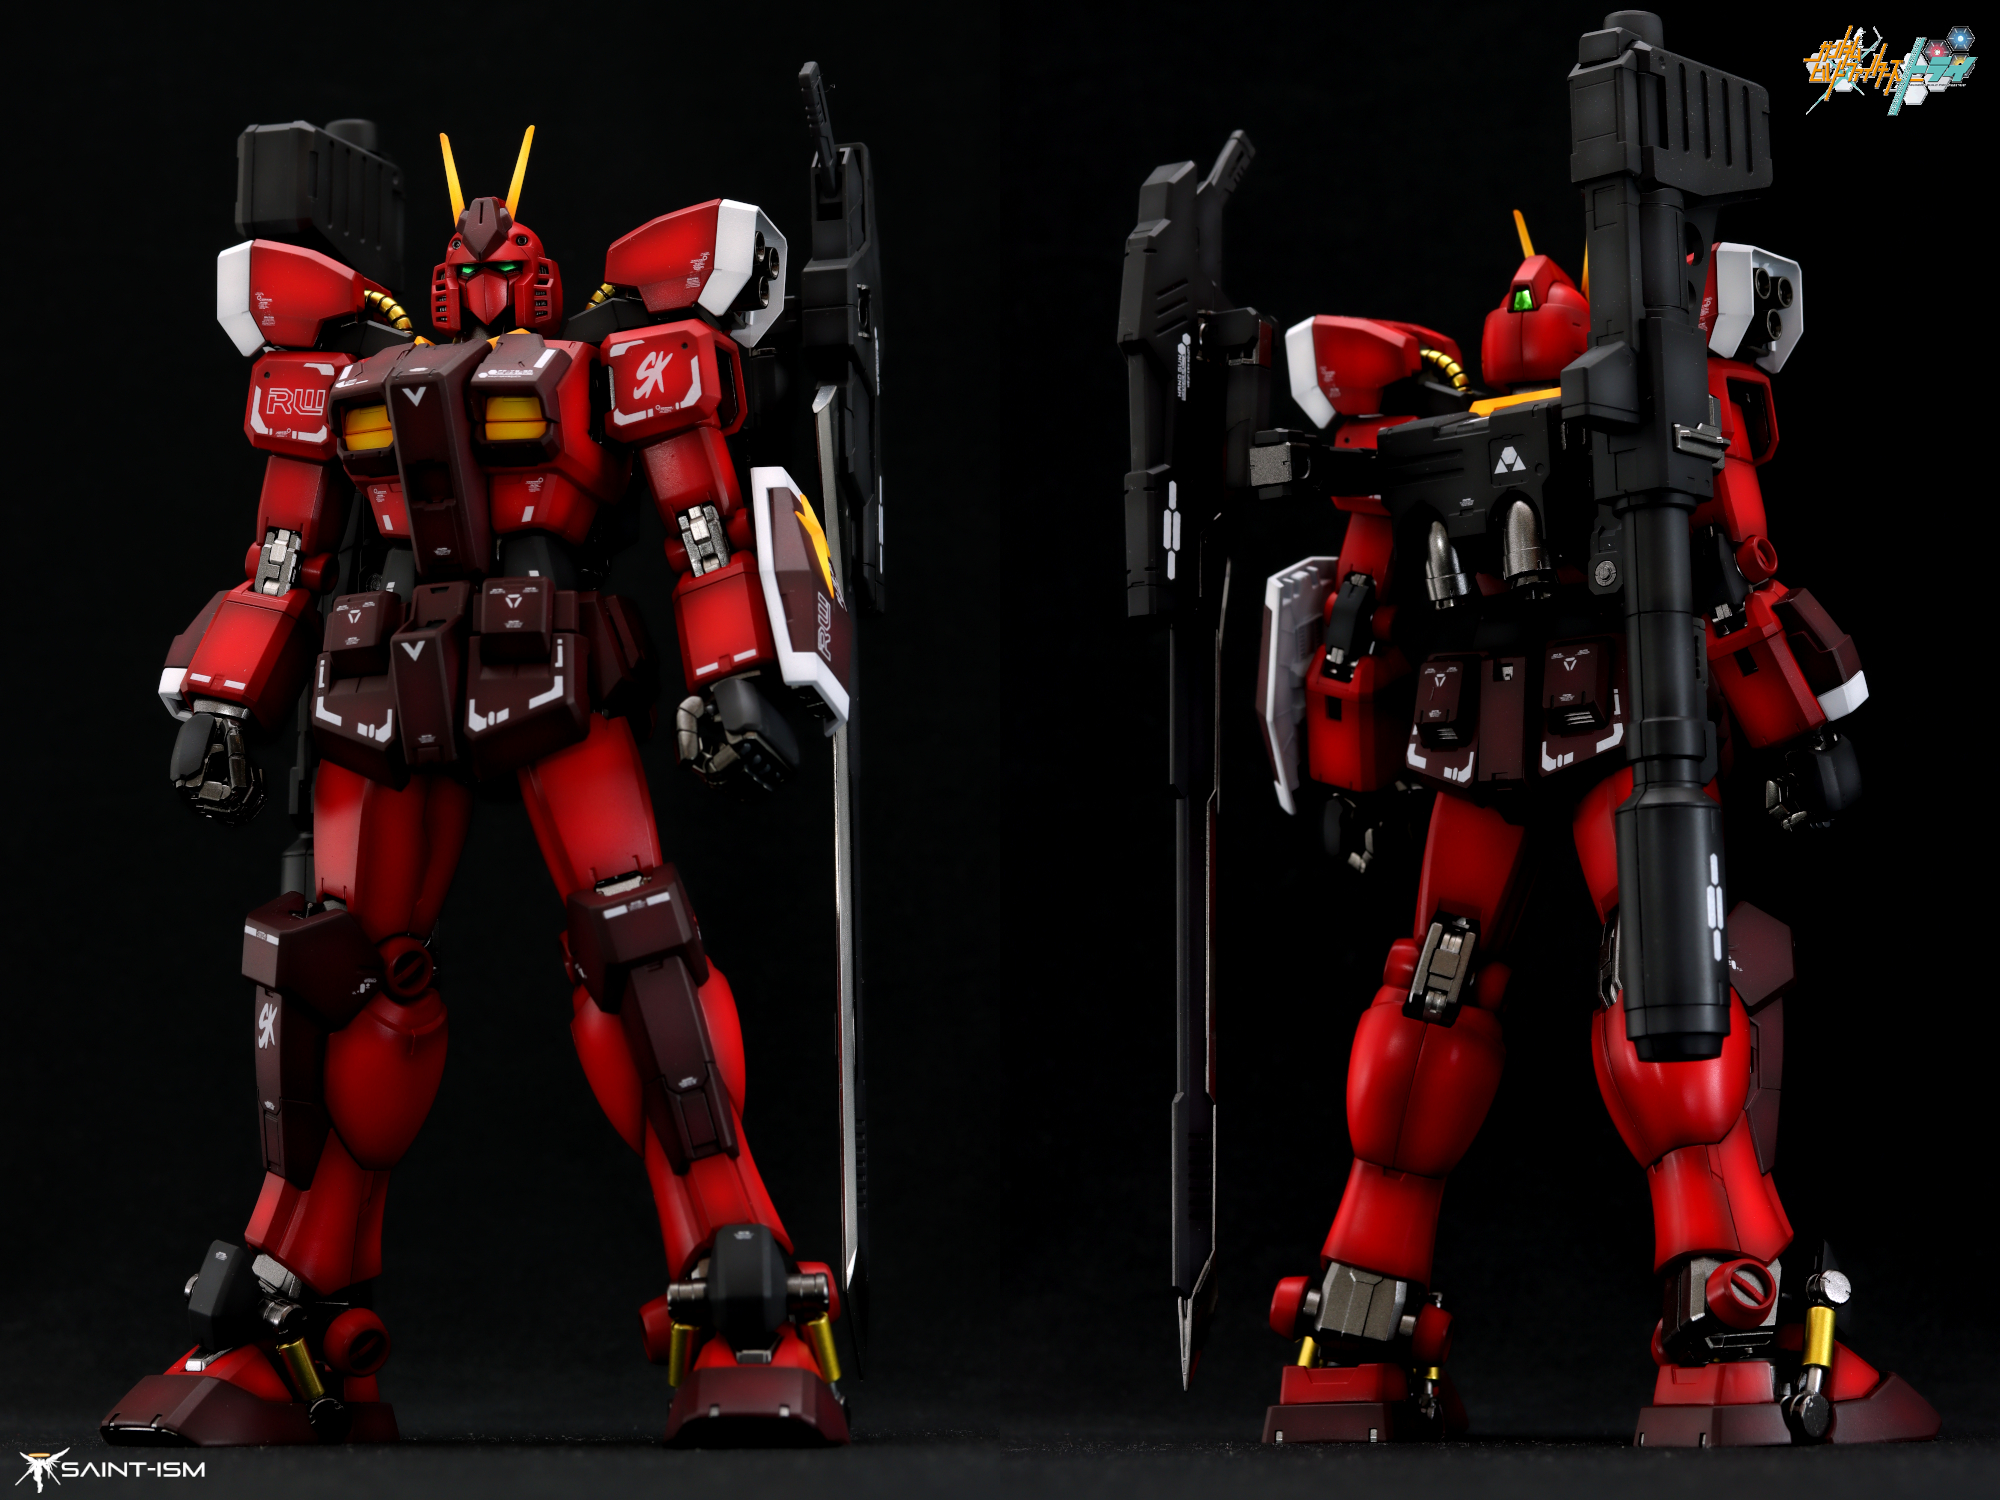
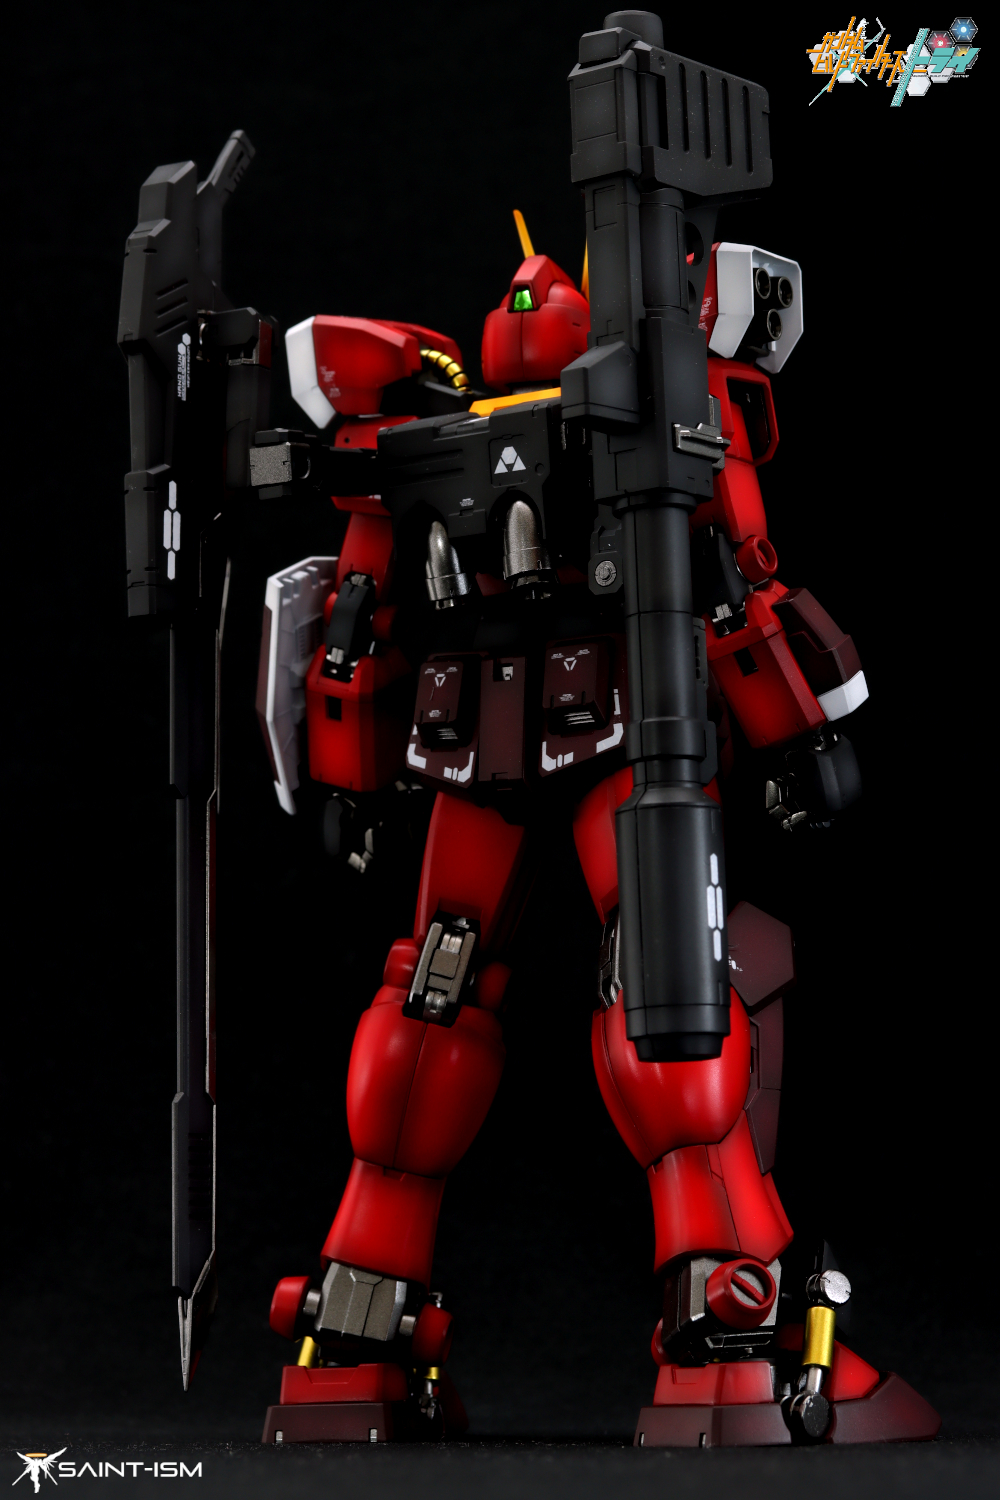
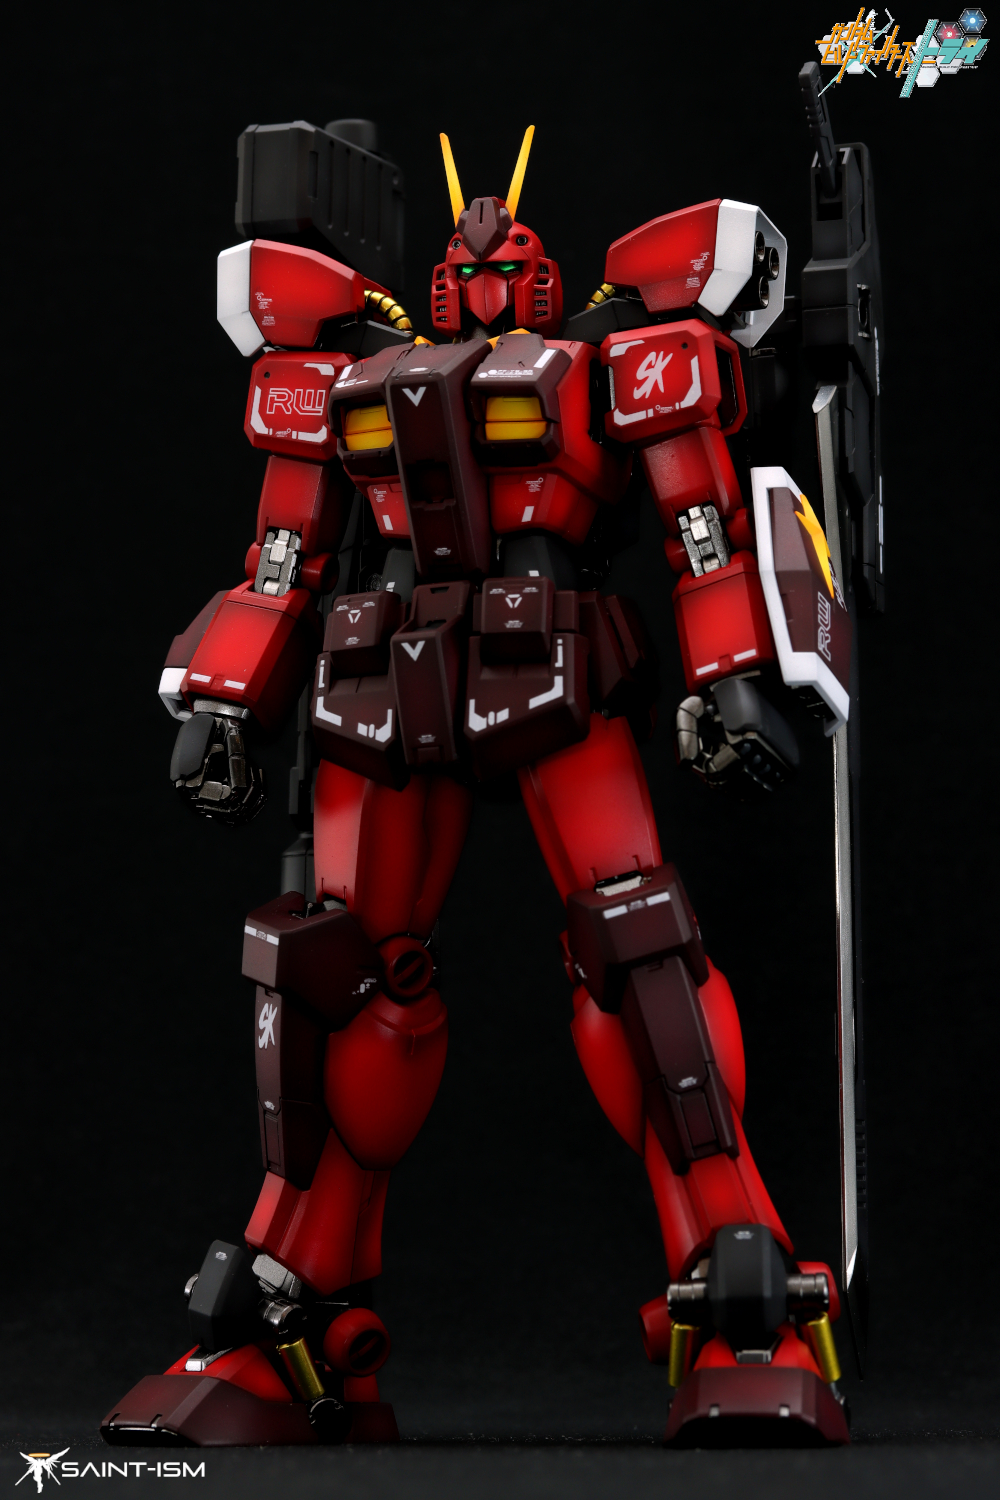
My first attempt at this kit was in 2018, at the height of the Build Fighters craze and was one of my last kits that I used acrylic paint on. I had since sold that build, but I’ve always wanted to revisit it at some point, unfortunately Bandai have not printed it in quite some time and prices have somewhat skyrocketed. Flash forward to 2023, I had relatives visiting Malaysia and I found a relatively reasonably priced NIB Red Warrior, and I simply had to pick one up finally retry this kit.
One major gripe I had with this build is getting proper decals, the only set available presently is the one by Daling, and they are not very good by any stretch. The marking that would normally be on the left shoulder should have “Amazing Red Warrior” but it was typo-ed to hell on the D.L version and I had to substitute it with the “SK” instead.
Painting it this time was a breeze compared to 2018, after painting so many red kits lately I was pretty confident and there were no resets this time. I even got that Bloody Red right on my first try, though the combination I used this time was a bit different. This only quirk I noticed this time is that the underside of the yellow chest vent is somewhat still noticeable when viewed from underneath.
Painting
Red – To be honest I didn’t write down the combination and forgot, but it’s probably similar to what I did on my Testament Gundam. White primer, Mr Color 29 Hull Red/Cocoa (Brown) + bit of Cobalt blue preshade, starter white (correction), Mr Color GX Yellow for spot highlights, followed by Mr Color GX Harmann Red to coat over. Mr Color Deep Clear Red used to postshade edges again.
Dark Red – White primer -> Mr Color 29 Hull Red/Cocoa (Brown) + bit of Cobalt blue base coat, followed by Russet for highlight
Yellow – White primer -> Orange presahade -> coat of Orange Yellow + bit of Orange.
Dark Grey – Mr Gundam Color Phantom Grey + bit of Black base coat, then Mr Color Zeon MS Grey for highlight, then I used the original Phantom Grey to re-coat and blend it back.
Internals – Gaianotes Starbright Iron, for parts like the elbow joint I used Starbright Duralumin
Gold – Mr Color GX Ueno Black base coat, followed by Gaia Starbright Gold