
Today’s WIP I’ll be tackling the White armour parts on the Kyrios, but a slight disclaimer before I continue; today was an exceptionally crappy day for me to paint. It was cold as hell and I could not get the my white to thin down or spray to the level I’d normally like, so yes some of the paint in this WIP is not my best work and a bit chunkier than I’d like.
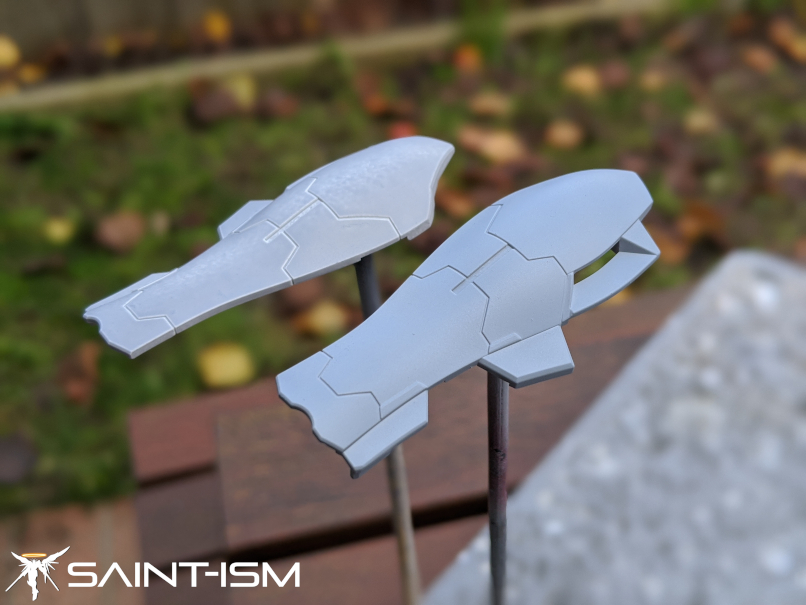
I’ll be using these leg armours as my working example. On the left is the piece after priming with Mr Surfacer 1000, again a pretty light coat but I’m just checking for defects, and the right side I’ve laid down a base coat of Mr Color Grey FS 36118. It’s a bluish grey that’s just a bit darker than the Mr Surfacer. This base coat will become the shadow layer, you can really use any kind of colour you want, from blue, purple, red, black, light grey, whatever colour you choose will just give your white a slight tinge depending on how opaque you go with it.
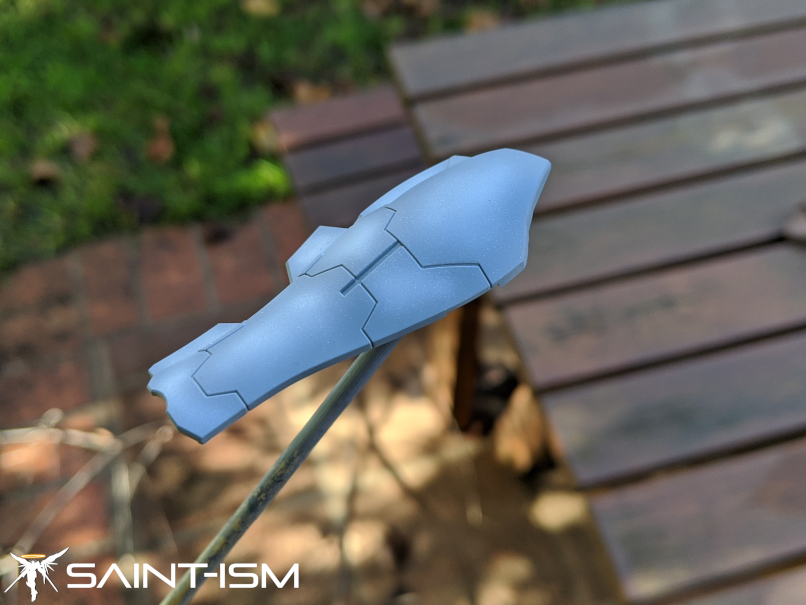
Once your base coat is down, it’s time to start hitting the piece with white. Excuse the lighting as it was even more overcast today. In this case my go-to is Mr Color GX Cool White, as the name suggests it’s white with an ever so light tinge of blue in it. Start by spraying the centre of each panel white while avoiding the edges. The idea is to slowly build up the opacity in the middle where you want it to be 100% white, while leaving the edges a bit more translucent so the shadow layer shows through.
Now you don’t have to avoid the edges completely as you’re spraying, since opacity builds over time. We’ve already pre-painted the highlights in the centre, as we go closer to the edges it will also additively make the highlight close to 100% opacity while building the the edges slower. As I’m spraying the white I don’t really pull back on the airbrush trigger all too much, maybe 30-40%, this is much easier if you’re painting pieces with large amounts of surface areas, and I find the real trick is more about getting the paint properly thinned than anything else. Today was super cold so it was kinda a huge struggle to get that balance correct, plus the paint wasn’t quite atomizing as well as I’d like, resulting in quite a few white specks of overspray. This can be fixed in the final blending process, plus the pre-decal gloss coat will kinda help melt it together slightly.

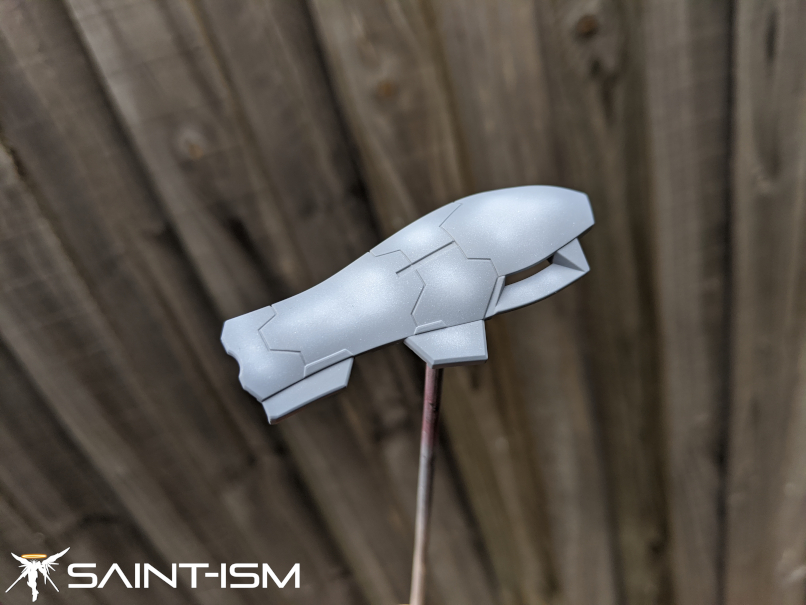
Depending on how dark the edges are you may need to do a few more light passes over the piece on the shadows to blend it all in. On the left is the piece with just the Grey FS Base coat and on the right is the final piece after some blending and is what I’d consider done.
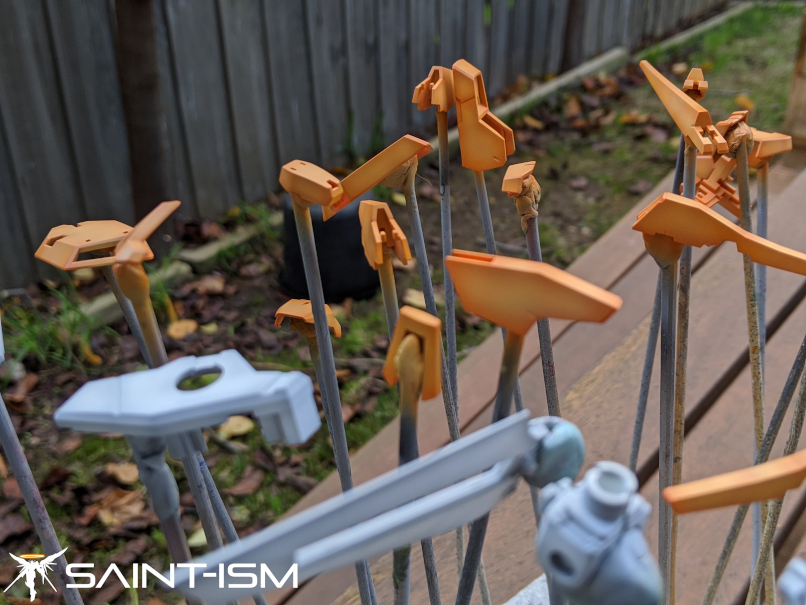
After I finished painting the orange parts previously I was kinda worried that the colour might be a bit less orange than I’d hoped for, but seeing it together with the white I feel it’s going to turn out okay. On a final note, here’s the Kyrios Gundam from SRW Z2 for future pose reference.
This new style of step-by-step WIP is fantastic! please keep up the great work and thank you for taking time to post these tutorials.