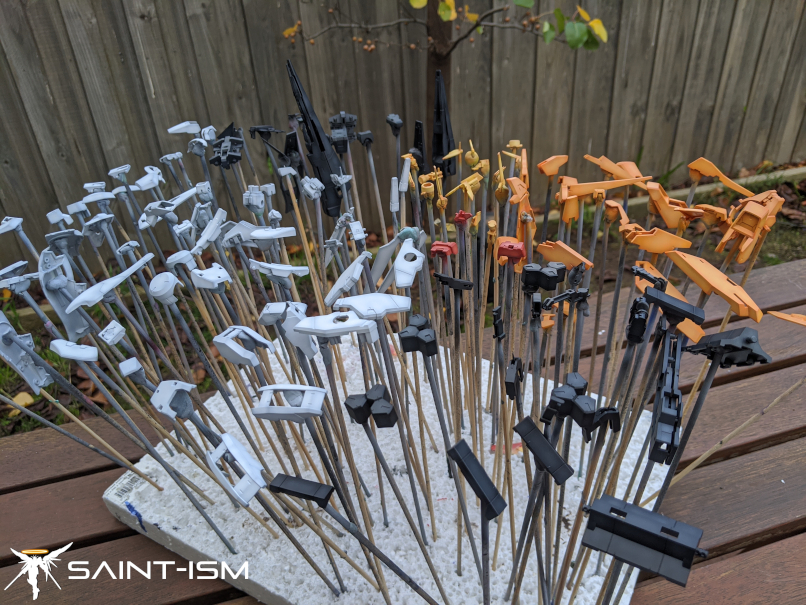
It’s been raining on and off the last day or so, and I had to unfortunately skip the steps I did for painting the red.
But the more of these WIPs I do the more I kinda wish I had the time and patience to take proper pictures since alot of the time these images are
Anyway the process for the yellow is pretty much similar to painting the orange. First an orange base coat, starter white shading, a light coat of Orange Yellow + Yellow, then finally adding some white into the mix for highlights.

The red on the Kyrios is a slighter deeper colour than the standard Gundam. The manual recommends Red Madder + a drop of Black, I instead opted to use my standard Shine Red and adding a little tiny drop of of Green instead. For those who don’t know, combining colours that are opposite each other in the colour wheel (as Green is to Red) is an alternative way to darken your colour without killing it as black sometimes does. For highlights, I mixed in some Yellow and White and lightly sprayed in between the panels.
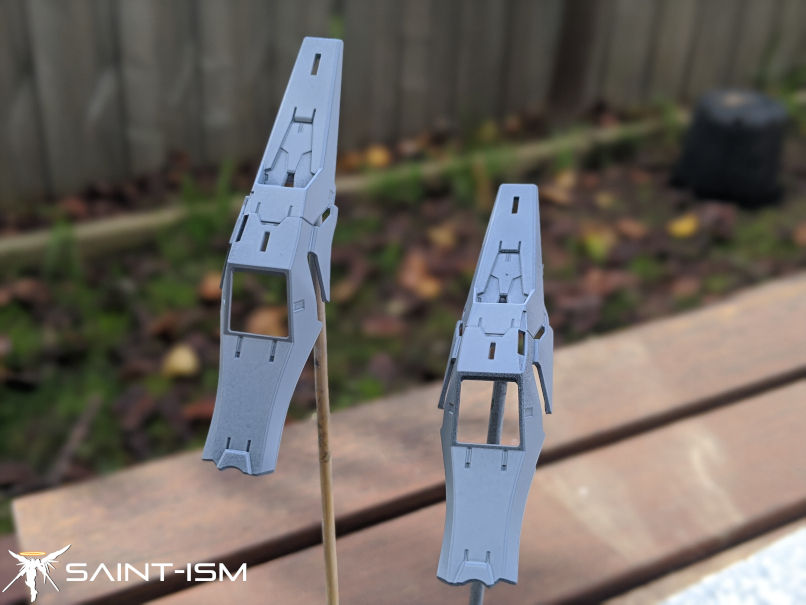
Next I will be painting the “black” parts of the armour, these are mainly the thruster covers on the side of the legs and the tail binder. For reference I’m using the thrusters on the legs.
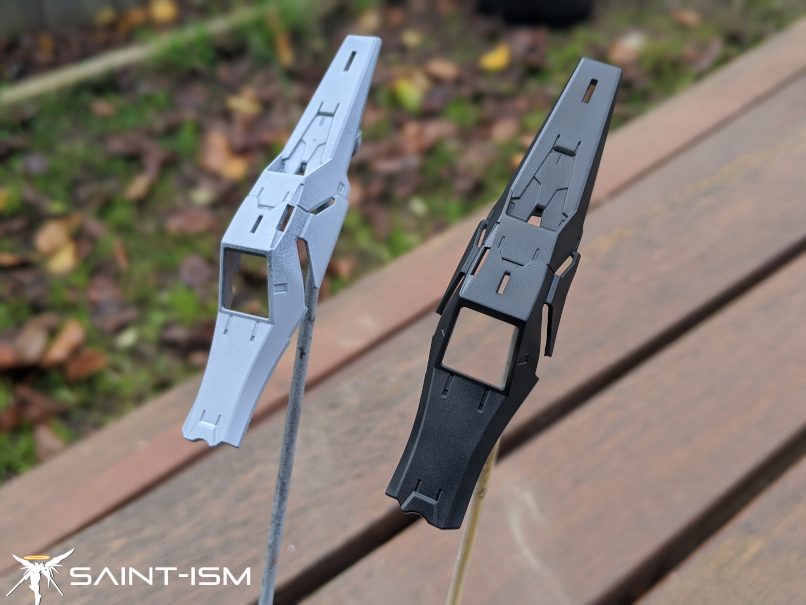
My go-to for notblack is Gaianotes Neutral Grey V.
Similar to the PG Exia I built, I use Neutral Grey IV as a highlight colour. I felt the end result was a bit too bright, so I went back to Neutral Grey V and used that to blend the edges back.
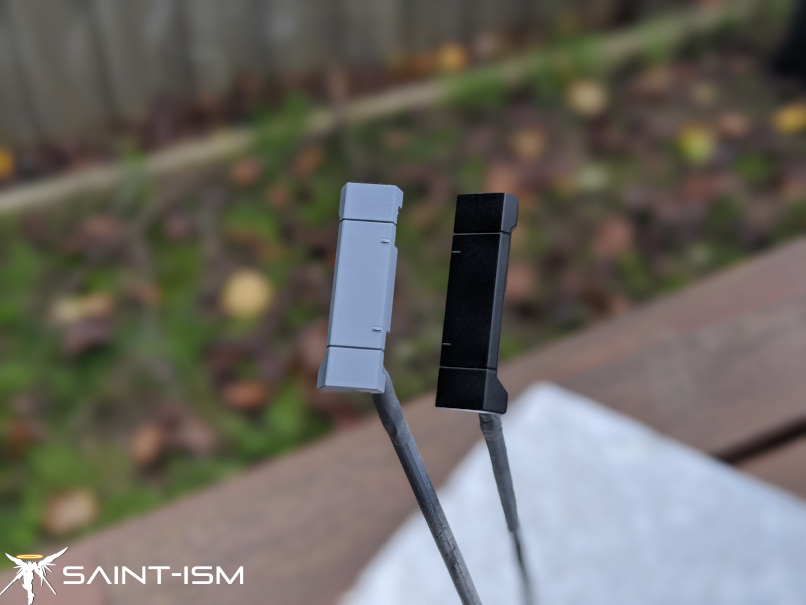
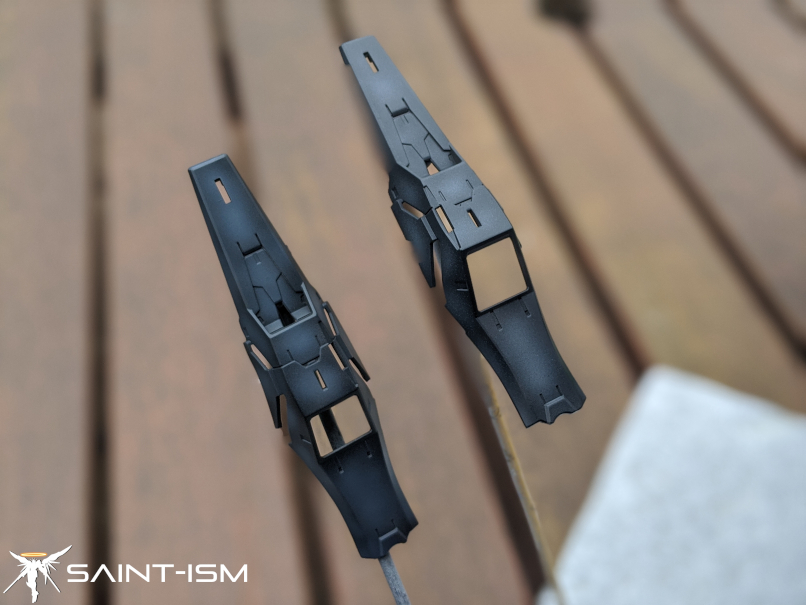
Finally, the weapons grey. I’m starting out with a base coat of Mr Color GX Ueno Black (90%) + Neutral Grey (10%).

And the highlights are done using Mr Color Ueno Black (70%) + Neutral Grey (30%).

So that’s pretty much all the external parts painted! I’ll be giving these a gloss coat next, followed by some enamel detailing on the white parts.