Hi guys, I’m starting the MG Kyrios as my next project and I thought I’d share more of my work in progress shots. I’ve always kinda felt that all of my WIPs are kinda samey which is part of the reason I kinda stopped doing them, but if you found this helpful please be sure to comment, share and let me know so I can make more!
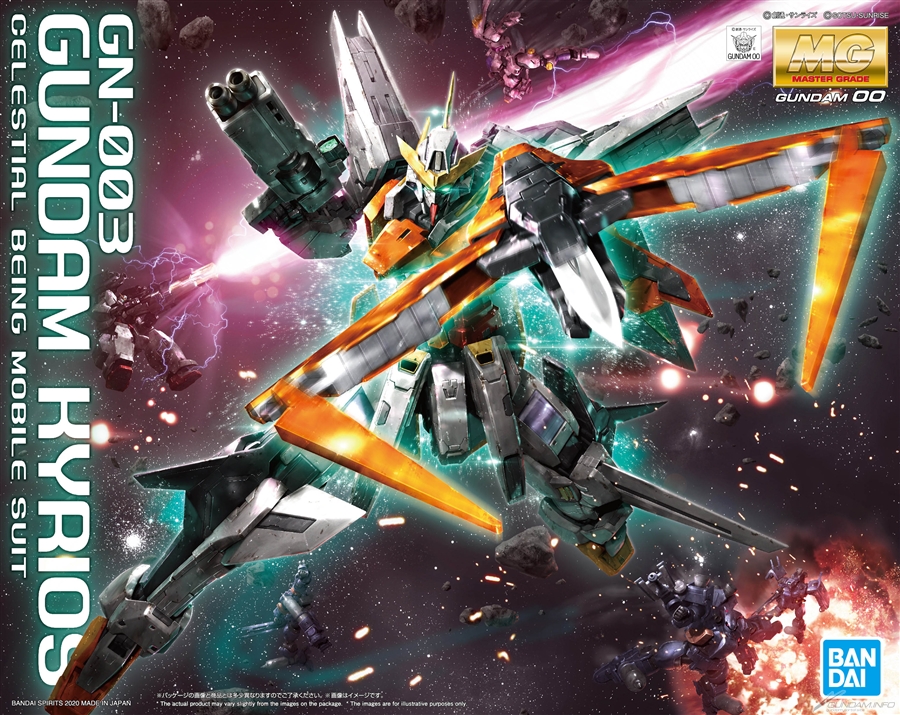
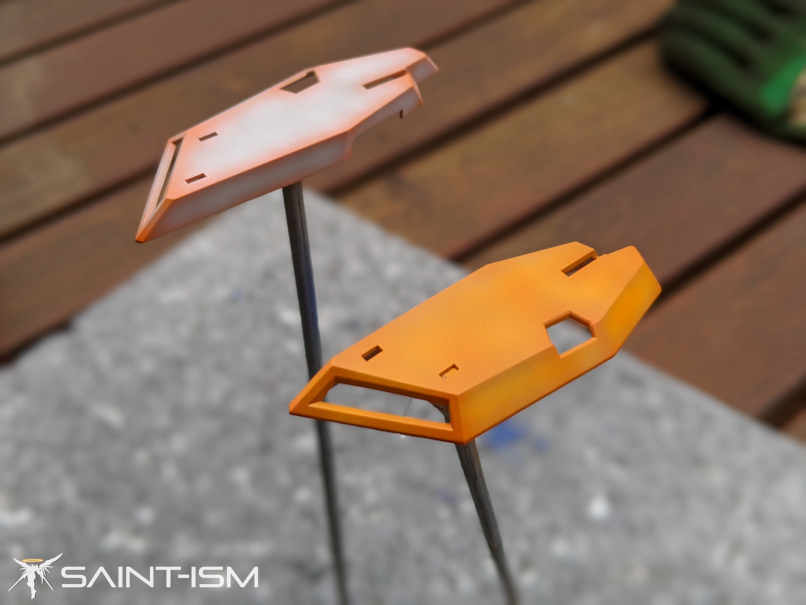
Here we start with the piece, I believe it’s one of the rear skirts on the MS. I’ve just roughly primed it, as long the surface is defect free that’s fine enough for me. Out of the box, the plastic for the Orange parts is super flourescent compared to the promo images of the kit. I’m going to be using what the manual recommends, which is a combination of Orange and Orange Yellow, so I hope that ends up looking good!
I have not painted orange in quite some time, so I’m going be using the same technique as painting yellow parts. First I start by preshading the edges using Mr Colour Flourescent Orange, and this would be the foundation for the shadow.
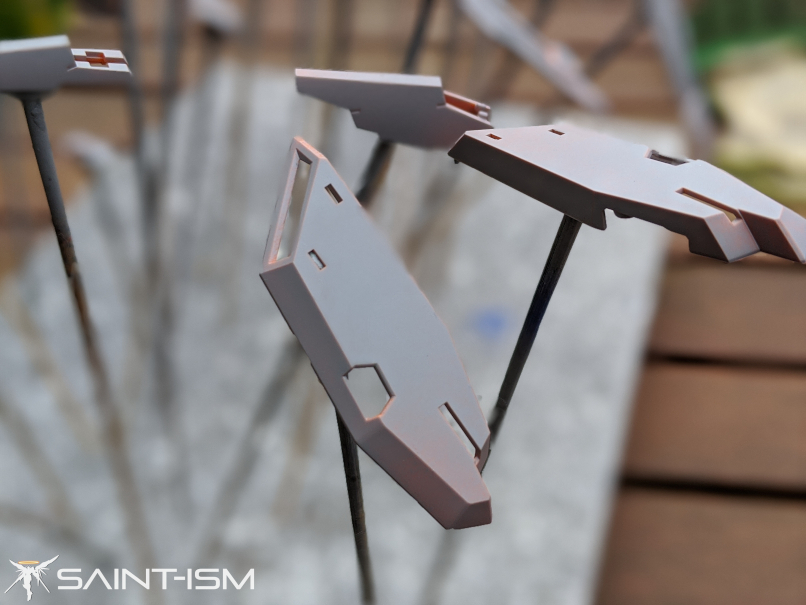
Next up is the starter white technique. Left I’m using White and just shading the pieces. This is to build the midtone and allow the next layer to achieve a more vibrant look when misting the next layer. Note that I prefer to paint at a pretty high-ish pressure (~20psi) since I don’t really like painting and highlighting with very wet coats, and it’s much easier to see what the overall shading effect looks like when it’s matte.
After I’ve shaded both pieces, I switch over paint for the next Orange layer, I’m now using some combination of Orange + Orange Yellow. Make sure it’s a bit thinner, you can lighhly mist it over the parts and let the white base coat do the work for you. The part on the Right is after I’ve misted the orange.
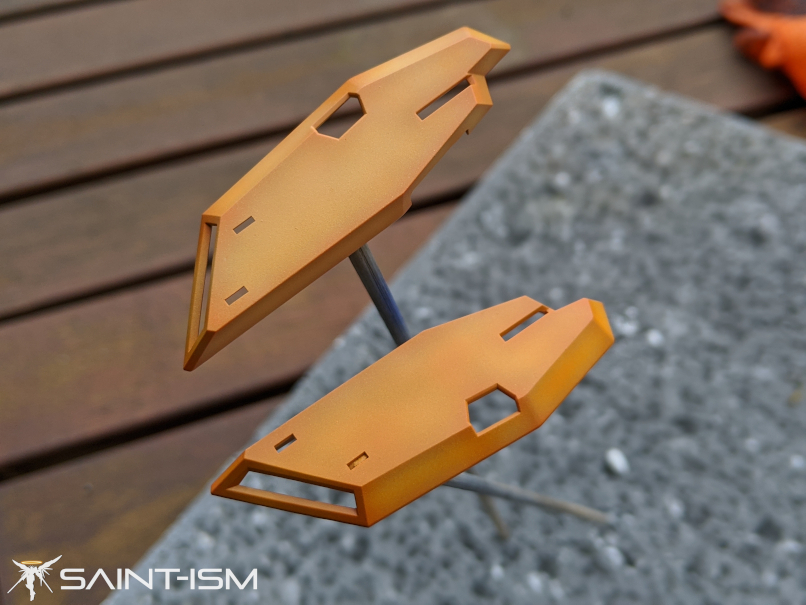
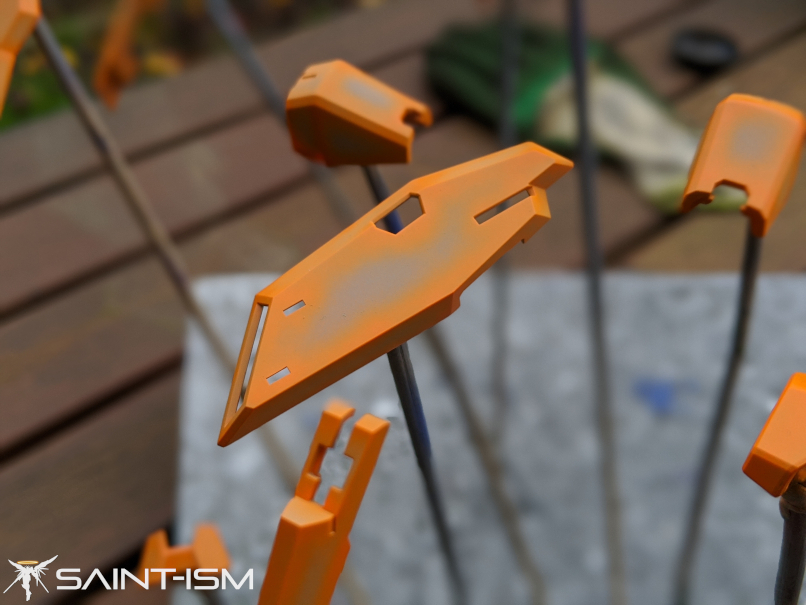
At this point you could probably stop if you’re happy with the colour, but I usually like to add more highlights. “Just Add White” to the mix, and a bit more Orange Yellow and spray the highlight in the centre of each part. The part on the left is after I’ve applied the highlights.
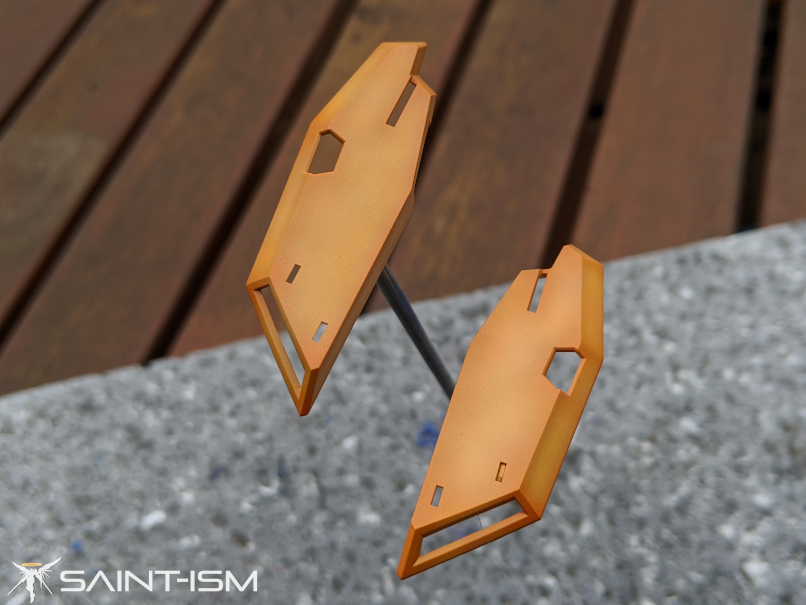
Feel like your shadow layer got deleted? No problem. I felt like I had kinda overdone the highlight, so I took plain old orange and postshaded the edges and very lightly mist over the part again to blend it all together. The part on the Right is with the final postshading compared to the left.
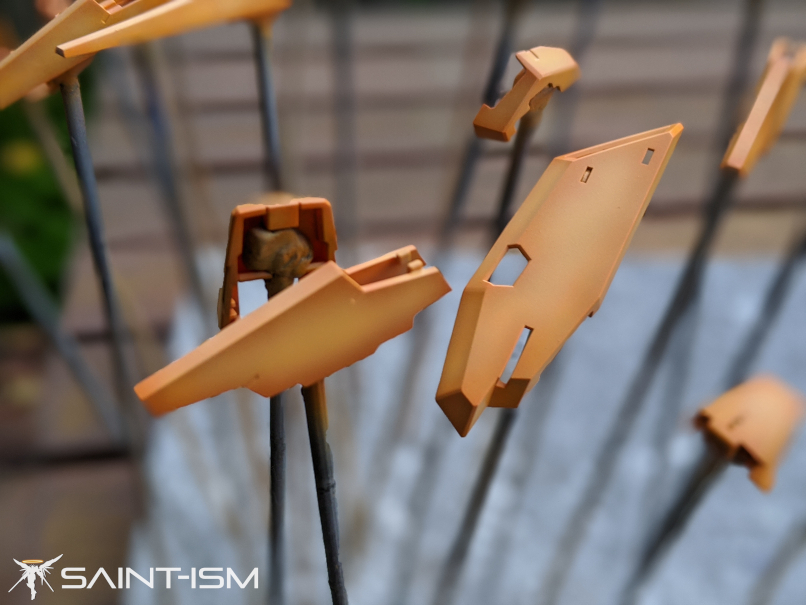
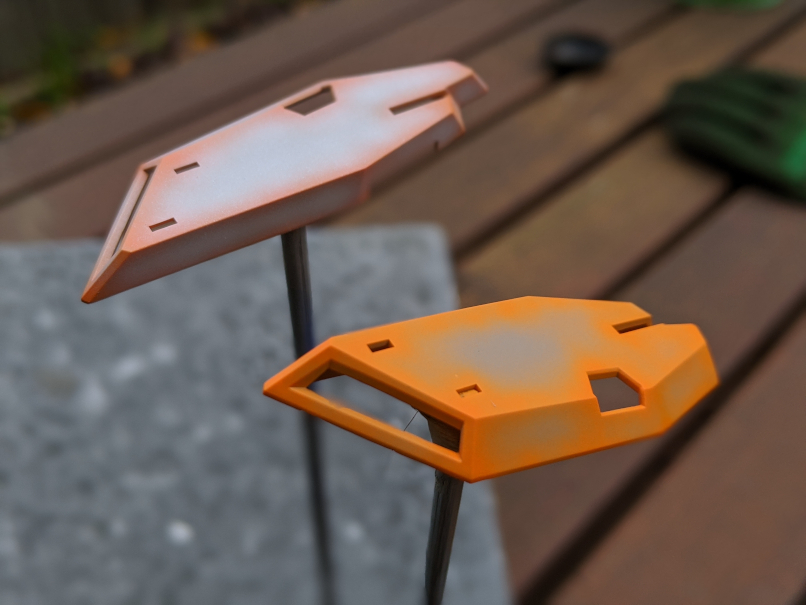
Final shot of the orange parts. Today’s a pretty overcast day and generally the outdoor pictures can looks very different to how it was when I was painting and it my photo booth. Again, hopefully it turns out okay!
Amazing job as always
Thank you! These wips help me with the paint mixes as i suck at figuring out the the mix for highlight colors.