Having just completed my latest Gunpla kit, I decided I’d need to finally build myself a lightbox to take proper pictures in. There are heaps of DIY tutorials on the internet, all using really cheap components too. Here’s what I used:
- 80x80x80cm carboard box
- Muslin cloth
- Sheet of white fabric for background
- 3x lamps with 100W equivalent 6500K lightbulbs
This 80cm3 box was the biggest I could find, but I would recommend the largest box you can find, since posing your kit can take up alot of space. Muslin cloth is just regular bleached cotton, commonly used for draining broth in cooking. You can find it in any fabric store. The cloth cost about $10 in total. I got myself 3 cheap lamps for $6 each, and some bulbs for $5 each, for a total cost of around ~$45. For your lighting, try to get bulbs with natural light (5000K) or cool daylight (6500K).
Construction is pretty easy too:
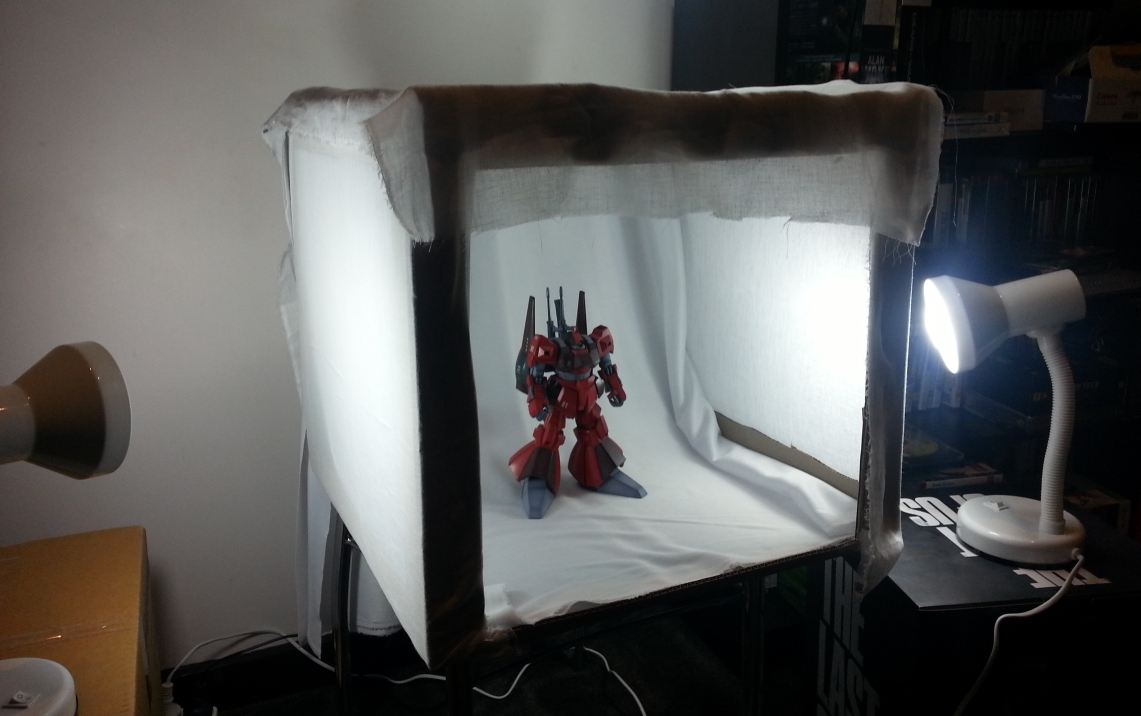
- You’ll need 4 open panels in your box. One for the front opening, two for side lighting and one for top lighting. Use a box cutter and cut 3 square panels in your box. In my case I left the natural top opening of the box and cut out the front and side panels.
- Drape your background cloth at the ‘back wall’ of your box, this will serve as your backdrop for photos
- Drape your muslin cloth over the side and top panels. You can get fancy like I did and tape/staple the cloth to the box like I did, but I don’t think is necessary if you’re lazy 😛
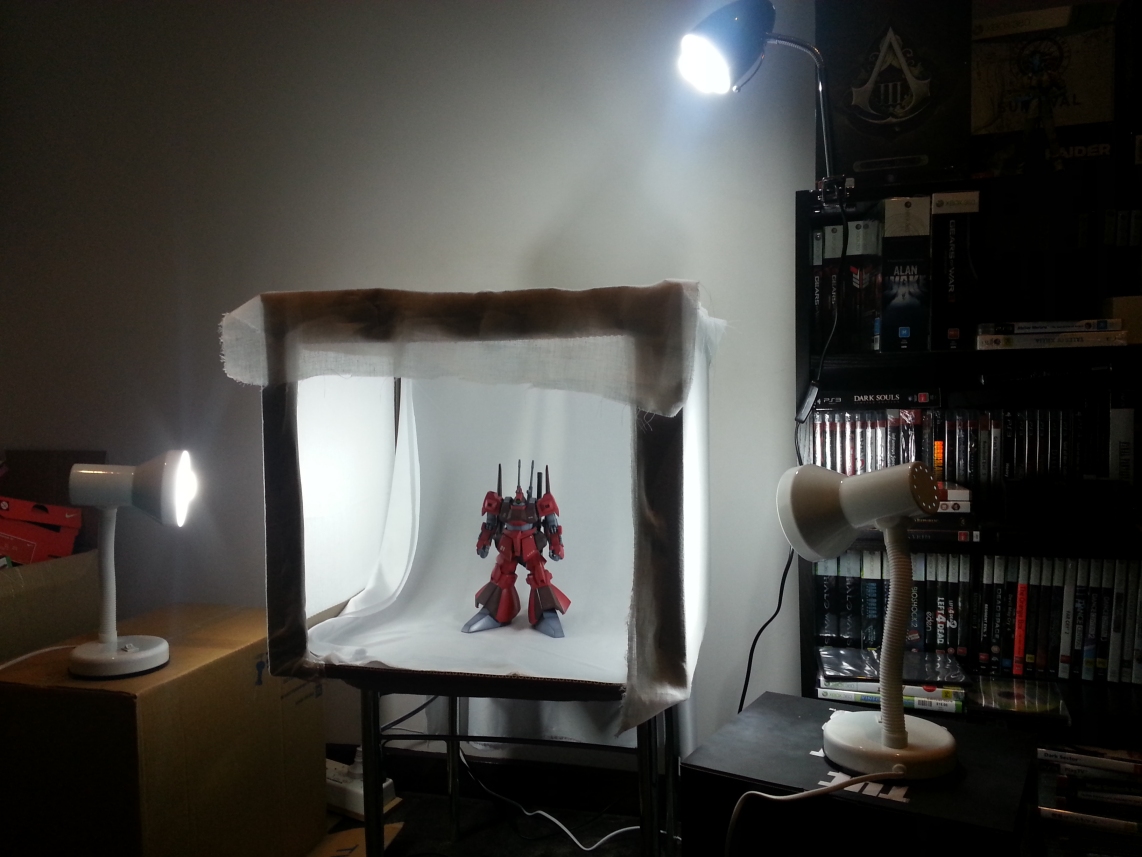
- Position each of your lights so it shines through one panel
- Start taking pictures!
Here’s my final product in action:
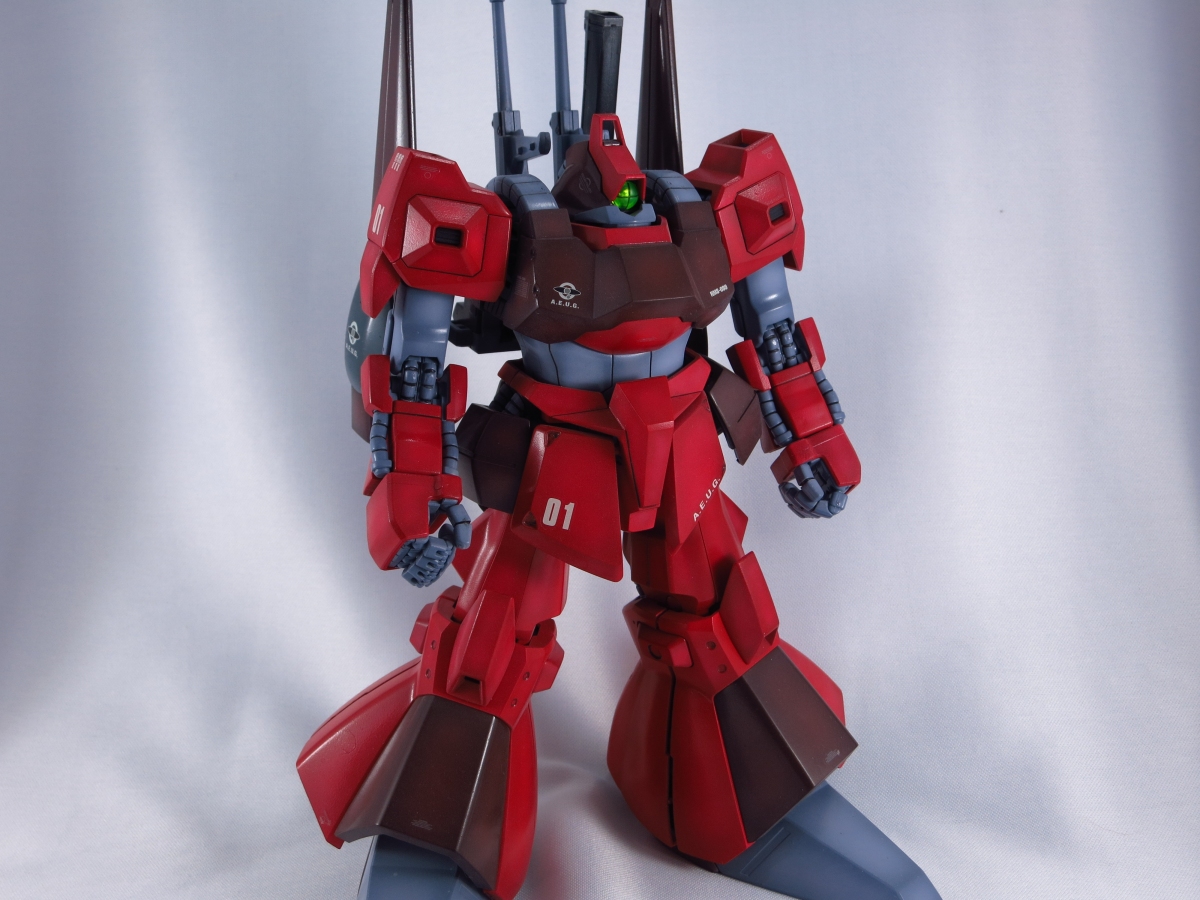
And here are some test shots. This were taken using my Galaxy S3:
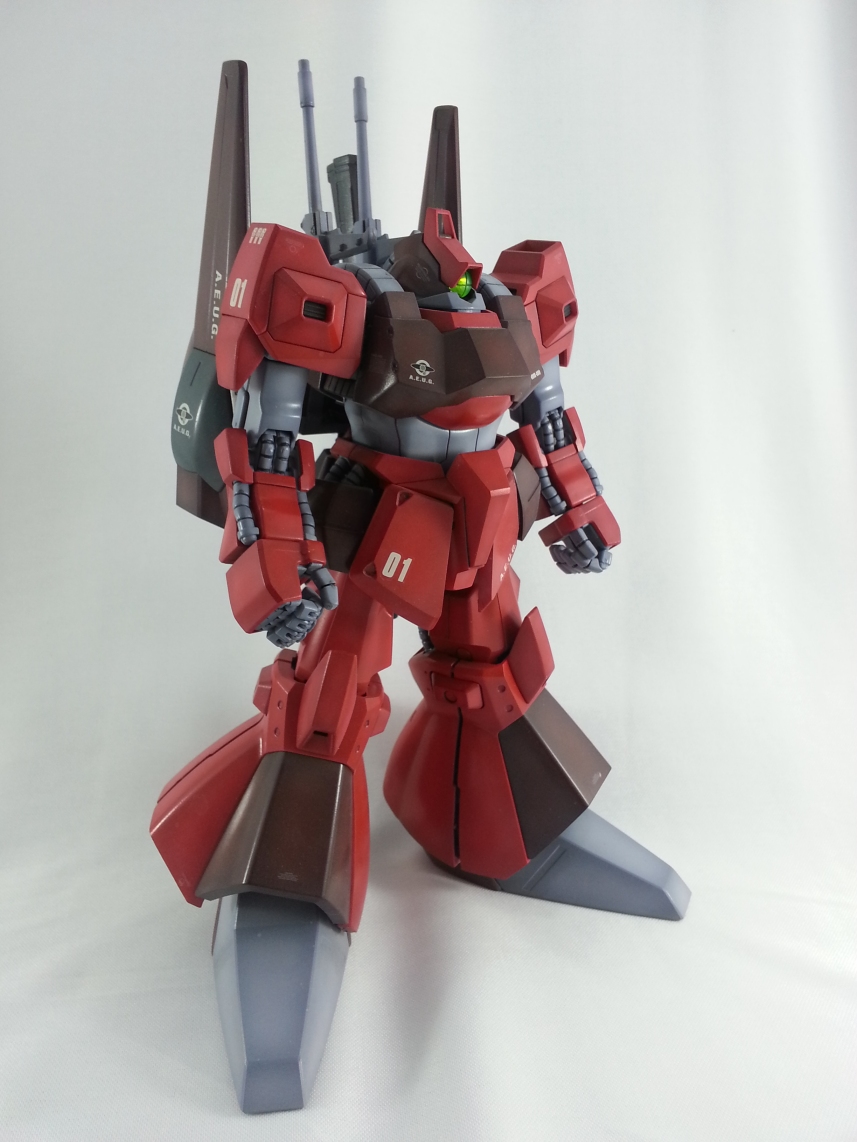
And here’s some taken using my digital camera.
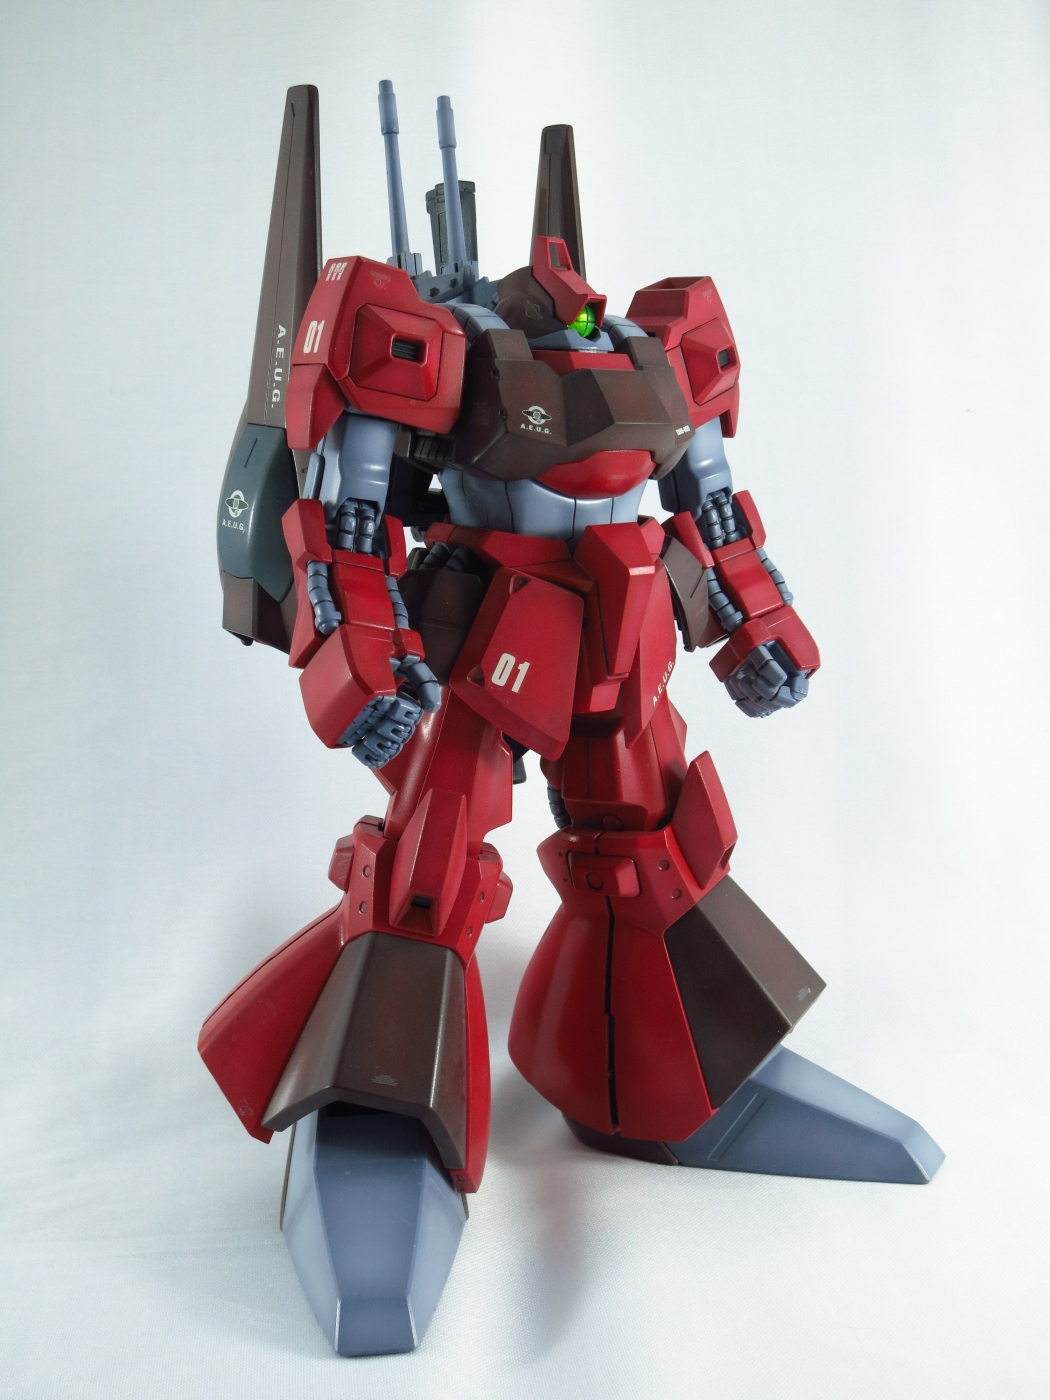
Even though I still have quite a fair bit to learn about photography, the results are pretty great. I’ll be experimenting with the white balance over the next day or so until I get something that I’m happy with. This whole experience has also made me realize that the demo shots that you see on the box or manual have probably gone through some kind of post-processing, either through the white balance on the camera or Photoshop, which is why their paintjobs always seem to be so vibrant compared to viewing the kit in real life.