With my spray booth almost ready to go, I’ve finally had the chance to dust off the Rick Dias that I started 3 (!) years ago.
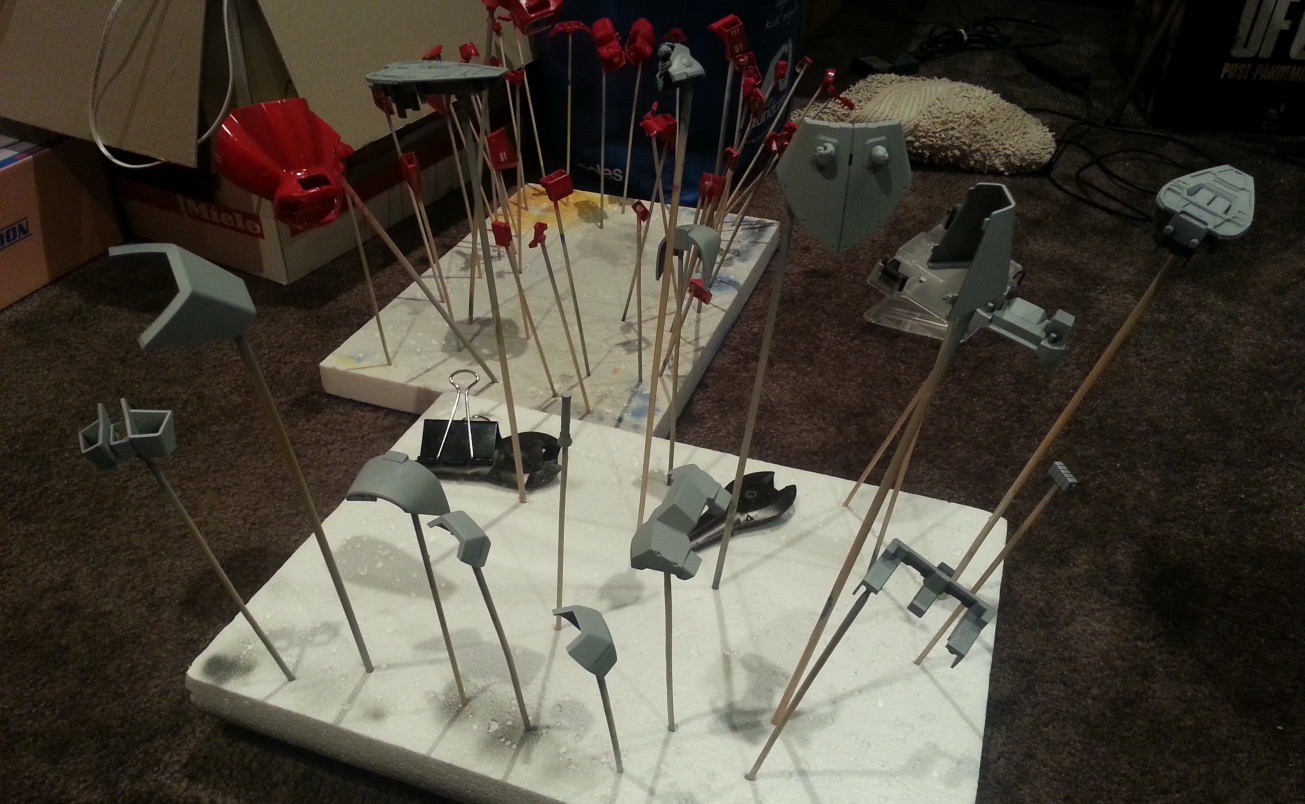
Brown parts primed and ready to paint. The manual recommends Gunze 50% Red Brown + 50% Black, however I want these parts to be lighter than the demo kit, so I might tone back a bit on the black.
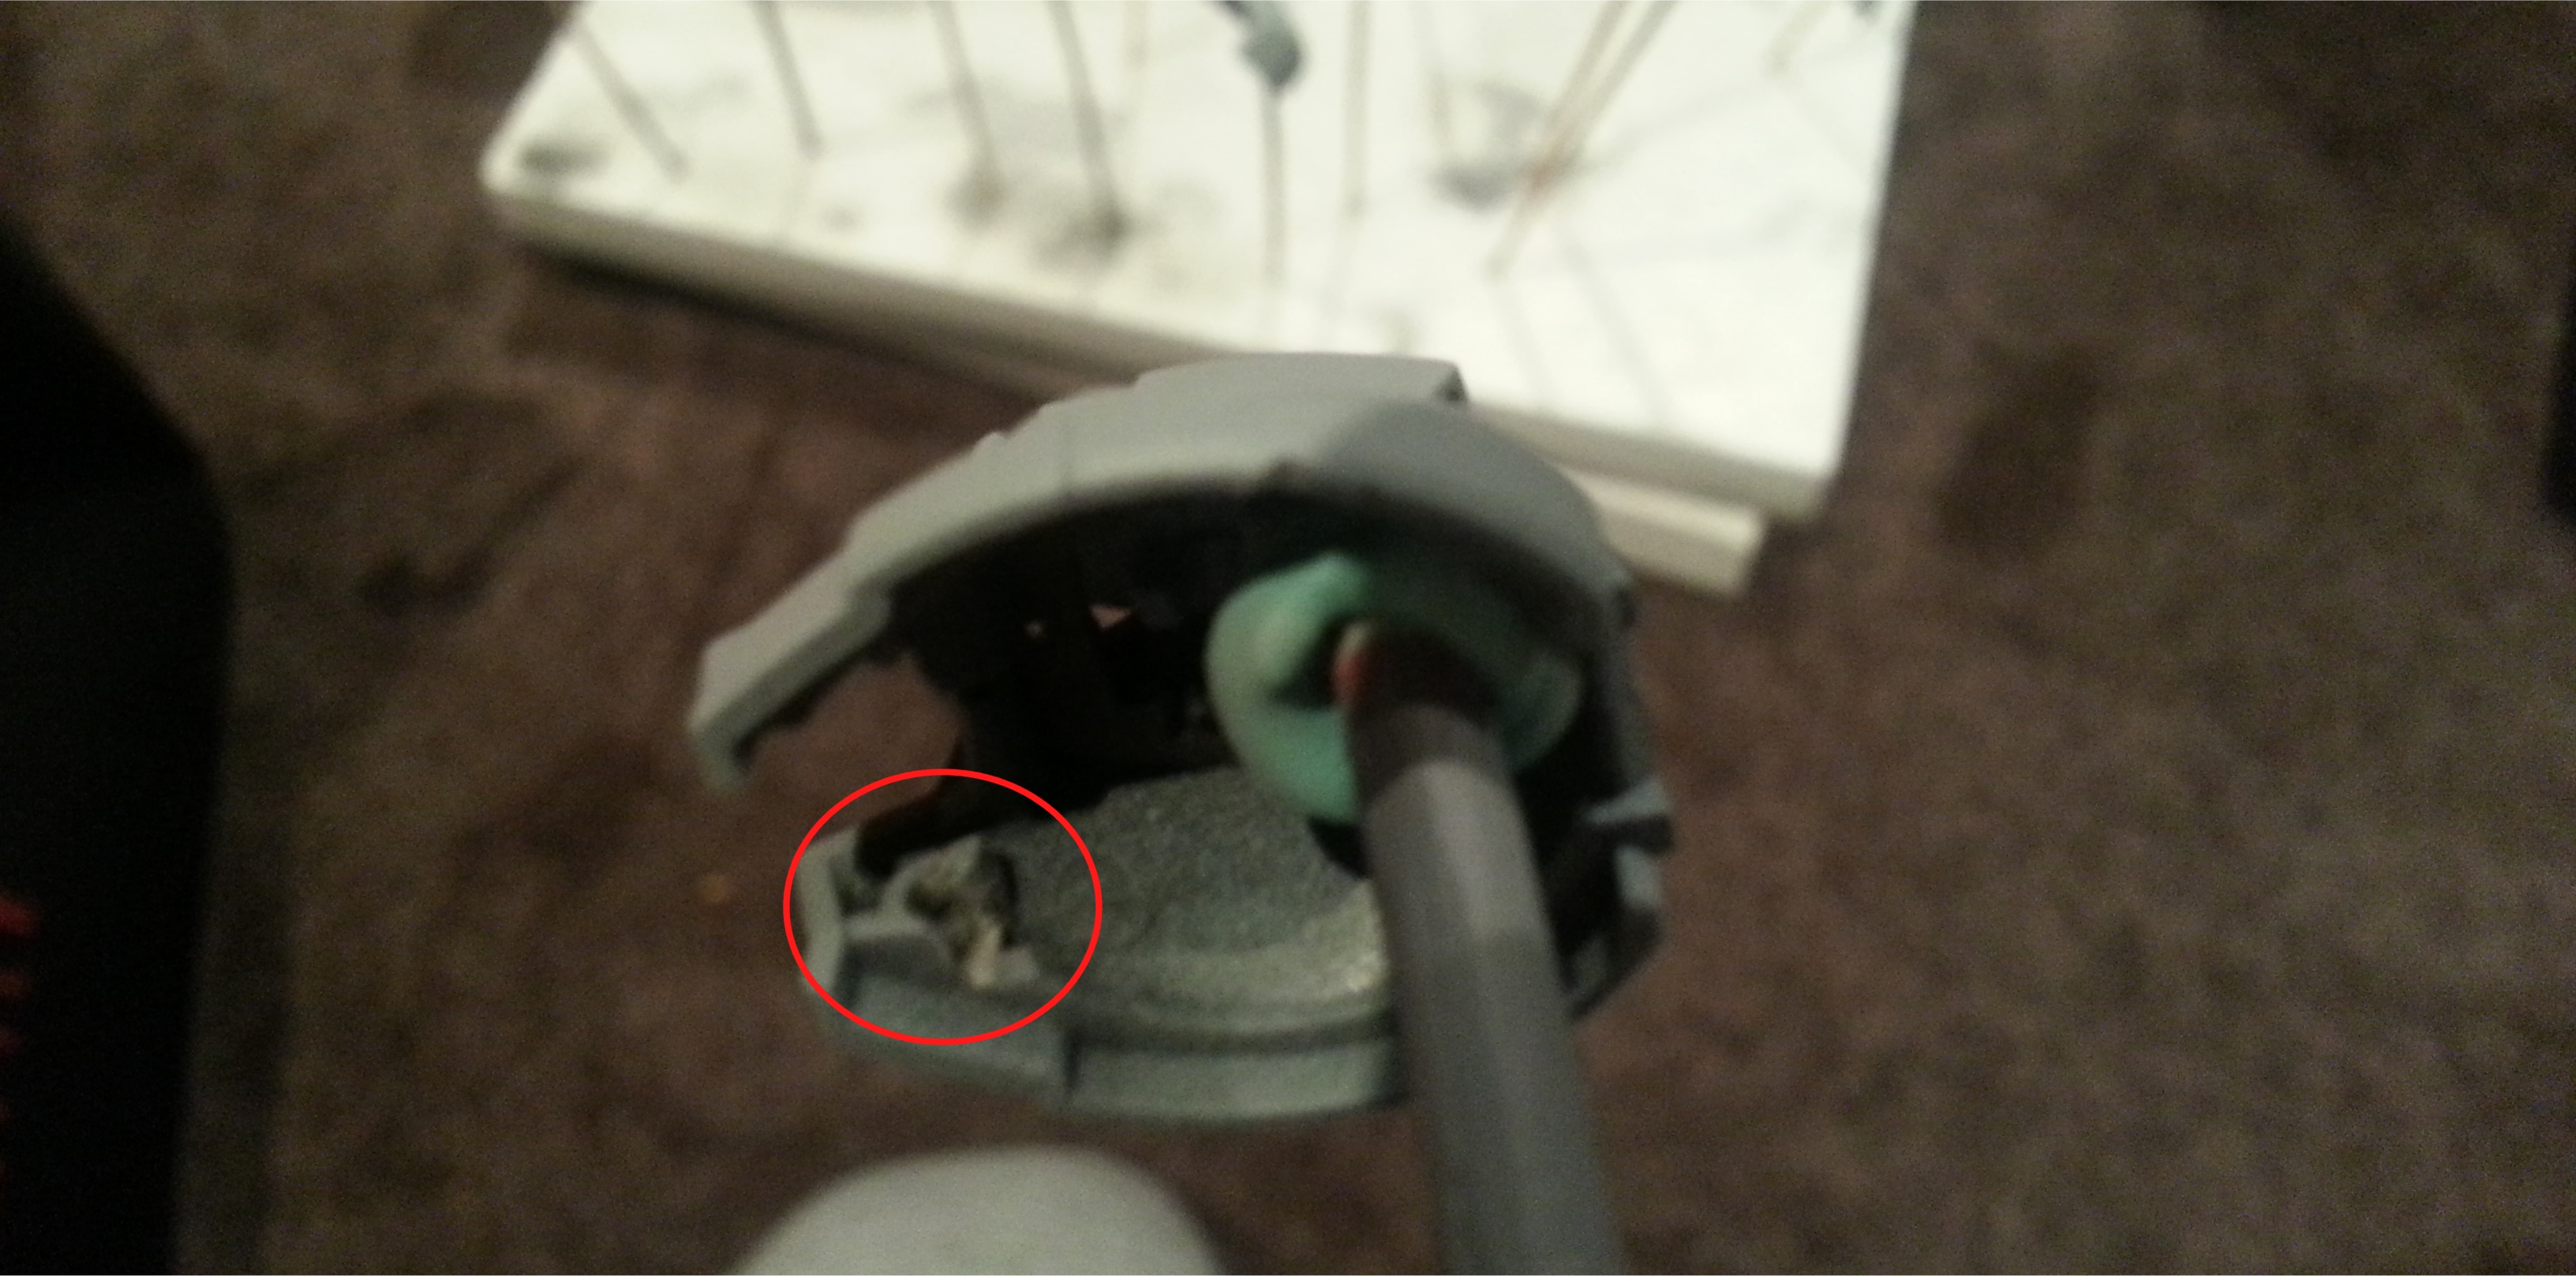
Despite it’s Zeonish look, the kit has a few nasty seam lines to deal with. First is the head, which is moulded in two pieces and has a huge seam line going straight down the middle. This is a pretty big problem since there are two parts which are different colours (eye piece and the back power cables) which need to be built as part of the head.
I’ve had to mod the head by cutting these peg holes (circled) so the eye piece can be inserted from the inside after they’ve been painted separately. I don’t have a picture yet for the power cables, I’ll add that later.
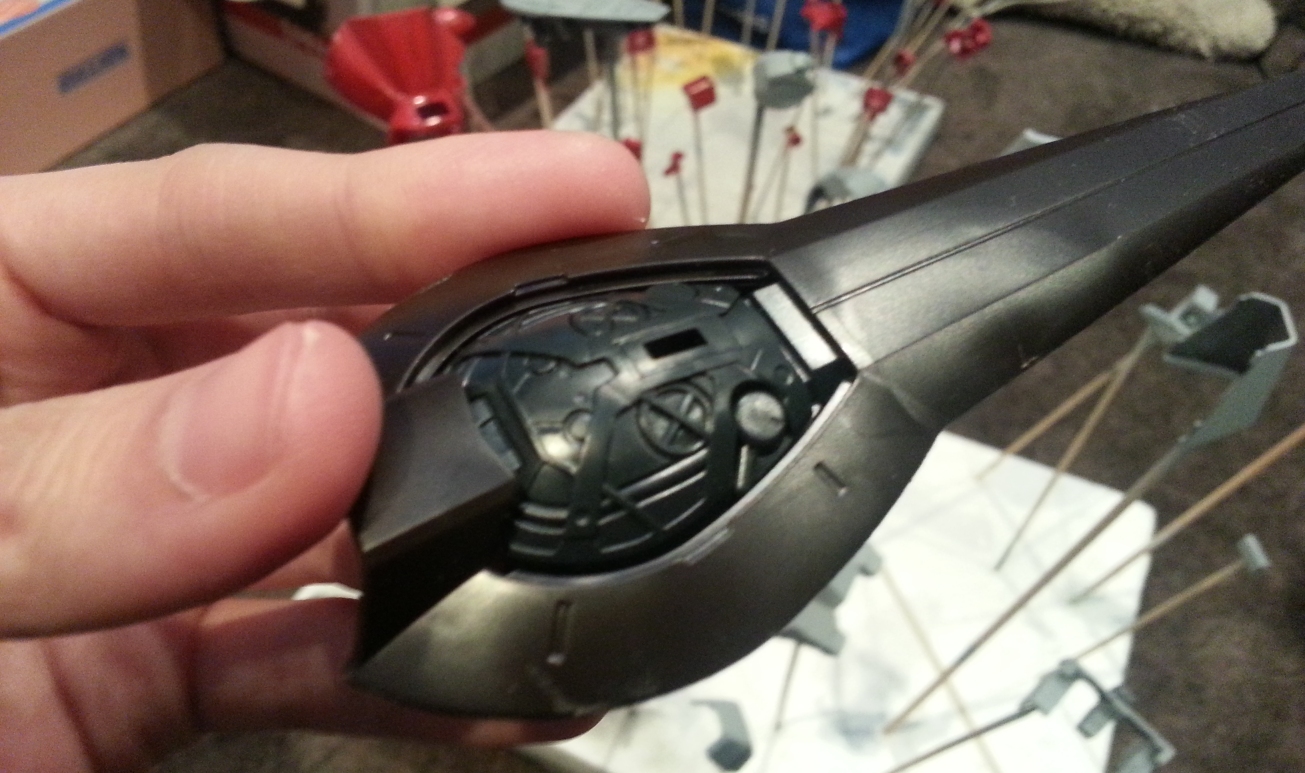
The tail binders are also moulded in two pieces, normally not a problem, but there’s an internal frame piece that goes inside. There’s no modding to get out of this one – it either has to be painted then masked off (or you could alternatively use the engine cover to cover it off), of left as it. I don’t feel particularly like doing any masking, so I’ve decided to not paint it, as it will never be exposed anyway. I’m lazy like that.
If all goes well and weather permits, I’ll hopefully have these painted in the next few days.