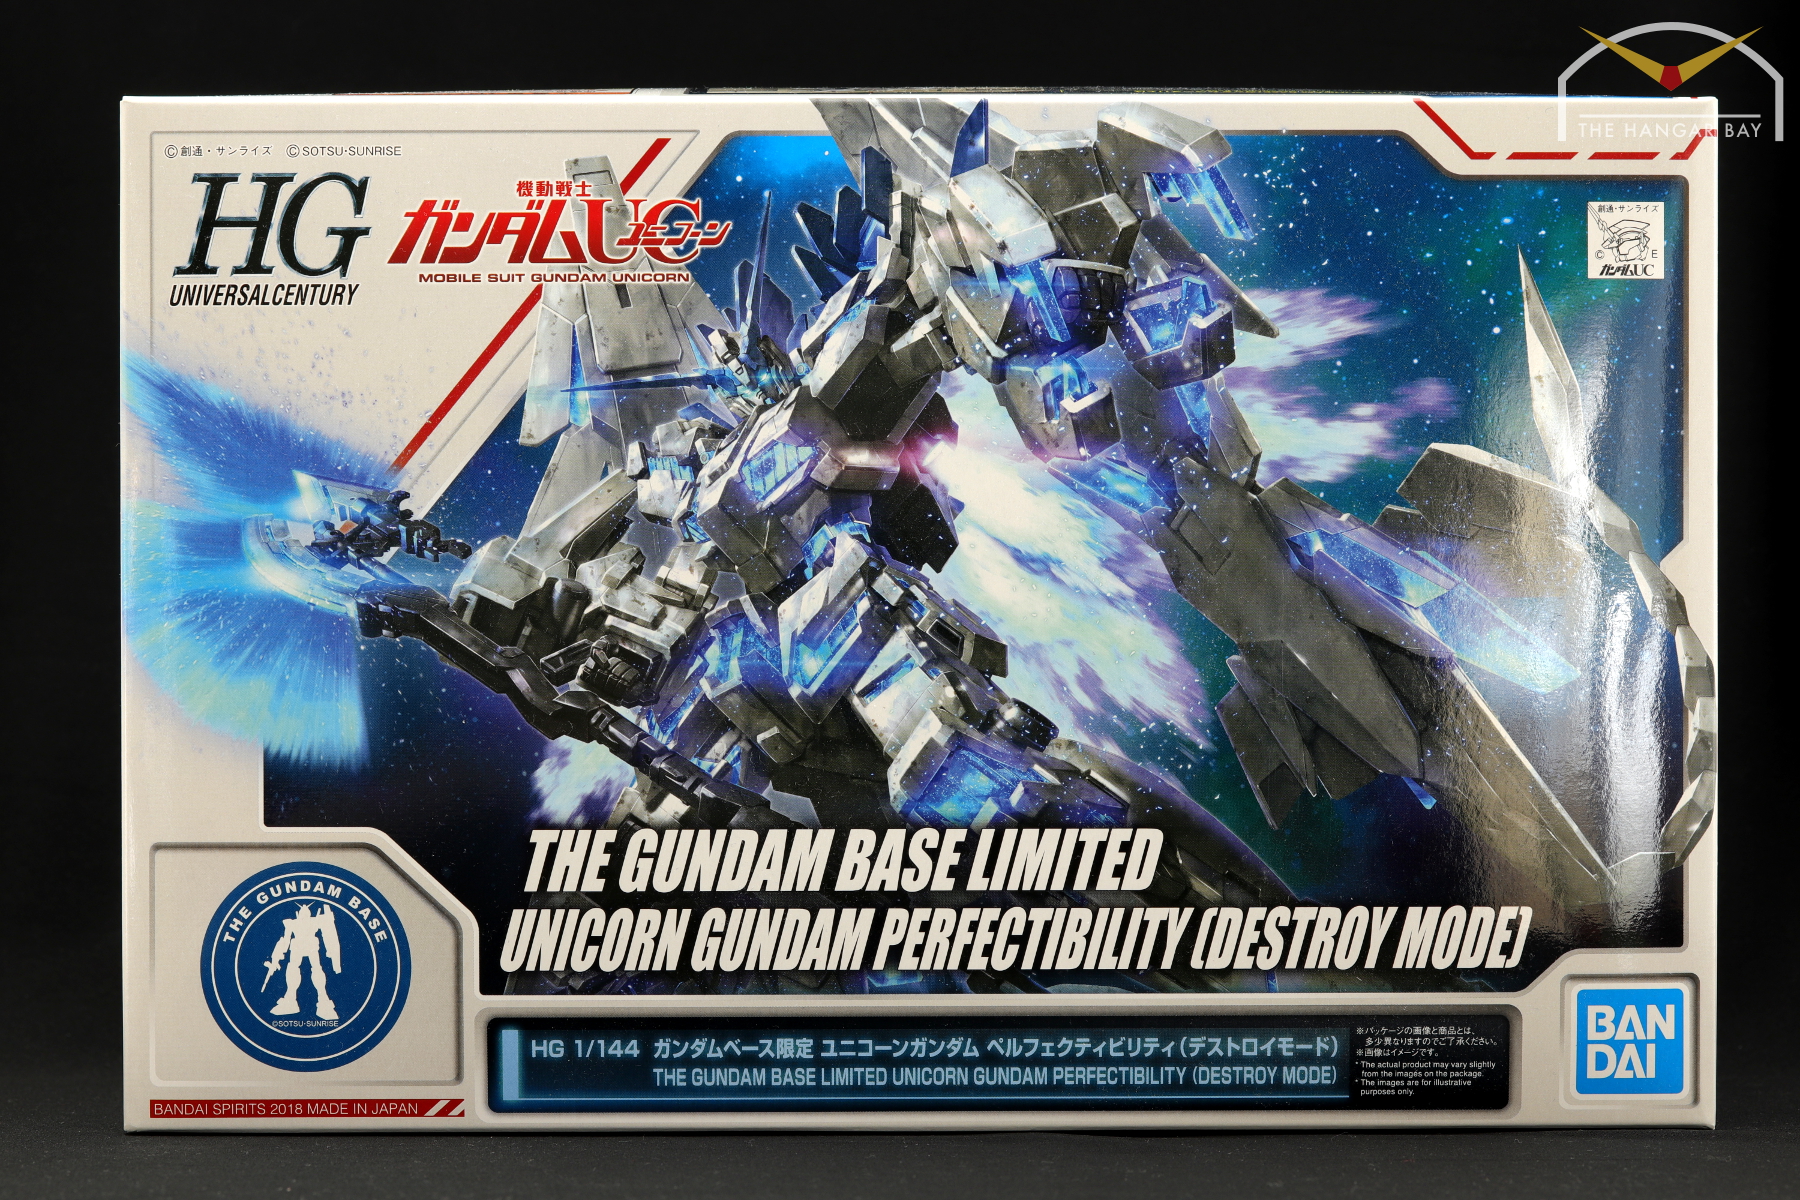
In this post I’ll be doing a dump of WIP images for the Unicorn Pefectibility I built for Gunpla Builders Australia Challenge 21.
White parts cleaned up and primed.
Base coat of Grey FS(??) applied as a base coat. I then used Mr Color GX White to shade over.
Some parts like these panels on the Armed Armor XC and the V-fin are blue on one side and white on the other. A gloss black was applied first, then painted with SMS Pearl Blueberry. For the Armed Armor XC parts, I also did a freehand highlight using SMS Green Blue flip, gives it that kind of glowing look.
For decals I used GD-75, the official decals for the HG Unicorn. The marking scheme was taken from the MG Unicorn ver.Ka.
The psycoframe was sprayed with SMS UV Reactive Blue. Yes I technically committed a sin by spraying it on the runner 😛 The paint glow can be activated using a UV blacklight, I bought one at my local hardware store. I noticed it’s kinda semi-gloss and it ended up fogging up some of the clear parts slightly.
The ends of the Javelin are molded in black and need to be painted white for accuracy. The little grooves were masked, a black base coat applied, then SMS Blueberry Pearl was used. I also painted the effect parts, I first used streaks of Cobalt Blue along the molded details, followed by White. I then did streaks using the same UV reactive paint as the psycoframe.
Trying an actual photoshoot with UV lights. One problem I found was that for the frame to get a really nice glow I needed to have the lights super close. Like, blocking the actual model. Either my lights are not powerful enough or I didn’t spray enough of the UV paint on.
My solution to this was to take a few different photos with the lights at various distances at very long exposure time (2+ seconds), including one where the actual lights are visible in the photo. I then used a composite using the bright parts psycoframe from the image into the regular version.


