In this tutorial I hope to teach you the three key things you need to know on how to operate manual mode on a camera. These are ISO, Exposure Time and Aperture. Understanding these three concepts will allow you to use any camera out on the market and greatly improve the quality of your photos!
At this point I assume you’ve got yourself some kind of lightbox setup for your Gunpla as we’ll be making use of it for this tutorial!
Equipment
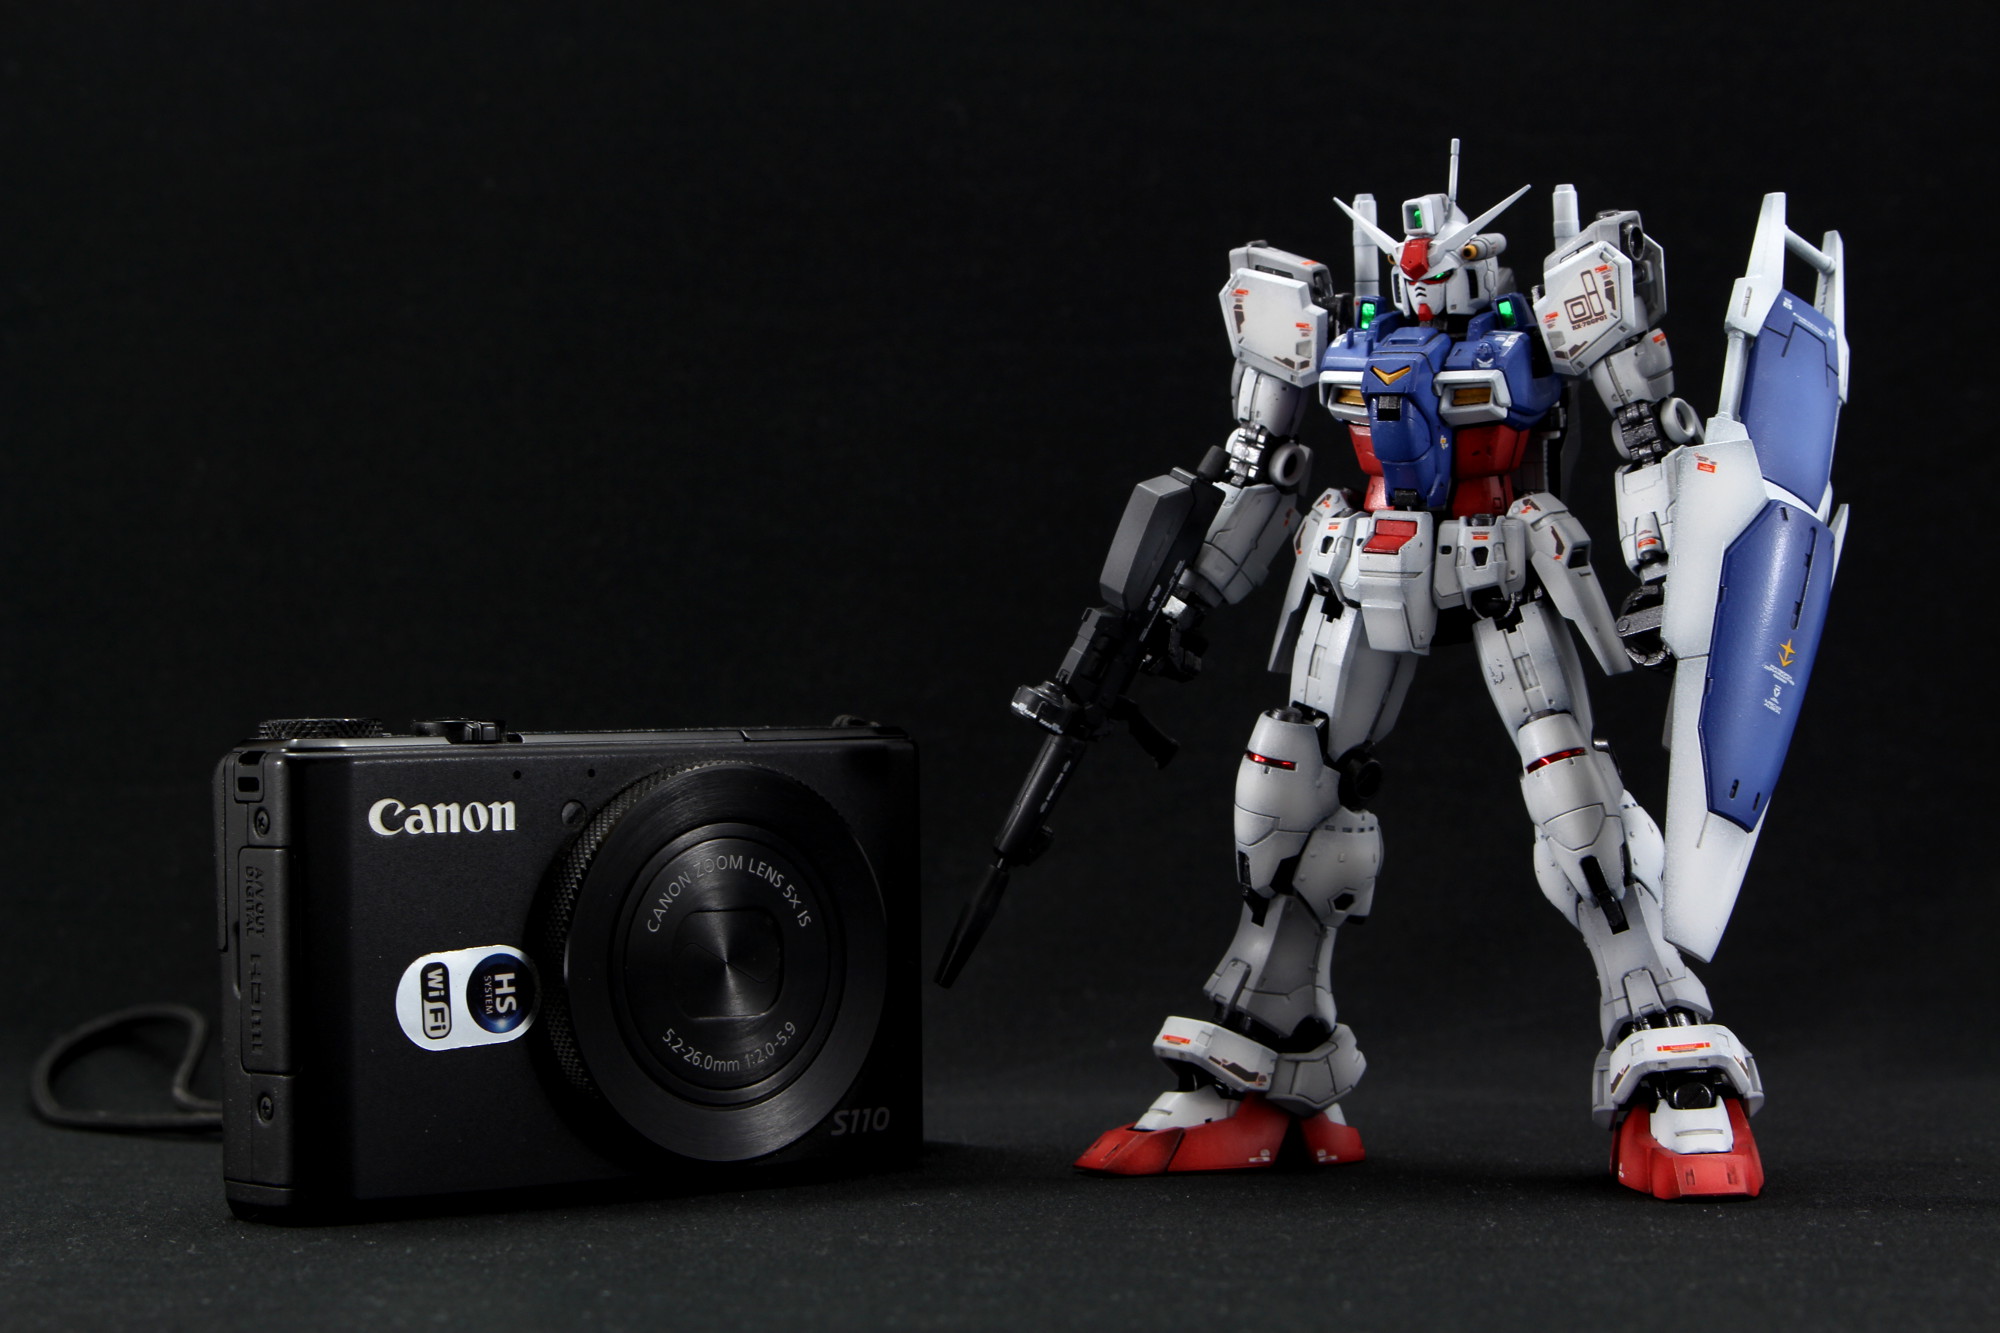
Your camera
For the purposes of this tutorial I’ll assume you’re at least using some kind of compact point-and-shoot or DSLR camera. Some of this may apply for your phone camera, but I doubt that you will have enough control over aperture and exposure time.
A tripod
This ensures the camera is totally still whilst taking photos and is necessary to get to get a clear image with what we will be about to do. Generally more expensive tripods have better build quality, but even the cheapest tripods should suit our purpose. Features you want to look out for are how high/low the legs can extend and if there is a separate crank to raise and lower the main shaft.
Before we start, do the following on your camera:
Turn off flash
Flash is a very commonly misused technique for beginners in photography. Flash is not a bad thing, however the flash mounted on a camera itself is very strong and is notorious for causing over-exposed images.
Instead we will rely on soft external lighting and increased exposure time to compensate for dark images.
Set ISO to 100
For our purposes, we will set the ISO to it’s lowest setting (normally 100). The ISO setting controls how sensitive the camera’s sensor is to light. Higher settings are better for lower-light shots, but also makes the resulting pictures grainy. This will give us the highest image quality possible but may make your image look really dark, however this is something we can compensate for with increased exposure time and a better lighting setup.
Set the image quality to maximum
This is a common camera setting which controls what resolution the final image will be recorded at. Always have this set to the largest/highest quality possible (some cameras have a RAW + JPG setting) as it will give you more flexibility for editing afterwards, and you can always resize and crop the image later.
Activate the timer function
Most modern cameras have a timer function that delays the actual taking of the picture for a few seconds after you press the button. This helps prevent the camera from shaking when pressing the shutter button and helps ensure we get a nice and clear image.
Alternatively, your camera may also have a remote shooting mode controlled by your phone / PC. In this case you may choose to omit the timer since you won’t need to touch the camera to activate the shutter.
Configure White Balance
Next we want to configure your camera’s white balance so that the colours are properly calibrated and appear how we’d expect. Ideally you’ll want to do this where you normally shoot your kits for best results. This may involve taking a picture of a white piece of paper (or calibration sheet).
Here’s an example of the procedure on a Canon T3i.
Consult your camera’s manual to find the white balance option.
Let’s learn to use manual mode
All compact and DSLR cameras come with a ton of fancy features which can be overwhelming to the new user. We’re going to throw all of that out the window and instead focus on the two key features present on most modern cameras that you really need.
Manual mode is usually denoted by an “M” on your camera’s option wheel.
Exposure Time/Shutter Speed
Most Gunpla photography articles like to talk about aperture first, but I’m going to start with exposure time (also known as shutter speed) first since it’s much simpler and will also make the concept of aperture and how the two are related much easier to understand.
The concept of exposure time is simple. This setting controls how long the lens of the camera is open for when you press the button. The longer the camera lens is open, the brighter the resulting image is. Exposure time is measured in fractions of seconds and can vary anywhere from 1/32 to several (1+) seconds.
The longer the exposure, the more possibility there is for blurry images due to camera shake, but it won’t matter too much in our case since we’ll be using a tripod, the timer/remote function on our camera and we’re taking a picture of a still object.
Longer exposure time = brighter image! Simples!
See wikipedia article on Exposure Time
Aperture and Depth of Field
The layman’s explanation is that aperture is how big the lens opens up when you take a picture. The main purpose of changing the aperture setting is to control the Depth of Field (DoF) in the resulting image. There is no ‘right’ setting for aperture, but rather one that is defined by your artistic choice.
Aperture size is measured in f-stops. Here’s where it might get a bit confusing. The larger number on the f-stop, the smaller the size of the aperture is. See the image below:
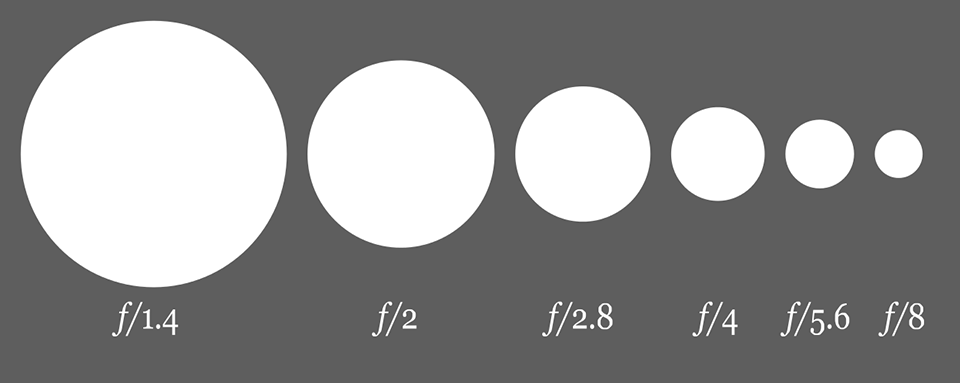
Take a moment to locate and experiment with the aperture setting on your camera for a bit.
Aperture and exposure time are two settings which go hand-in-hand. When the aperture is small, less light is able to pass through to the lens, so the overall image will be very dark. To counter this, we need to increase the exposure time until the brightness of the image is what we would expect.


Left – MG 00 Gundam shot at f/9, 1/3 second.
Middle – The same shot now taken at f/22, still at 1/3 second. The aperture is now much smaller so the sensor can’t pick up as much light and as a result the image is very dark.
Right – To get the same kind of brightness I had to change the exposure time to 2 seconds, roughly 6 times the original shot at f/9.
What aperture should I use then?
It depends what kind of artistic effect you are aiming for with your photo. A very large aperture gives a very prominent blurring effect (also known as “bokeh”) , while a very small one makes everything in the image more in focus.

Diagram of the effects of aperture setting from the Nikon website.


Left – MG 00 Gundam shot at f/2.8 with the camera focused at the head. At this very large aperture, the focus plane is very small so even the shoulders of the Gundam are blurry.
Middle – The same shot now taken at f/9. The shoulders are now clearer and the decals on the arm and shoulder are now more legible.
Right – Final shot at f/22. The whole image is now pretty clear, in fact some of the dust on my backdrop is starting to become visible!
You might assume that in order to get the sharpest image that you should use the smallest aperture available, however this is actually incorrect. Diffraction happens at very small apertures causing some minute blurriness again. Each lens has a setting where the image is sharpest, so experiment with various aperture settings to find the best one for your setup.
All three images are good looking in their own right and there’s no right or wrong aperture! Bokeh can be used as an artistic composition tool to help direct the viewers eyes to the important parts of the image. Feel free to experiment and take lots of pictures!

Here are two shots with the camera focused roughly on the chest of the GP01. The left shot was taken with an aperture of f/9 and the right f/18. Notice how the beam rifle and right foot of the GP-01 are out of focus when the f-stop number is lower? I had to quadruple the exposure time from 1/5th to 4/5th of a second to achieve the same relative brightness when going from f/9 to f/18. Therefore when we adjust the aperture setting, we must also adjust exposure time to compensate.
More on Bokeh
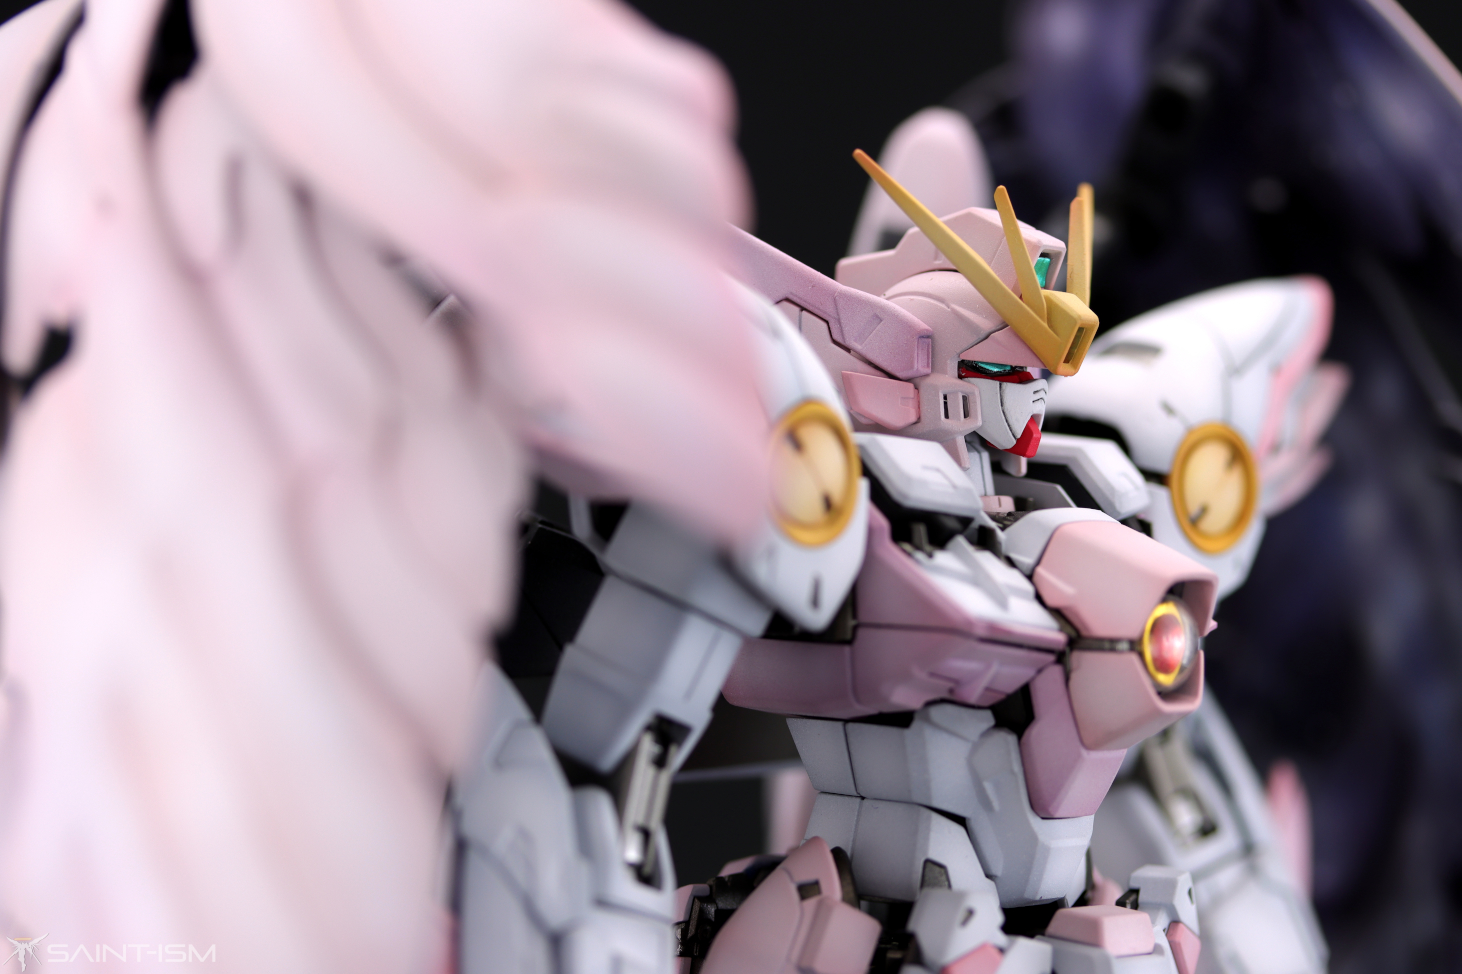
The use of bokeh can help trim any unnecessary distractions from the image and help the viewer focus at what is important.
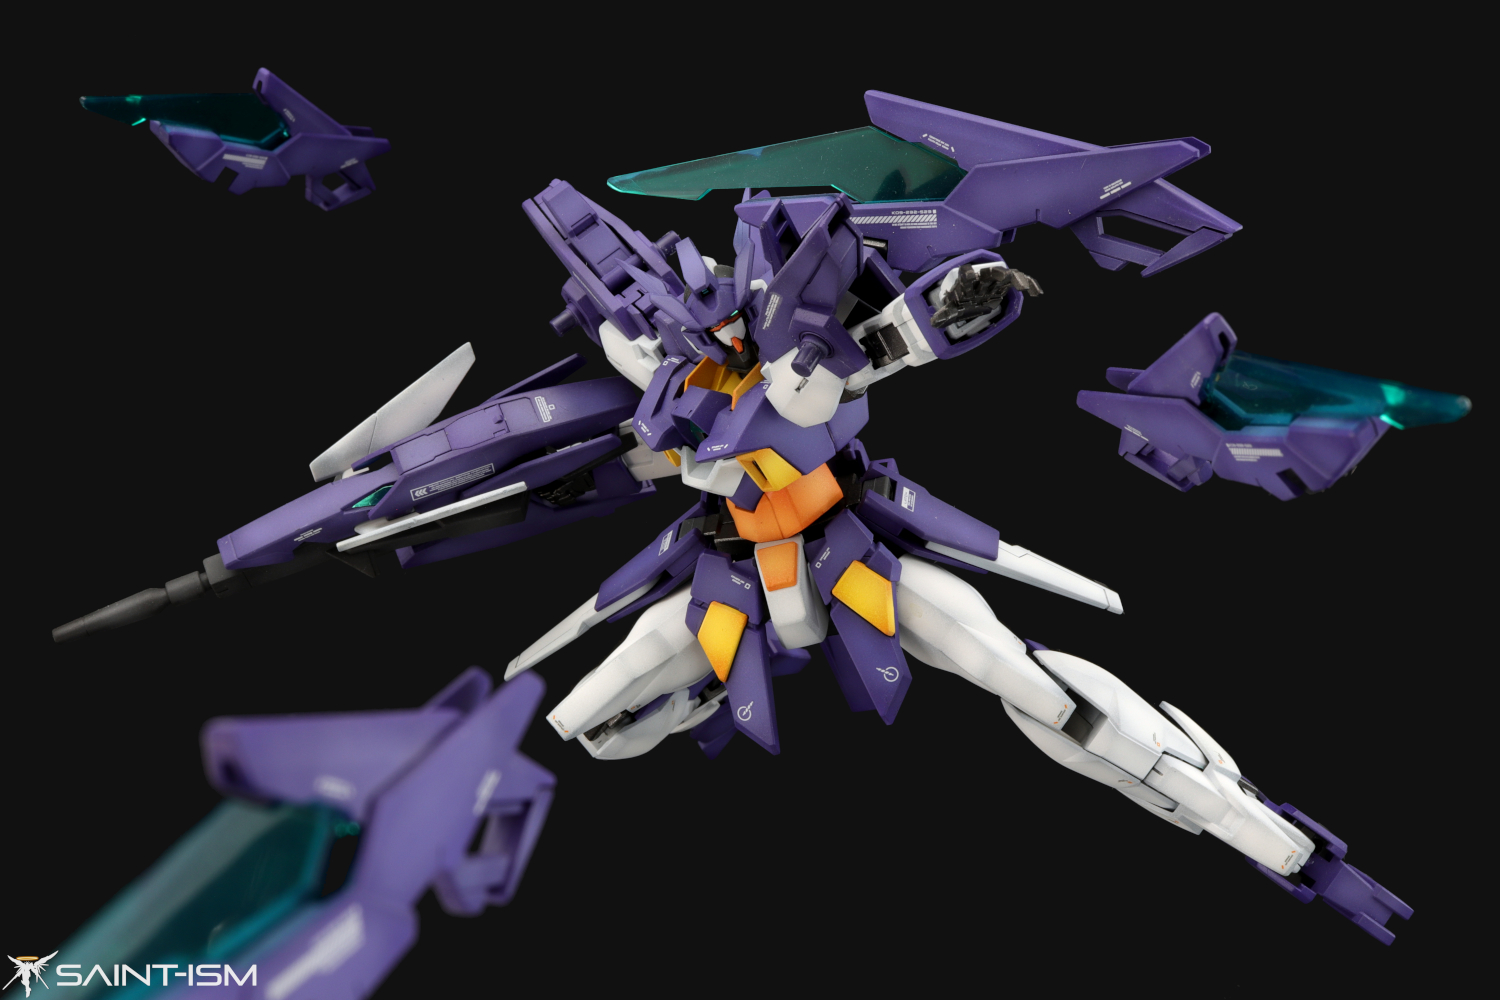
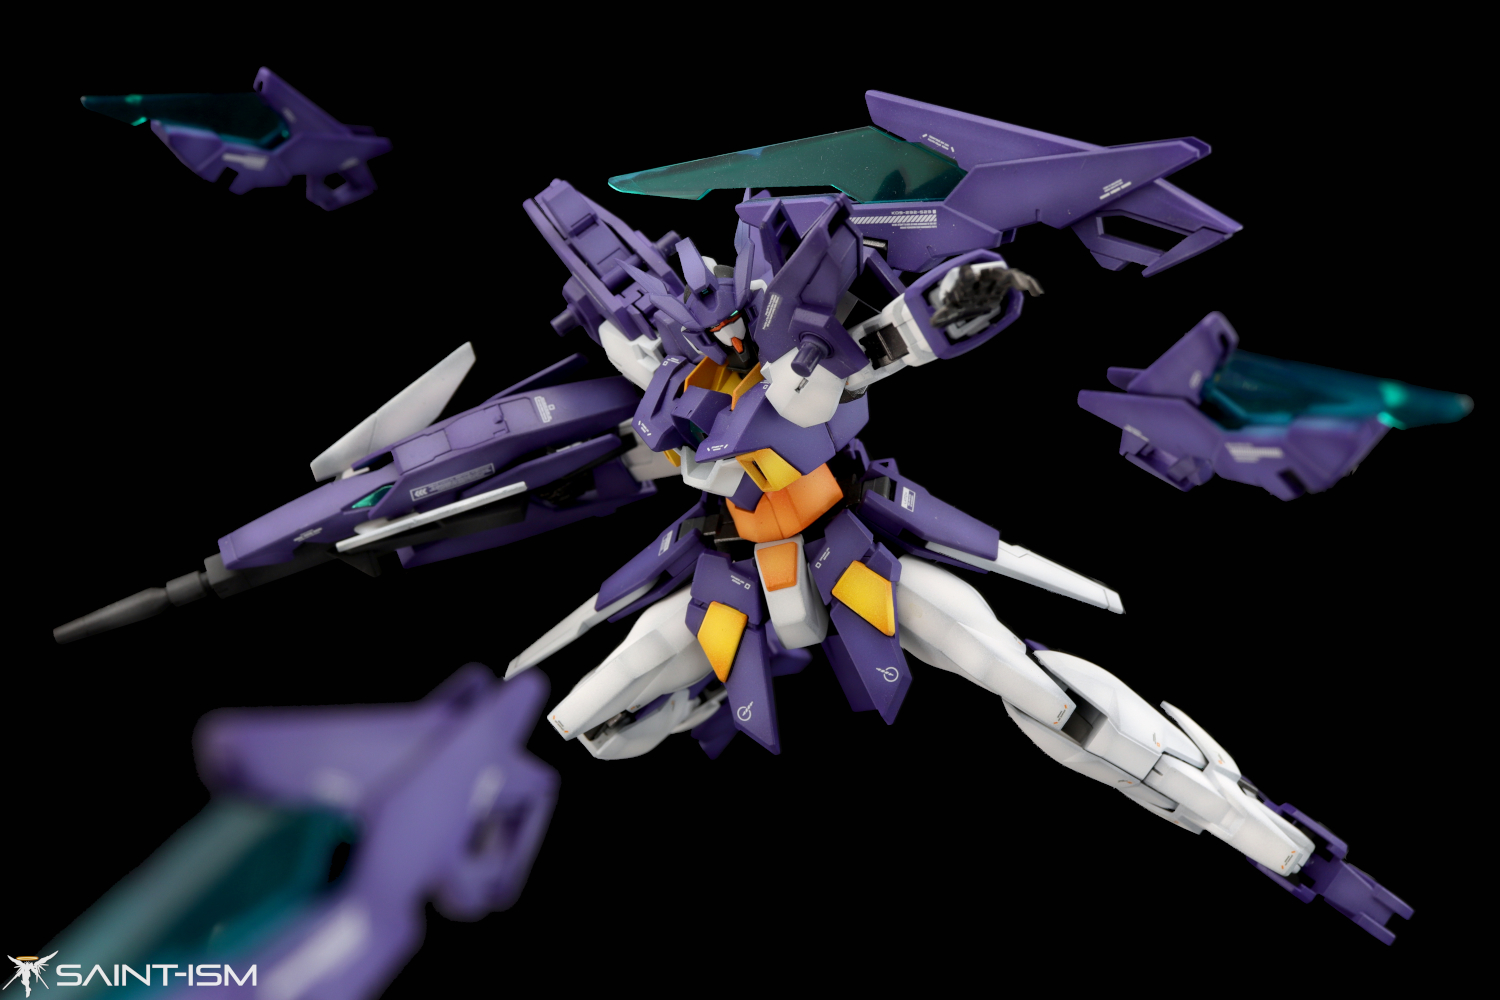
Left – Image taken at f/18
Right – Image taken at f/9
In the above example, the details on the funnels aren’t that important. They merely serve as window dressing and to direct your attention to the main subject, the AGE-2 itself.
When applied correctly, the result can be a very soothing image to look at because your eyes know exactly where to look at.
Digital Photography School explains Aperature
Other camera settings you should play with
Auto-exposure bracketing (AEB)
Most digital cameras have this setting. It makes the camera automatically takes an additional 2 images when you press the button, one at a longer and shorter exposure. I always have it on for all my shoots and it grants me some leeway to take extra pics at various exposures without having to manually change the setting all the time. It gives you alot of flexibility since you can just pick the best image out afterwards.
It’s also great if you want to play around with HDR stacking images.
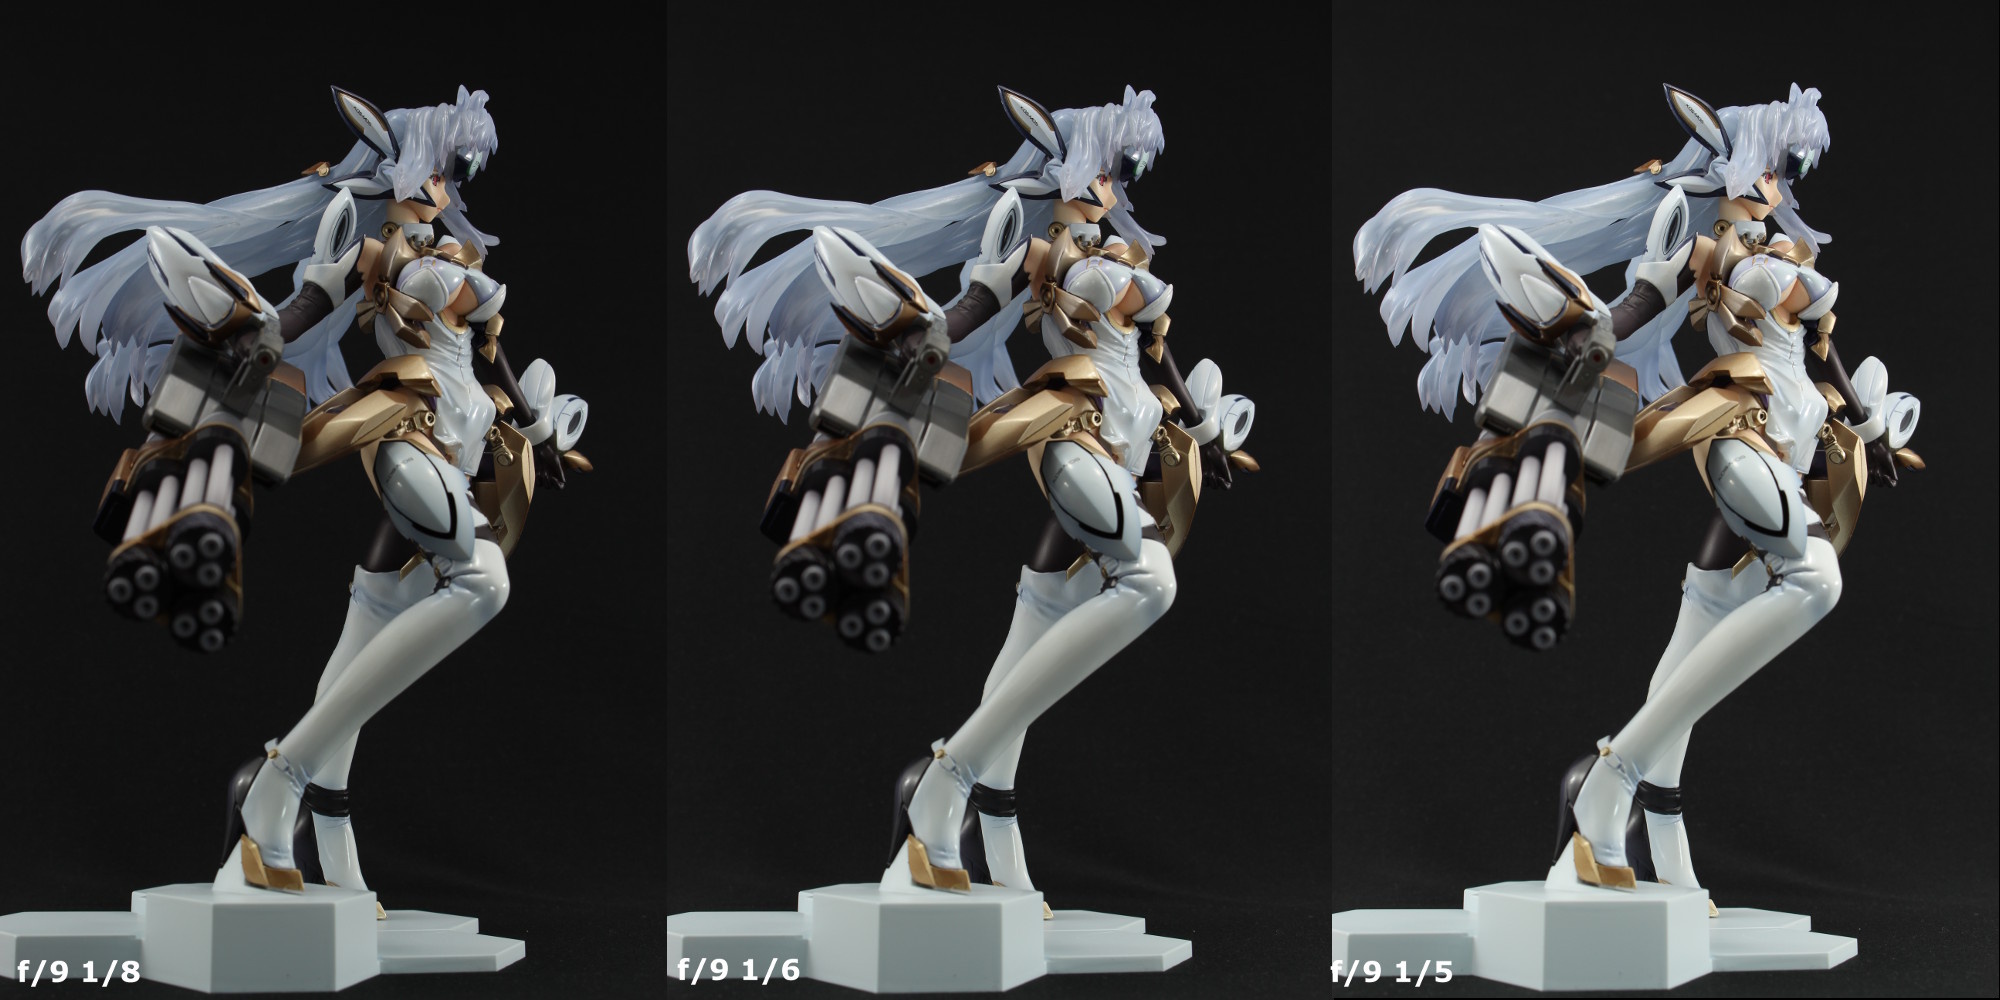
I have AEB set at -1/+1 on my camera. With my exposure set to 1/6, the camera also takes an image at 1/8 and another at 1/5.
Aperture Priority/Shutter Speed priority
This guide has already covered how to use manual mode, but some cameras will also have additional modes named Aperture Priority/Shutter Speed priority. Aperture priority (usually marked by an “Av” on your camera wheel) basically allows the camera to automatically decide what exposure time to use based on the aperture you’ve selected to maintain the image brightness so you don’t have to constantly change the exposure time setting. The inverse is true for the Shutter Speed priority, which changes the aperture setting to maintain the same brightness at your selected exposure time.
Use Manual Focus
At some point you’ll want to turn off automatic focusing and learn how to use manual focus. This will give you better control with bokeh especially if you are working with very large apertures and a macro lens.
Other tips
Do proofing/test shots
It’s good practice to do a test shot and preview it on a larger screen before you start your main shoot (or even pose changes). I’ve had quite to do quite a few reshoots because of a stray limb, crooked side skirt or weapon or even dog hairs on my kit!
Take lots of pictures
In this day and age we’re lucky to have access to an immense amount of storage at hand and the ability to preview pictures almost instantly. I take pictures of my kits at quite a number of angles, heights and different aperture settings. With AEB enabled, this usually ends up at around 2,000+ images per kit I build. Take as many pictures as you can to give yourself the flexibility to choose and edit as you please!
Final words
I hope this guide has helped explained the key concepts of operating manual mode on a camera. Please post what pictures you’ve managed to come up with in the comments!