
If you told me 10 years ago that I’d actually build a HG kit and enjoy it, I would’ve told you were nuts! I picked up this kit as something quick to do whilst waiting for the paint on my Delta Plus to cure. I liked this build so much that I’ve gone and ordered a few more HGBF kits. I guess it shows how far Gunpla engineering has come over the last decade.
Construction
This was a super quick build for me, taking no more than 10 hours to prep, paint and put together the entire model. I specifically chose this kit for my first HG as I knew it would be a pretty easy build after studying the manual online. The kit sports some excellent posability too, with double jointed elbows and knees, and somehow even the neck mobility puts MG kits to shame.
This being my first HG kit though, I wasn’t quite sure what to expect. The kit does feel pretty fragile and some of the connection points don’t feel very secure like in MGs. Is this normal?
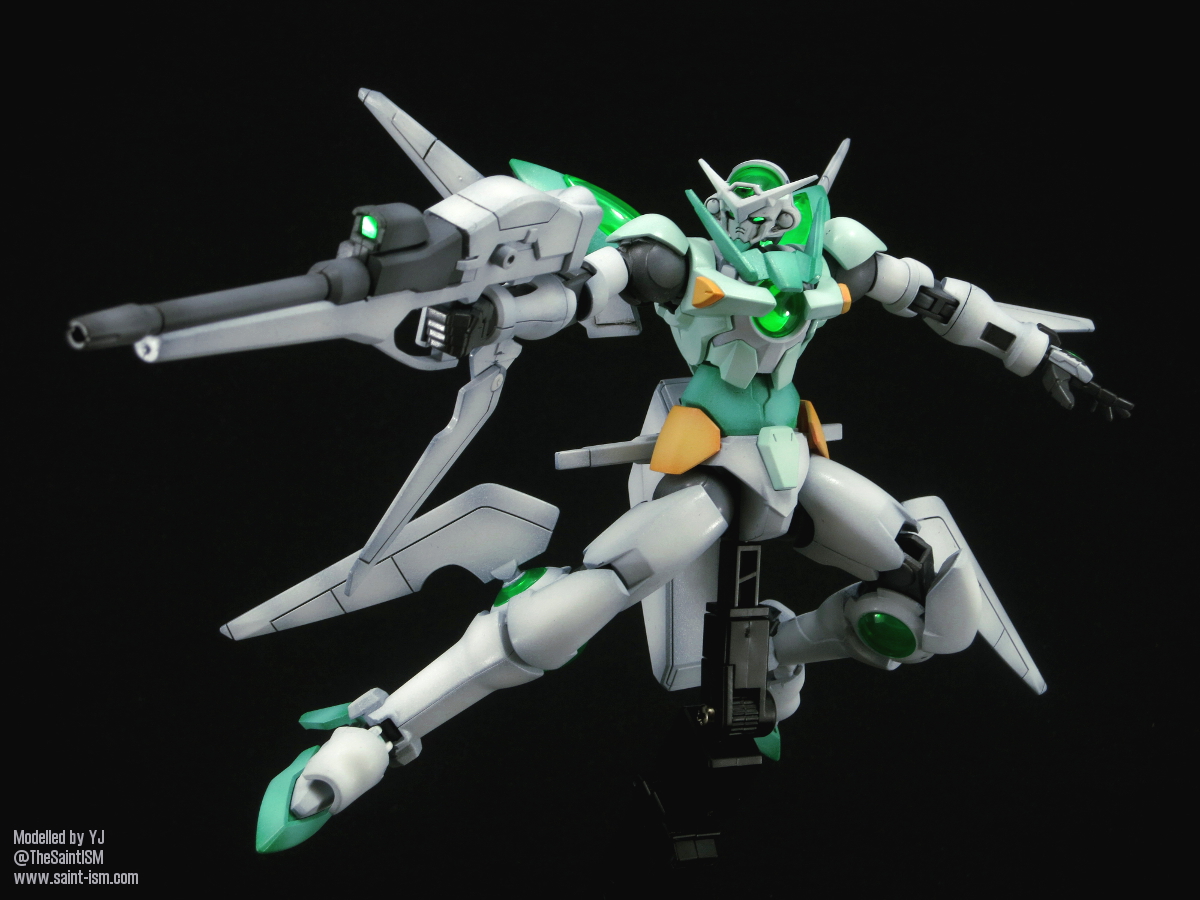
The kit few seamlines – but the only major ones worth fixing are on the weapons. The first is on the handle of the GN Sword, I opted to leave this as it’s not noticeable. The one I fixed is one the white and grey parts of the beam rifle, which requires cutting some of the connector pegs on the grey part so it can be inserted into the white casing after painting.
Painting
By glancing at the sticker sheet for the Portent, you can tell that painting is going to be a farily smooth experience. The colour separation is pretty great, and even if you were to paint the kit in the exact colours of the parts, you’d still have a pretty respectable looking model at the end. For total accuracy though, there are a few areas which need to be painted:
- The grooves on the GN Drives under the wings
- The grooves in the forearms
- The black circles on the hands
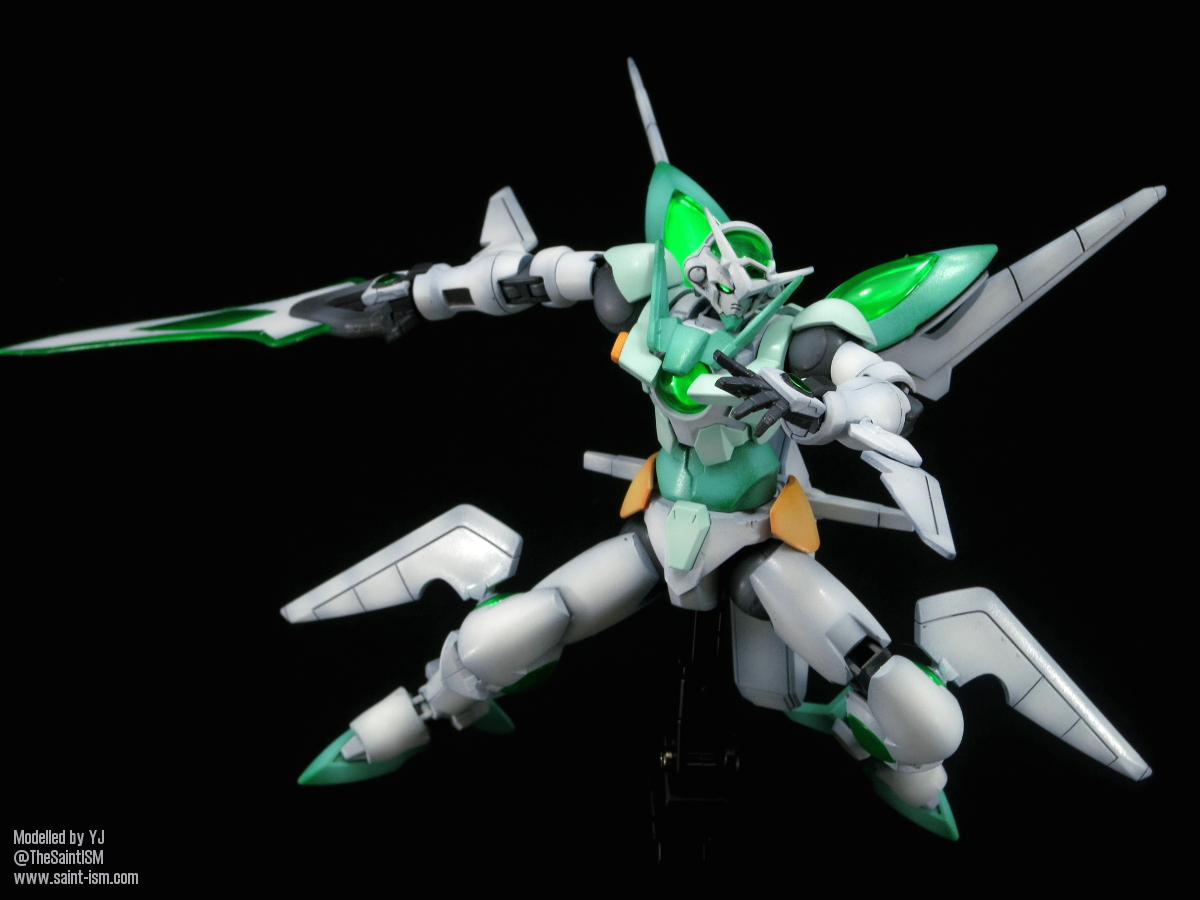
- The GN Sword
The most annoying part is the GN Sword, which comes in one clear green piece with a sticker for the white. This was probably my worst part dealing with the kit, as my masking skills are pretty bad.
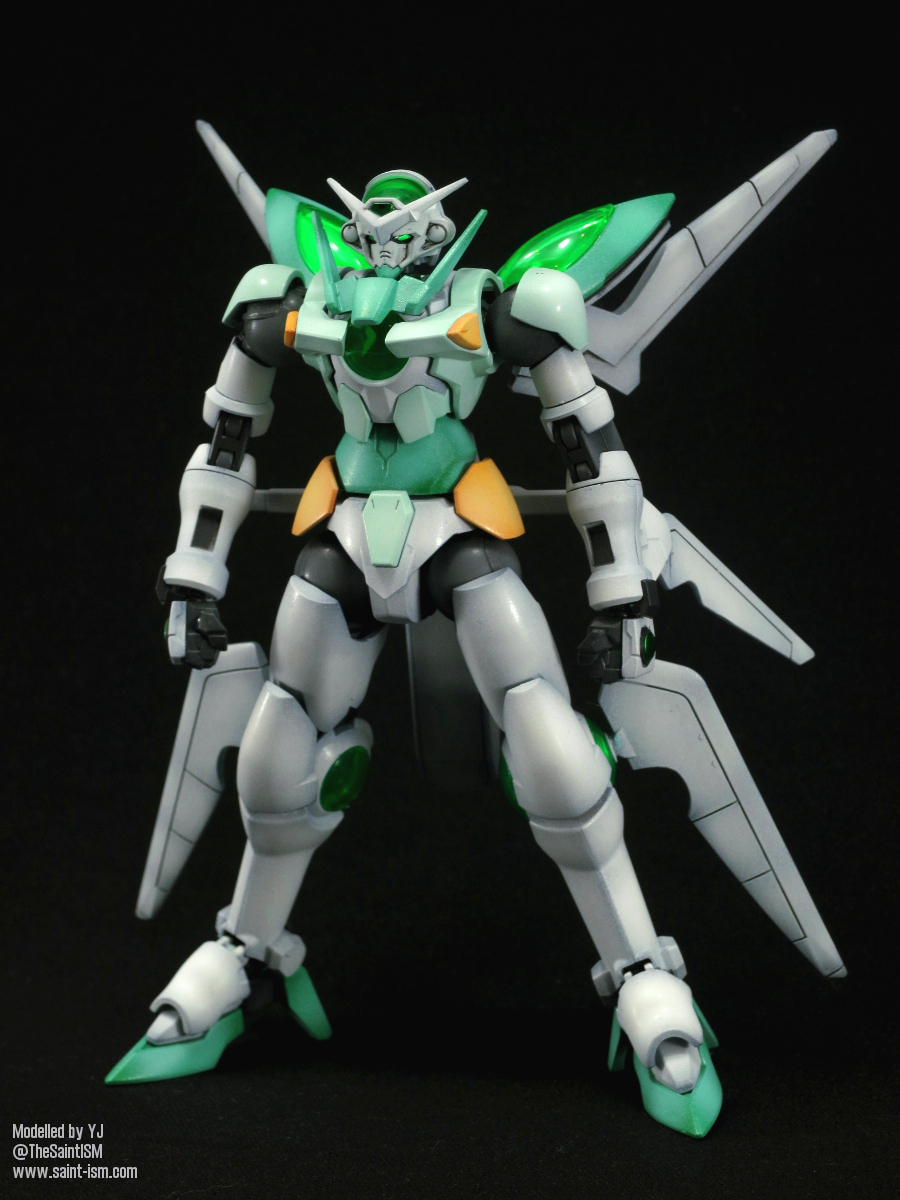
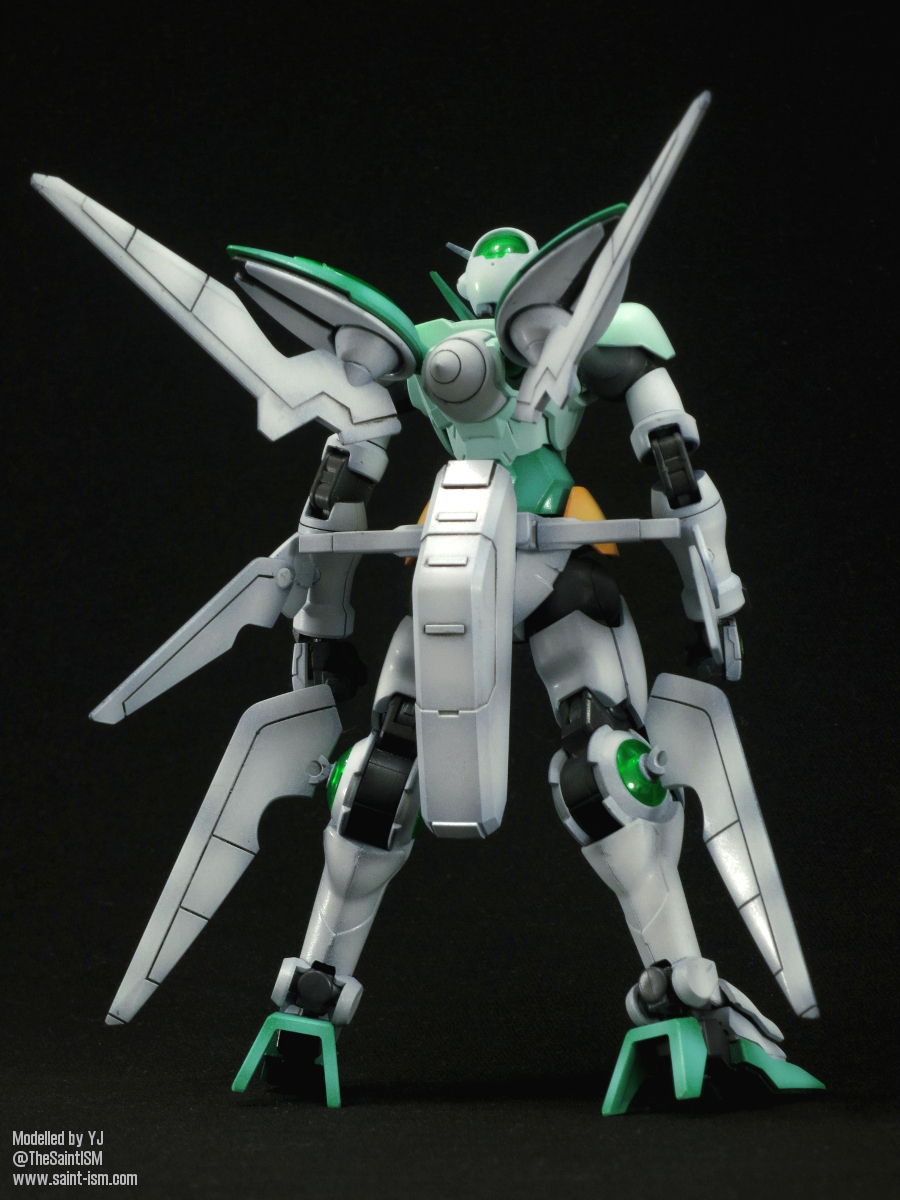
White – Base coat of Intermediate Blue (100%), following by White (100%) for shading and highlights.
Light Green – Base coat of Pale Green (100%). White is added to the mix for highlights.
Dark Green – Base coat of Emerald Green (85%) + Bright Green (15%). White is added to the mix for highlights.
Yellow – Base coat of Orange (100%), then preshaded with White (100%). A coat of Orange Yellow (80%) and Yellow (20%) is sprayed/misted over. Finally a bit of White and Yellow is added for highlights.
Internal grey – Base coat of Neutral Grey (70%) + Black (30%) followed by Neutral Grey (90%) + Black (10%) for highlights.
Gallery


Action Pose


Best HGBF Gundam Portent on the web! Kudos!