
The final kit in the stolen GAT-X series, the Buster Gundam! This was a nightmare build for me, the proverbial final boss of this journey. I lost and broke many parts in the process, paint started cracking and I had to redo quite a number of parts several times. In the end I’m very glad to have gotten this guy over the finish line because I think he’s one of the best looking kits out there.
Construction
There’s one major seamline on this kit, and that’s on the beam rifle. Sanding in between the grooves is a bit tricky, so use a piece of folded sandpaper for this.
My only real gripe with this kit is the sheer number of small moving parts that are easily breakable, despite being made out of ABS. These include the handles on the guns, the parts which connect the handles to the guns themselves, and the entire waist arm mechanism. I highly suggest masking these connection points off if you do decide to paint, because if they do get too tight, something will break when you go to move it.
Painting
Here are the mixes I used for paints, using Mr Hobby Gunze acrylics.
Green – Green (100%) base coat, added white and a bit of yellow for highlights
Desert Tan – Sail Colour (100%), followed by White (95%) + Yellow FS (5%) + Drop of yellow for highlights
Orange – Base coat of Shine Red (90%) + Yellow (10%). Added white and a bit of yellow for highlights.
Weapons and internals grey – Neutral Grey (80%) + Black (20%) base coat, followed by Neutral Grey (95%) + Black (5%) for highlights.
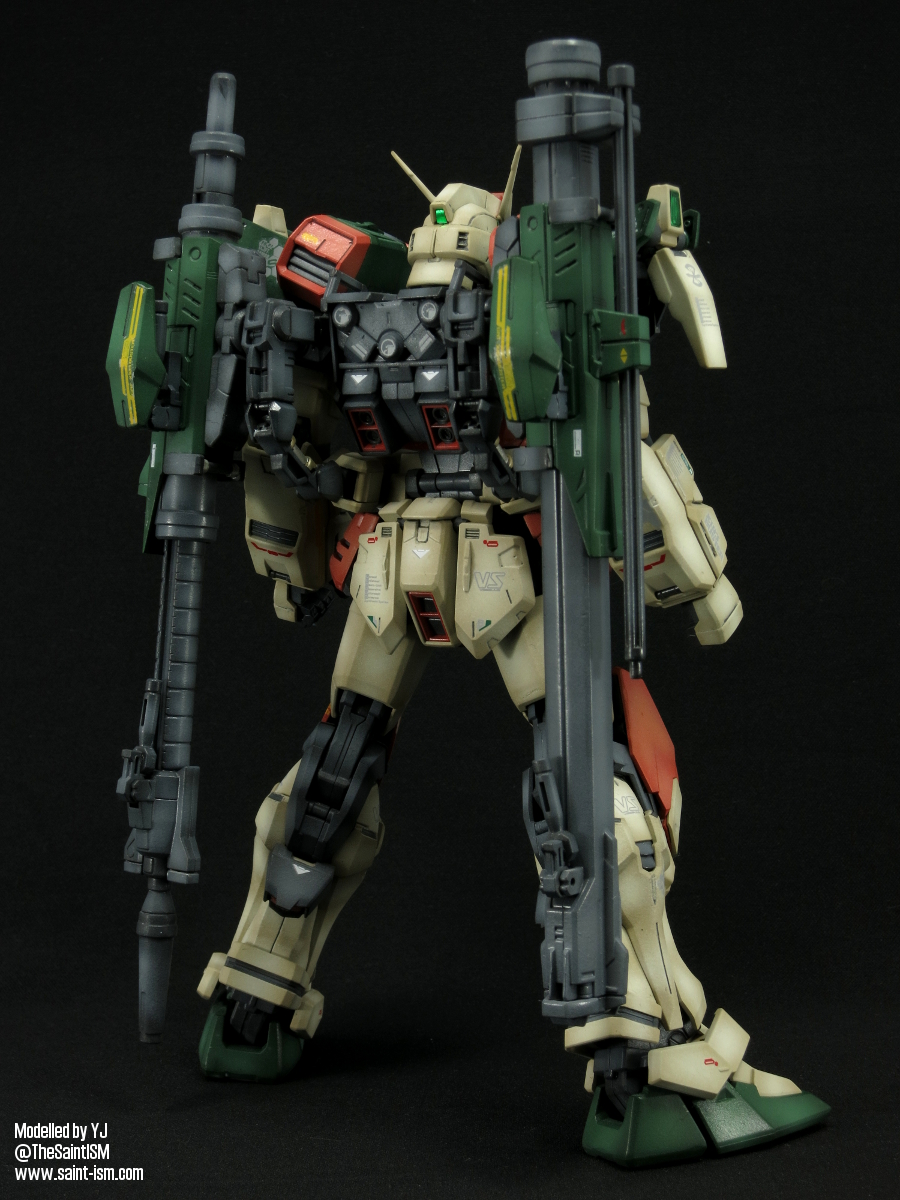
There are various pipes on the kit which I handpainted using a combination of Titanium Silver and Titanium Gold Tamiya enamels. There are also some thrusters nozzles on the backpack which need to be painted, I used German Grey for this.
One major problem I encountered is the barrel on the Gun Launcher, and how the green part slides over it. The fit was a bit tight after painting, so it got quite scratched up in the combining process. You can kinda fix this problem by first lightly sanding down the barrel, as well as the edges of the rear gap of the green sliding part.
Posing and Gimmicks
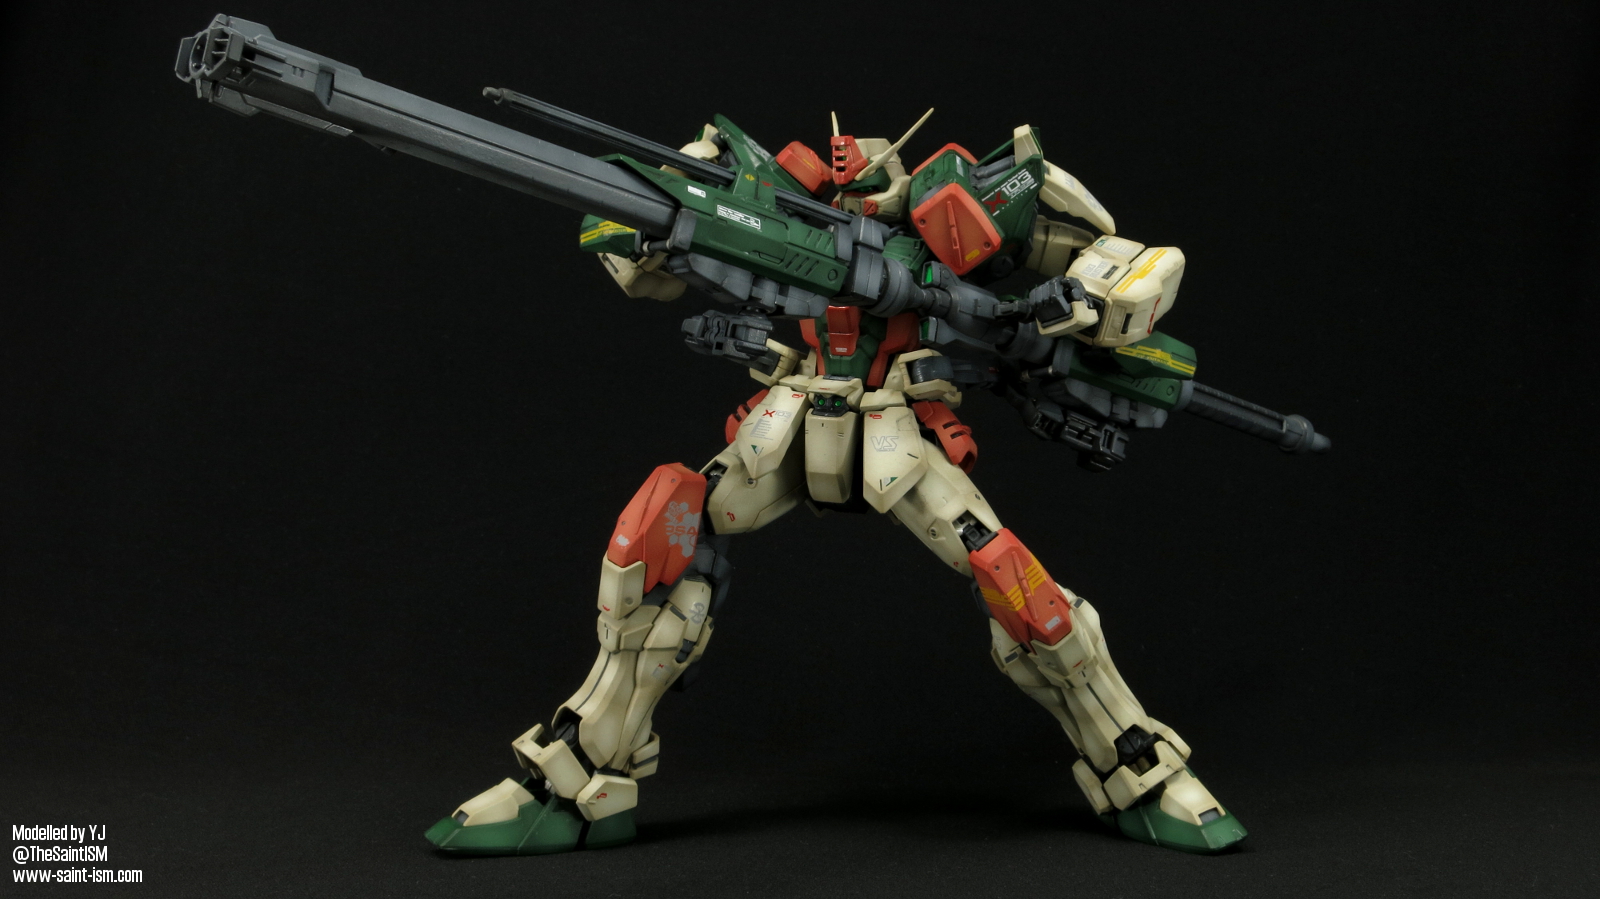
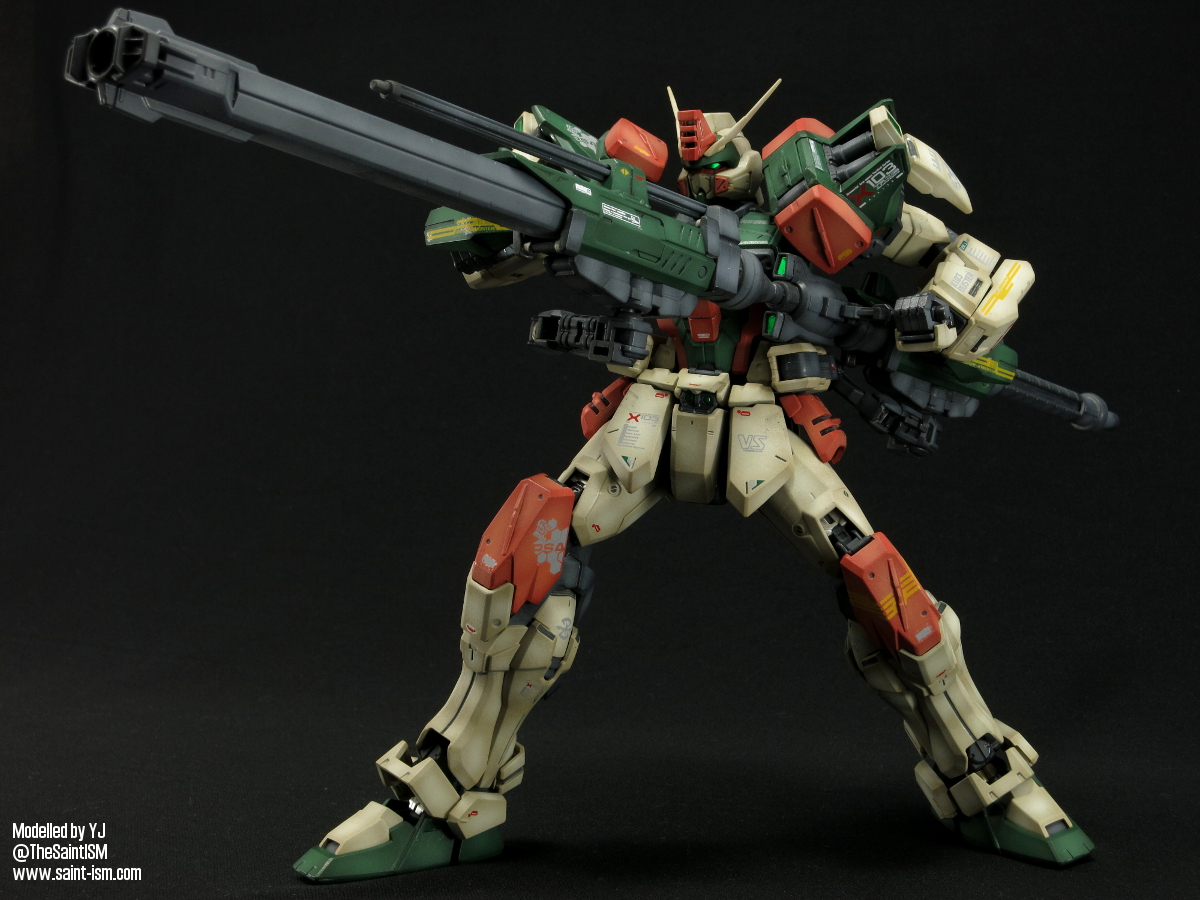
The Buster has the great SEED X-Frame, which gives it quite a bit of flexibility, though the arm movement is slightly hindered due to those massive shoulders. That doesn’t really matter though, because they don’t really stop it from holding or posing with those giant logs for weapons, in fact, all of the weight is supported by the special arm system mounted on the hips. There are about five points of movement on these arms, so you can get both guns in pretty much any position you want with a bit of bending around.
I did find when combining the weapons, getting the pegs to actually go into the handles a bit tricky due to the angles, but generally if you can get the handle into the hand there’s no real need to actually clip it on.
Summary
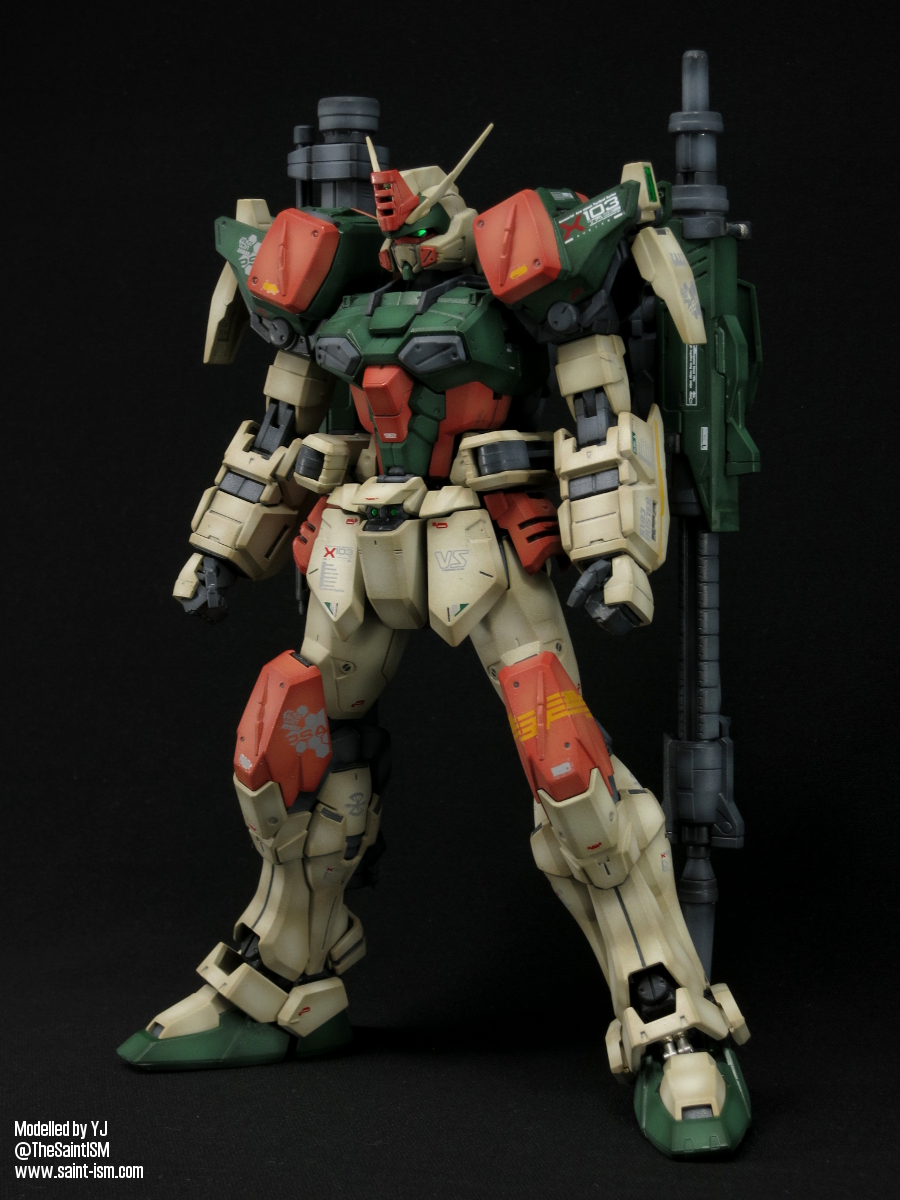
+ Stunning proportions
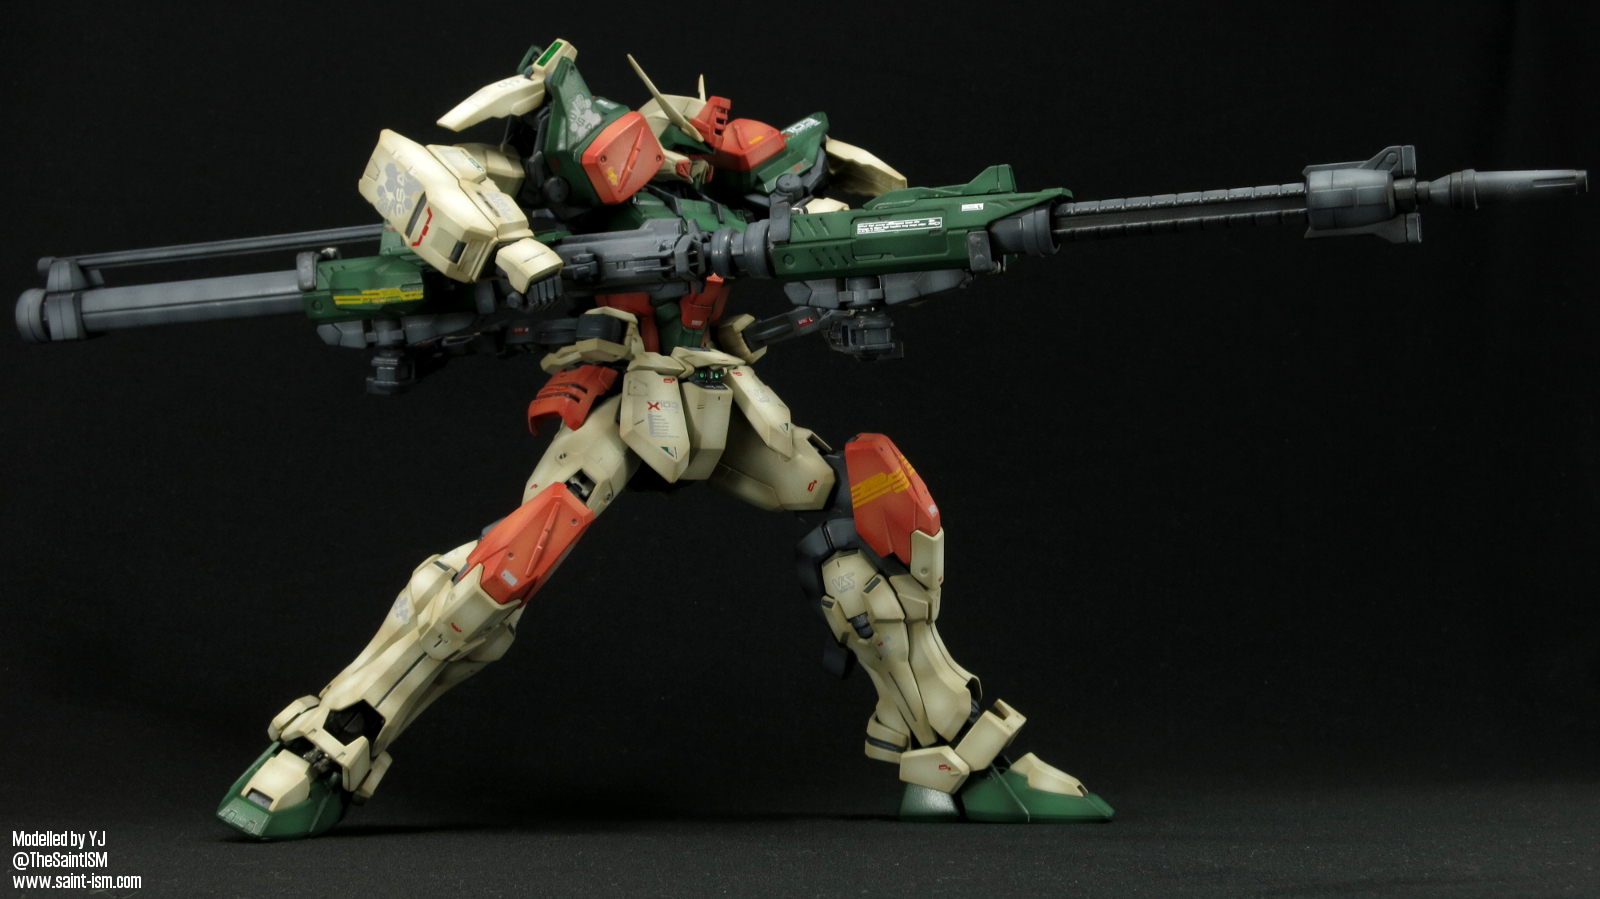
+ The guns look amazing in any combination
– Lots of small moving parts which can break under too much pressure
– Sliding barrels on the guns can cause some scratching
Buster Gundam


Action Pose


Hyper Impulse Long-Range Sniper Rifle


Anti-armour Shotgun


