Time for an update on my MG Strike Gundam!
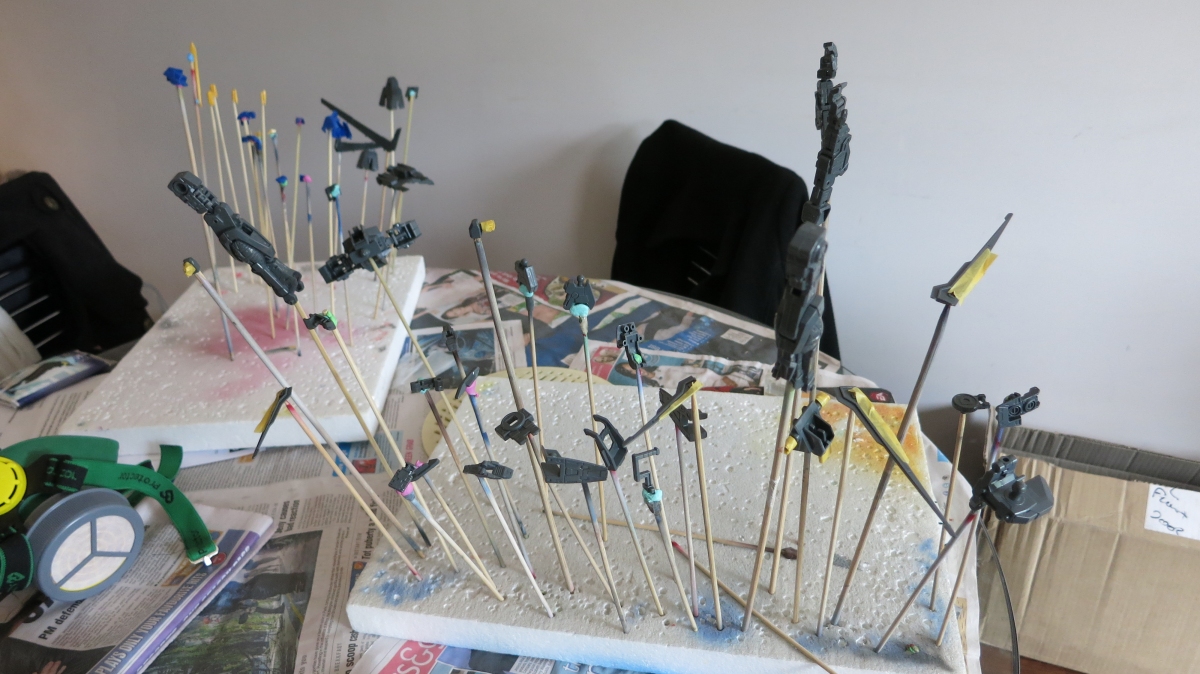
All parts sanded and ready for painting.
I’ve managed to get the grey internals painted. I used a combination of Neutral Gray (30%) + Black (70%) , followed by Neutral Gray (60%) + Black (40%). The result is a bit too dark, but I’ll live with it. The reason for this is because paint always seems a bit darker when actually applied to the model. Also I didn’t thin the paint properly so the finish isn’t nice and smooth.
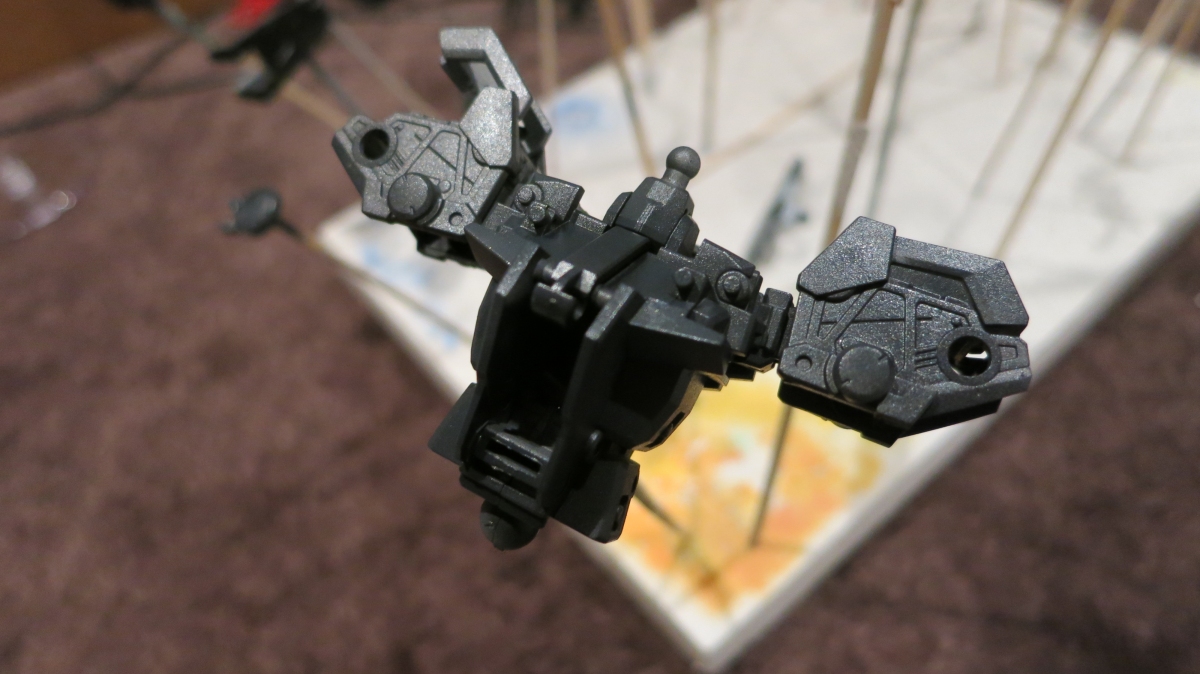
Here’s the ankle piece, with some details on the pistons painted with Gold Leaf and Silver Gundam Markers. I can see why some people enjoy using these markers so much, they’re pretty easy to use, and you can clean them up using enamel thinner.
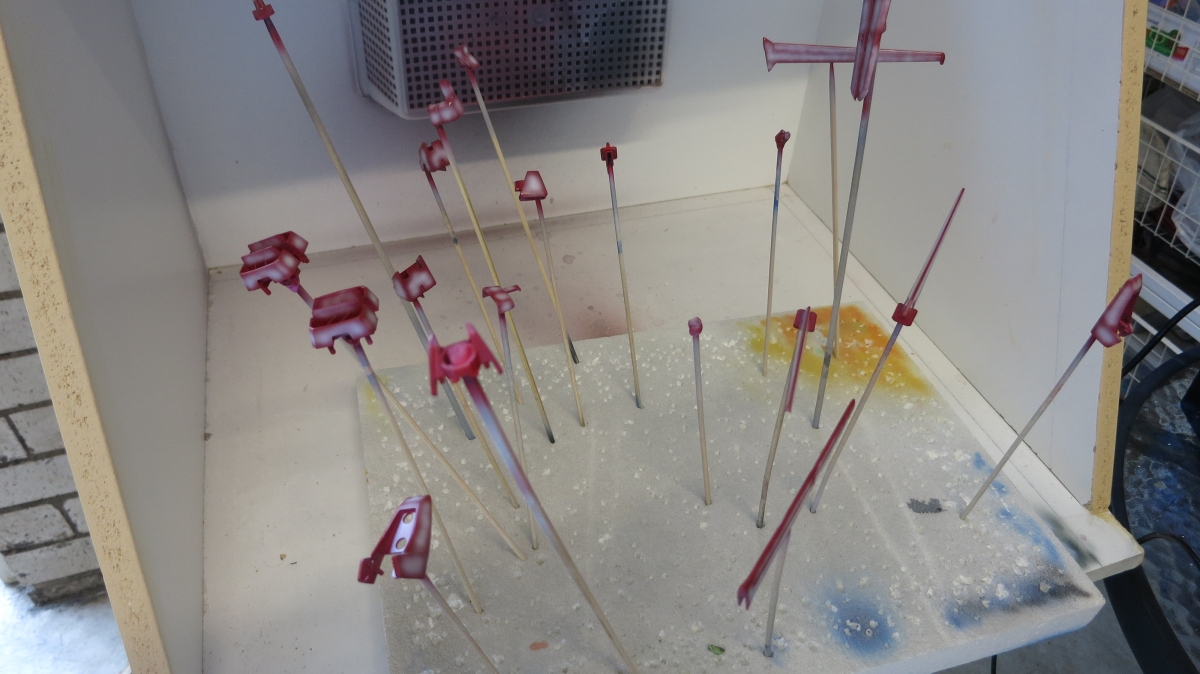
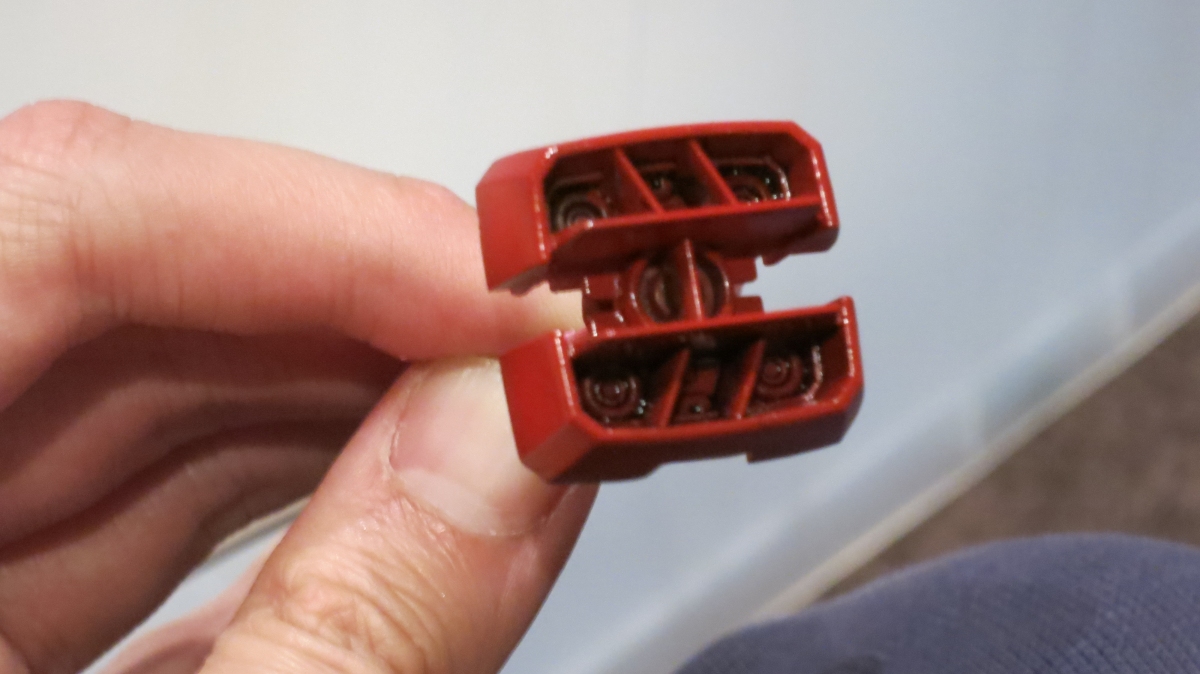
Red parts. Originally I sprayed Russet as a base coat and intended to shade Red Madder on top, but as well all know, red does not cover red too well and the result wasn’t as vibrant as I wanted. So in this picture, I decided to try out the “Starter White” technique as described by Max Watanabe (you can read it here).
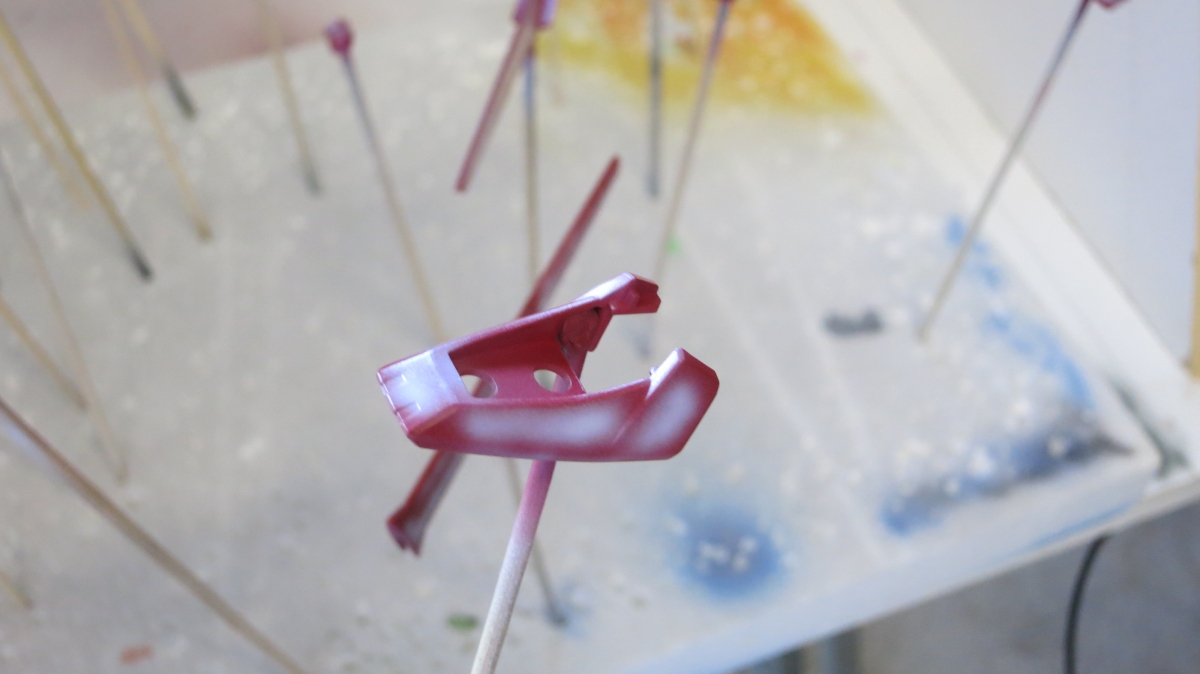
Basically you preshade the entire piece a darker shade of the desired colour, then apply another preshade coat of white. Finally you spray your desired colour on top and the white base coat will make the shading look much more vibrant than the edges.
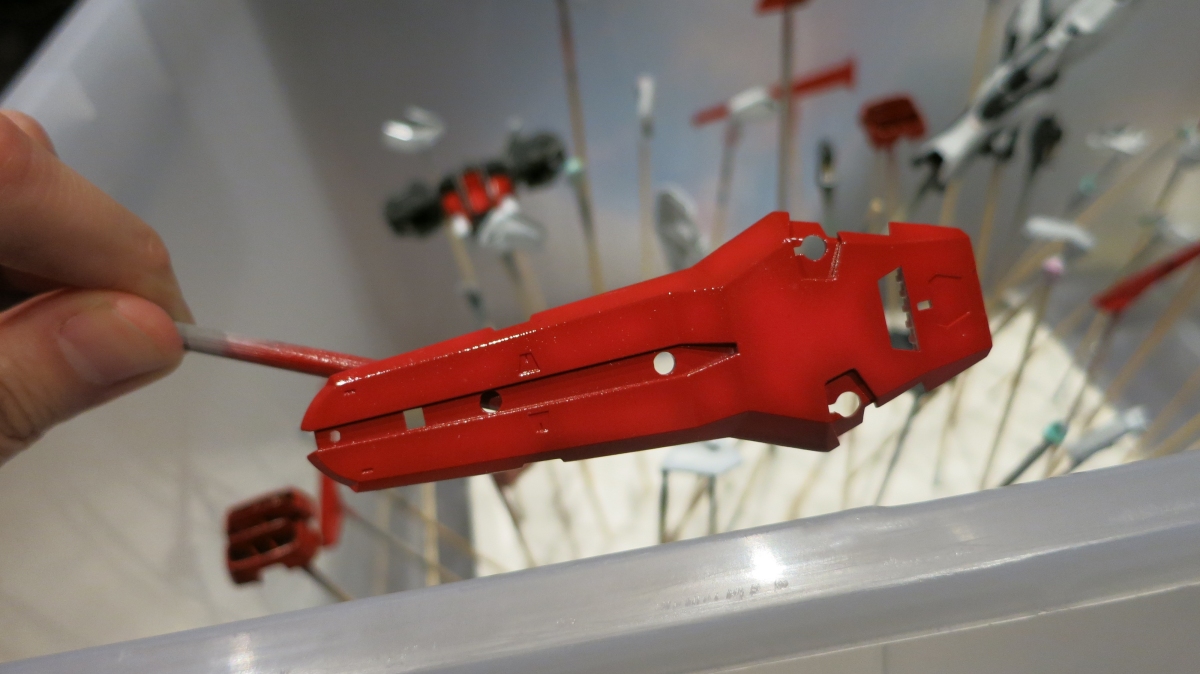
This is the end result of the Starter White technique, after the parts above were sprayed with a coat of Red Madder. The effect is a bit too subtle because my base coat wasn’t dark enough, next time I will use Red Madder + Black as a base coat and I’ll definitely get it right on my next kit.
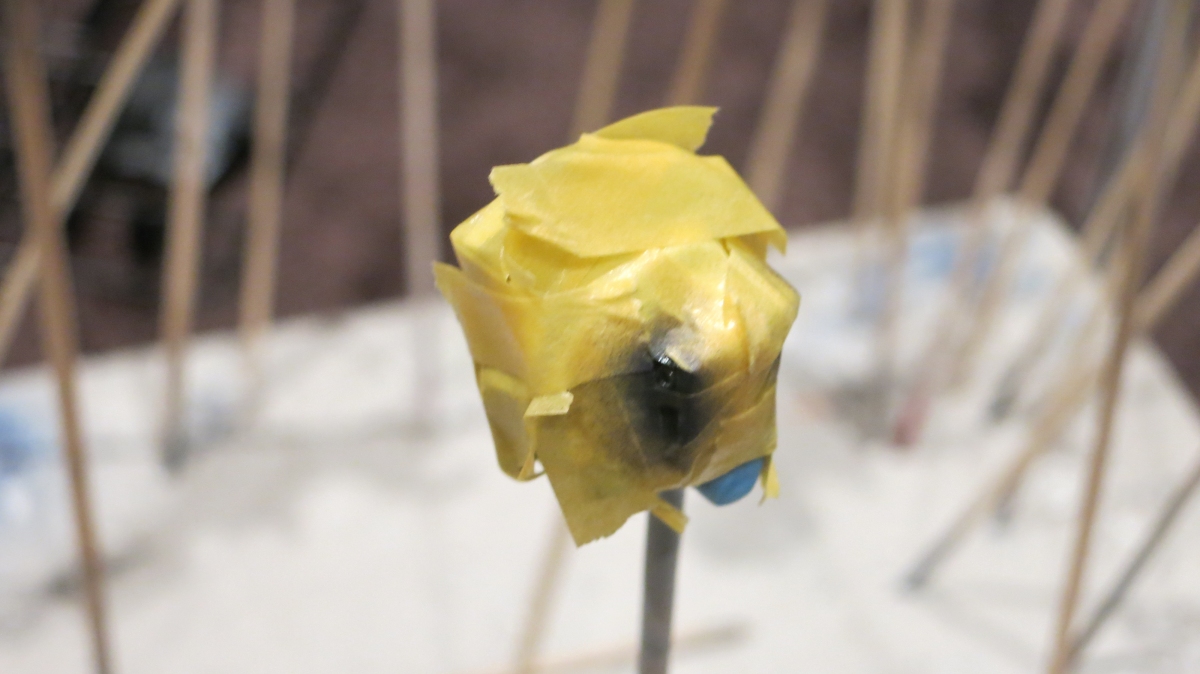
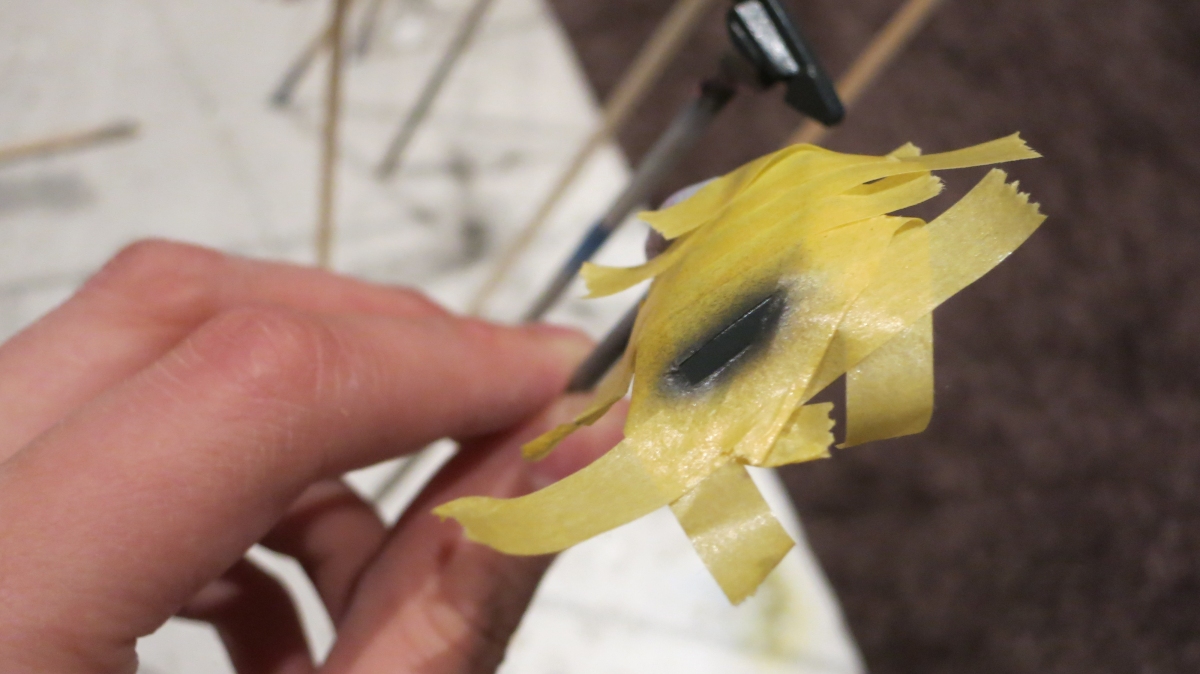
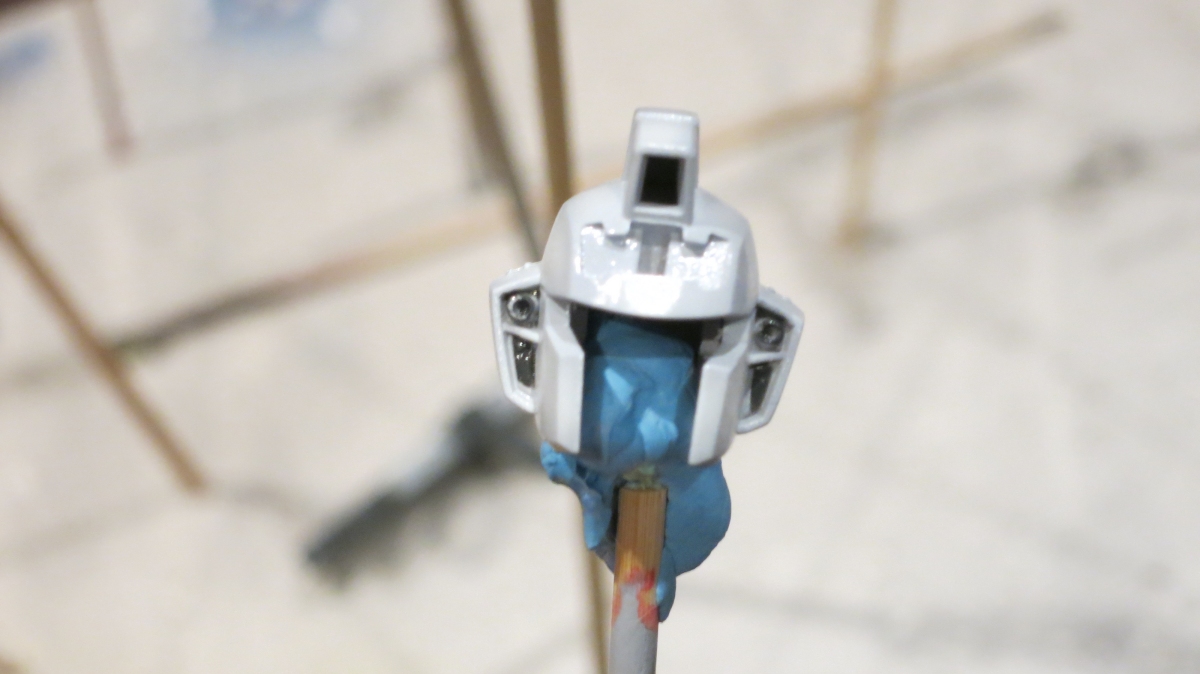
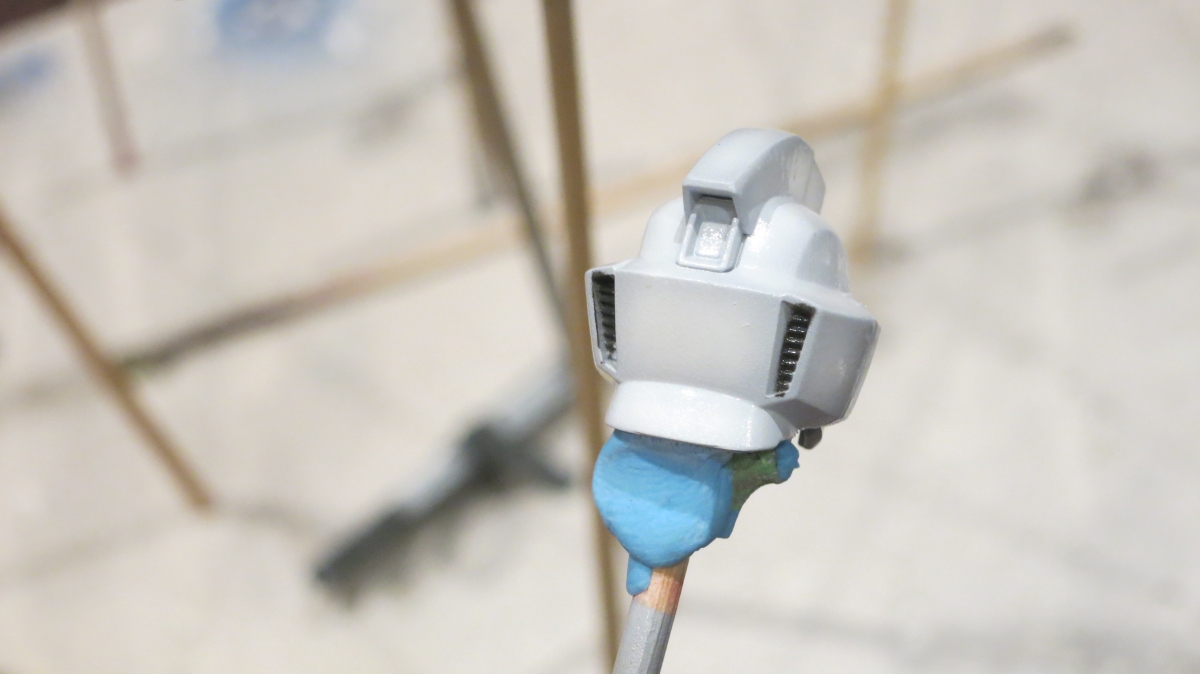
As I mentioned last time, this kit has quite a few details that aren’t molded in the correct colours. Here is the mummified Strike Gundam head in an attempt to paint the head vulcans.
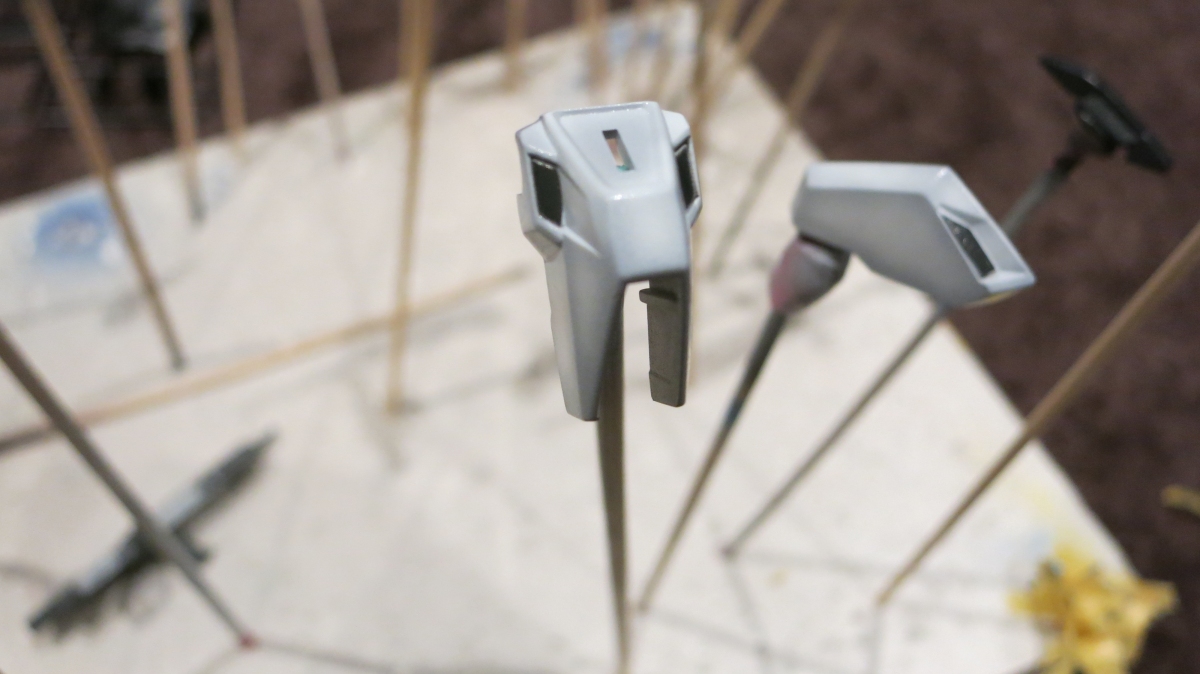
And side skirts.
The results are…okay I guess. I’m not too good at masking so there are some parts that need touching up.

Front skirts are a bit off as well. I think an enamel wash should be able to fix this. If not…honestly I’ll have to live with it as I’m scared another masking session might rip off my paint job.
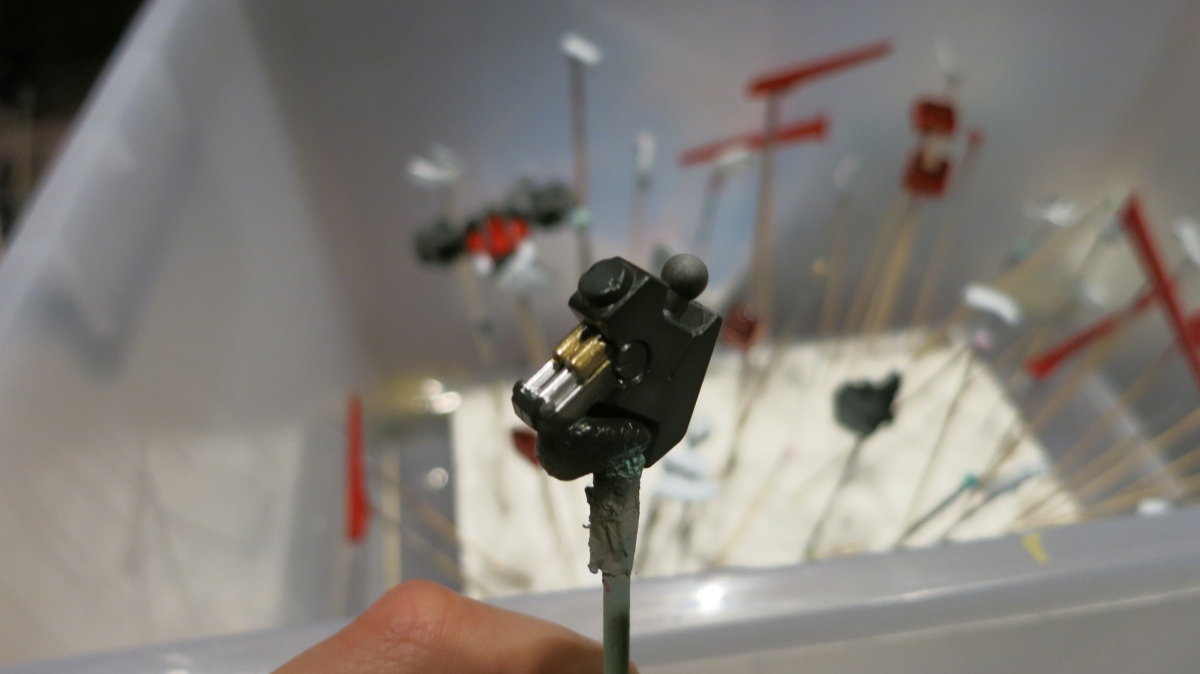
More incorrect colour molds, and this one is a major pain in the ass to deal with – the damn vents on the Aile Strike pack! Unlike the RM version, these are molded in one piece masking it to paint would be total hell. The only easy way I figured of painting the inside is via enamel wash, then wiping off the excess, I used my Tamiya Panel Line Accent Colour for this. Even though it’s not totally black inside, I’ll settle for this. I suppose with enough washes you could get the colour much blacker.
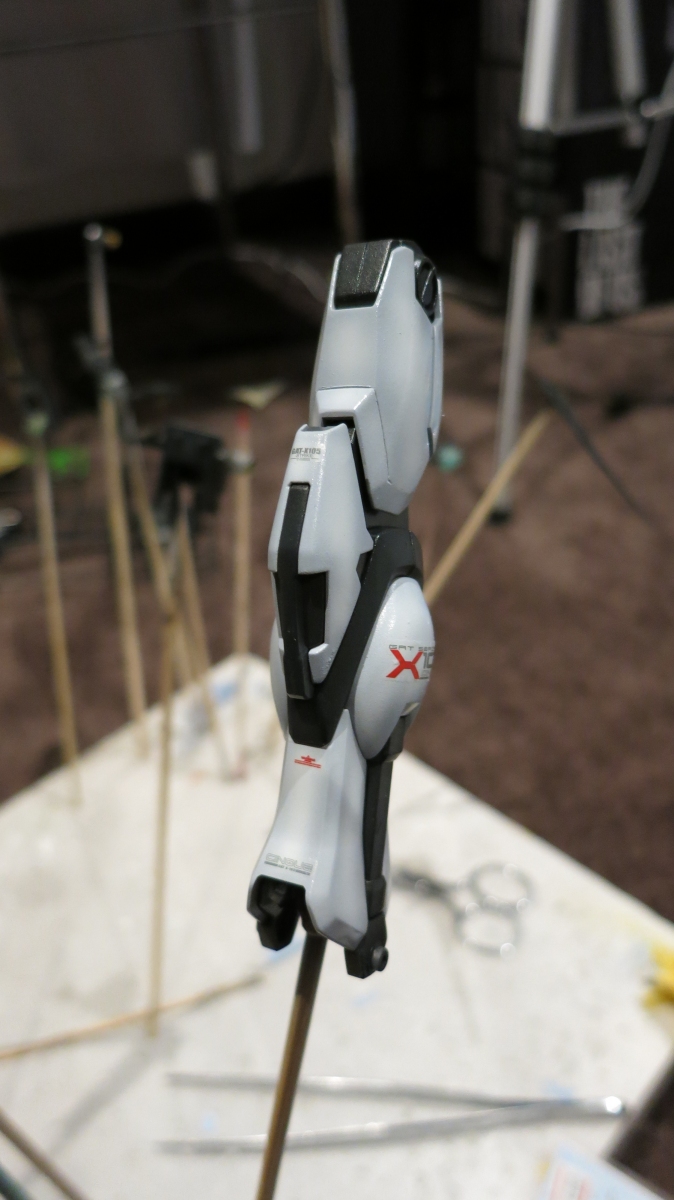
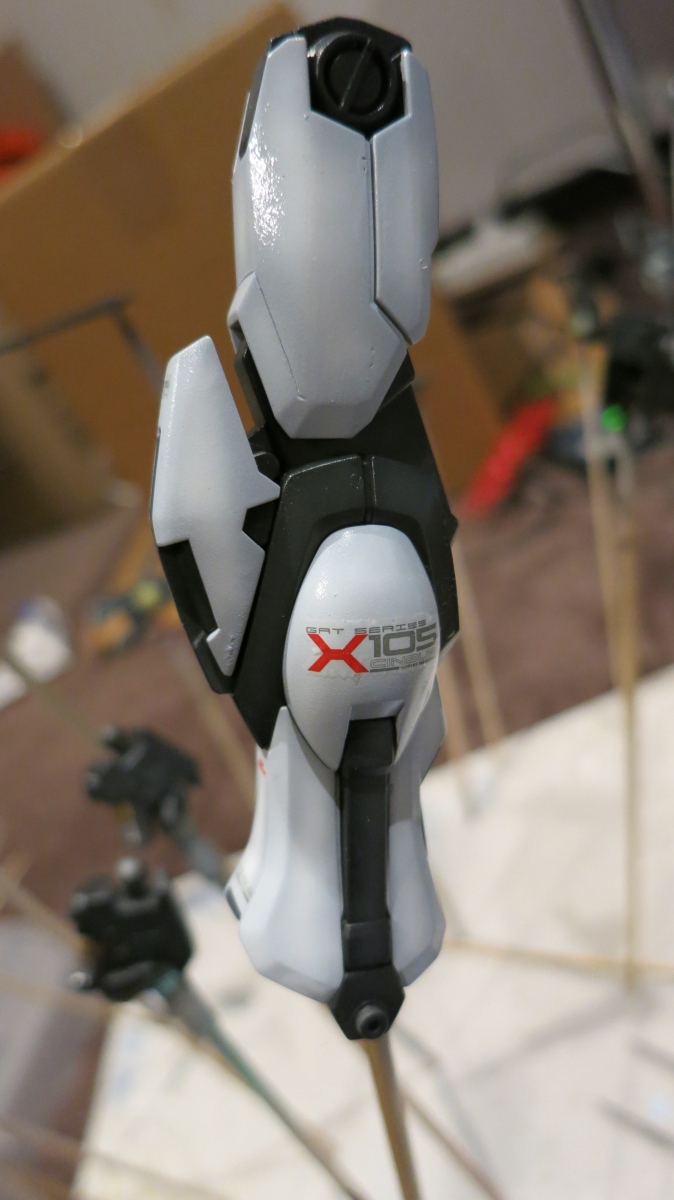
Finally, I’ve started some sub assemblies and applying decals. I’m using the official water slide decals for the kit.
That’s all for now, I’m aiming to paint the remaining parts (blue, black and yellow) in the next day or so, and will hopefully have this kit finished by the end of the week.