This summer I plan to make my triumphant return to building Gunpla, but before that happens, it’s time to build a new spraybooth to suit my new home.
At the beginning, I wanted to purchase something pre-made, but living in Australia, it’s pretty much impossible to get anything reasonably priced shipped here. At one point I considered this but I couldn’t find any reviews online, plus I had concerns that it would not be able to move enough air, especially if I’d be paying around $400 AUD for it.
In the end I decided to build my own booth. But it turns out there’s more to it than just slapping a few bits of wood together with a fan at the back.
Design
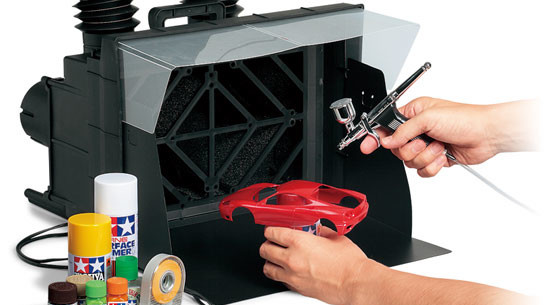
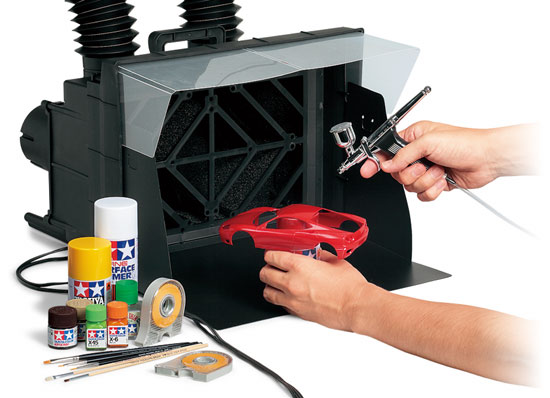
Here’s a rough draft of my booth design. I used this design from Modellersite for my booth, and there’s also quite a fair bit of other information on what should be considered when building a booth, like airflow and ducting. I’ll go into that a bit later.
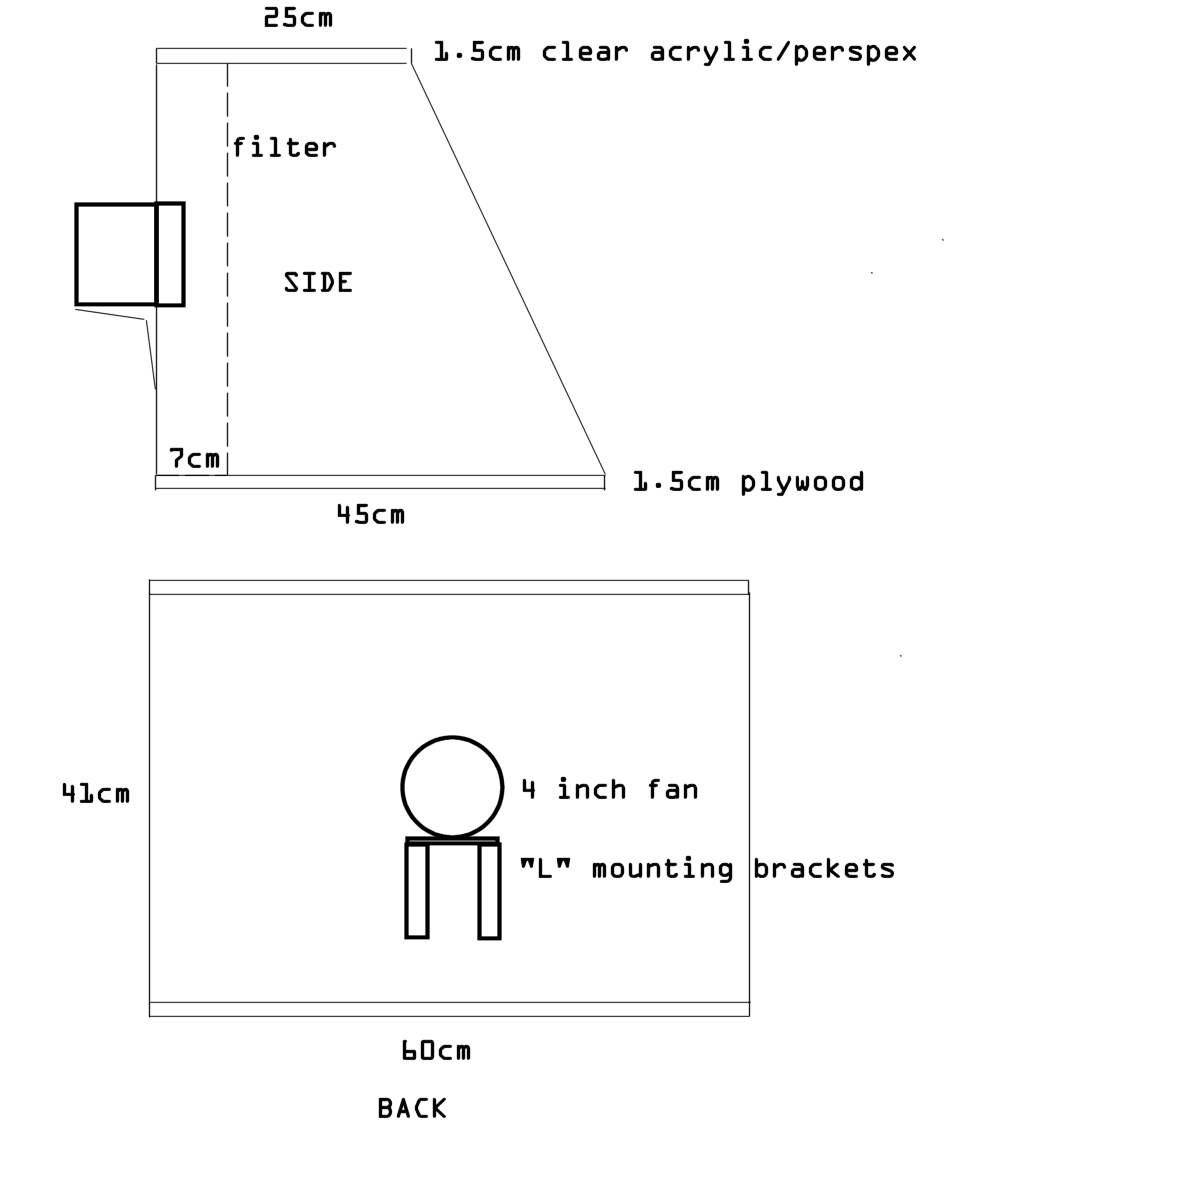
The top is clear plastic for better lighting. There will also be plenum and an air filter (probably will use some kind of aircon filter) to help capture some overspray and stop the paint going into the fan, but I haven’t figured out how to lock the filter in place yet.
I glossed over a few options like using a plastic storage container, but I settled for using plywood after worrying about various factors like weight, and also I like being in control of the dimensions of my booth. Other things I thought about was cross-draft vs down-draft, I went for cross-draft because I don’t have the engineering skills to actually build a down-draft booth, even though it is theoretically better for painting in.
Apparently the American industry standard for cross-draft spray booths is having a air velocity of 100 FPM (feet per minute). In order to calculate the required airflow for my booth, we need to multiply the surface area of where the fan is located by the desired FPM (100). In my case:
1.87′(57cm) x 1.26′ (38.5cm) x 100 = 235 cubic feet per minute
So I need a fan capable of moving 235 CFM in order to achieve the industry standard.
The fan
Most paints that we use for painting kits have some kind of solvent in them, be it alcohol, enamel, or laquer, which all tend to be flammable. Basically, you don’t want to be spraying flammable stuff into a fan which can spark and potentially blow yourself up in a giant fireball. Although I’ve read countless stories about people using regular kitchen/bathroom exhaust fans / PC fans with no issues, but I’d rather err on the side of caution. If you’re planning to spray laquer into your booth then you should definitely get something explosion proof.
The problem is, that commercial ‘explosion proof’ fans are hella costly. I remember going to a specialist vendor about 7 years ago to get a quote for one of these fans and it was in the range of $500 AUD. Way to crush dreams. Recently though I’ve managed to discover a rather cheap alternative – marine bilge blowers. These babies are make to vent exhaust fumes out of engine compartments in boats, and are therefore explosion proof, not only that but they can move more air than your average exhaust fan too, and they are pretty cheap. In the end I managed to pick up this 4′ blower, it only cost $50 AUD and with 235 CFM, conveniently fits the airflow requirements of my booth:
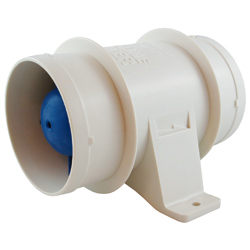
The only trouble with using these bilge motors is that I’ve heard they can be pretty loud (like hairdryer loud), and they run off DC power, meaning you’ll need a transformer of sorts in order to power it.
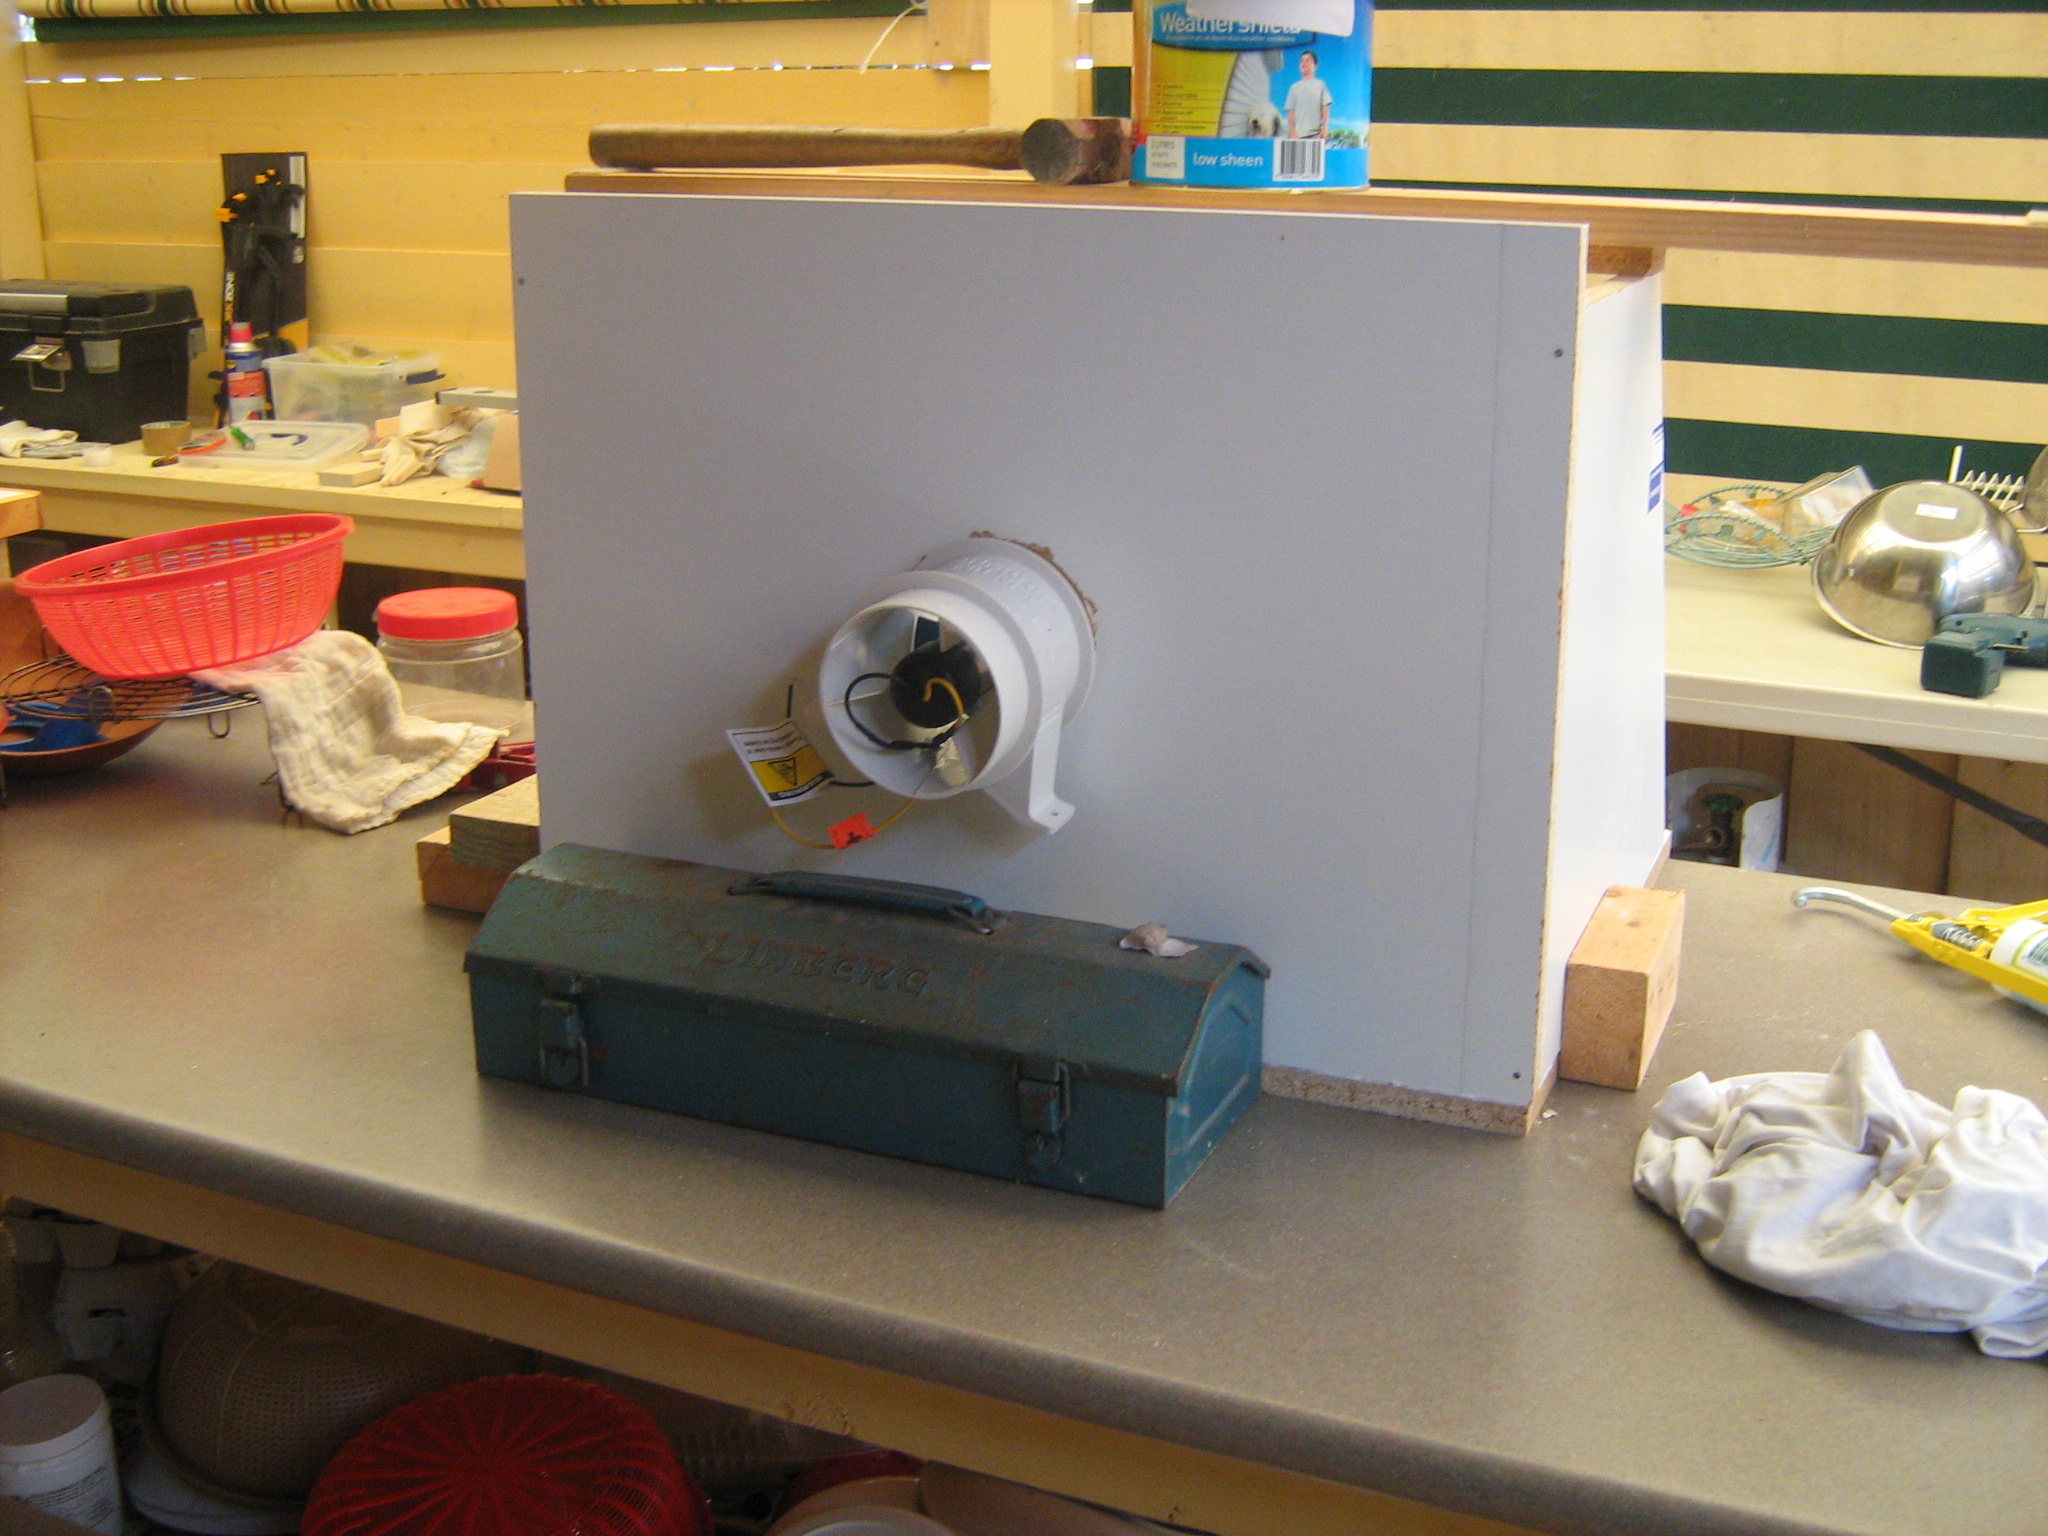
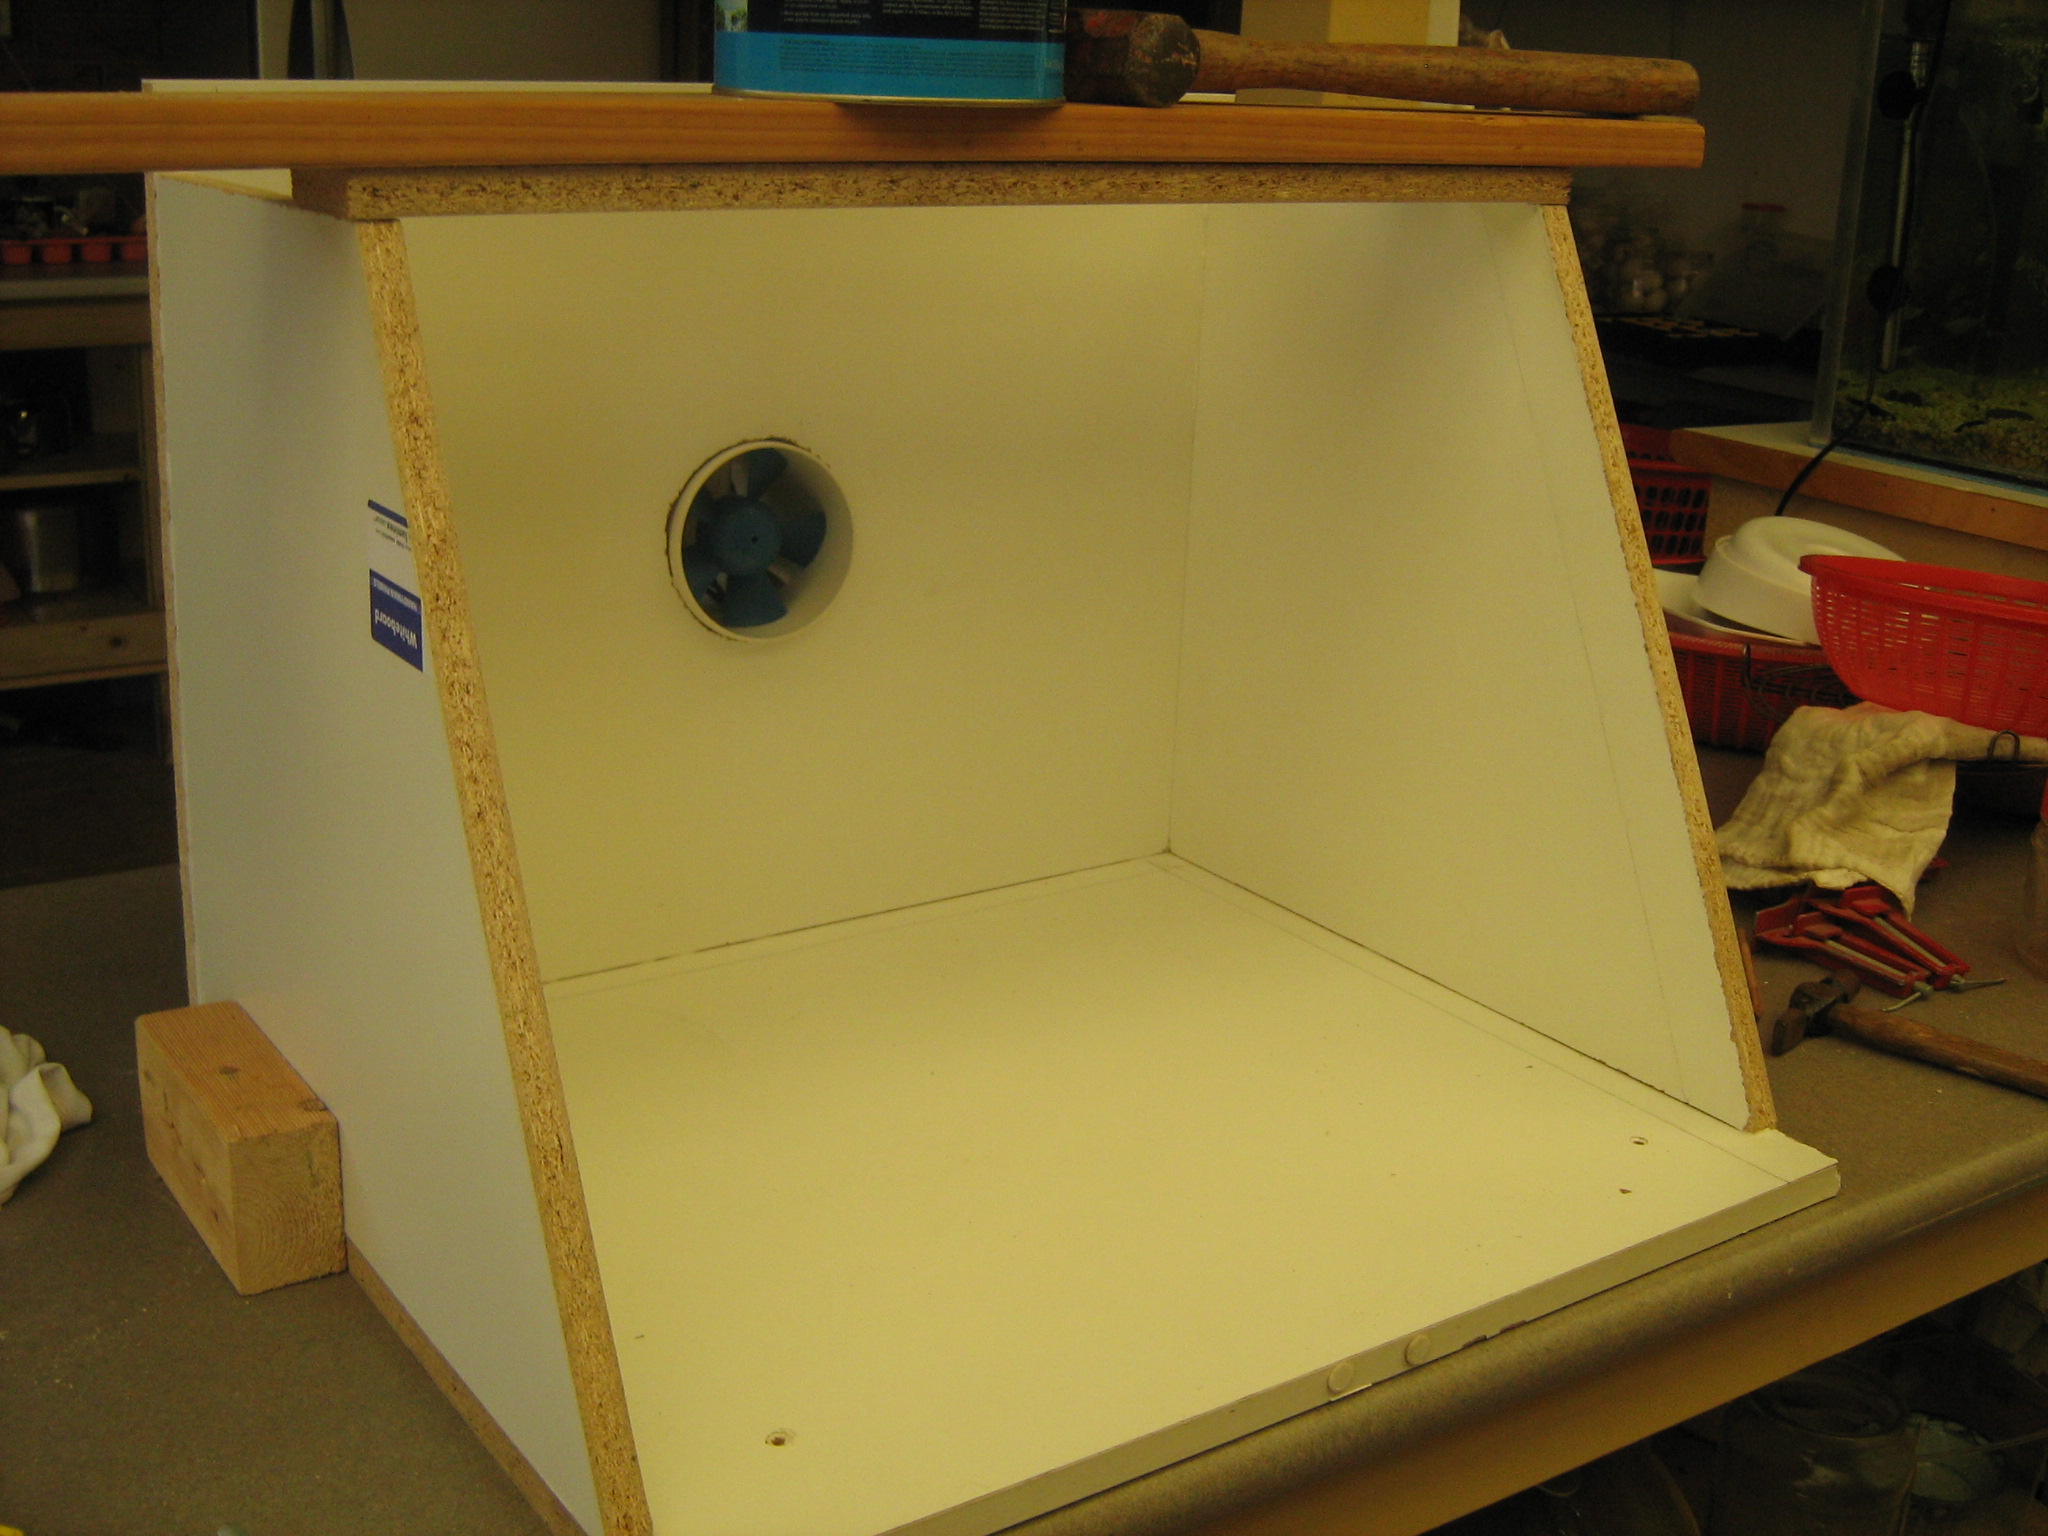
WIP
Here are a couple of WIP shots of my booth. Box construction is done, but I still need to mount the fan, create some kind of filter frame as well as put the clear lid on top.
How did this spraybooth went out in the end? would be interested to find out more about the fan.
How did the spraybooth went after 2 years? Would love to find out how you setted up the fan to work in normal home!