For the complete FA-78-4 Gundam gallery, please click here!
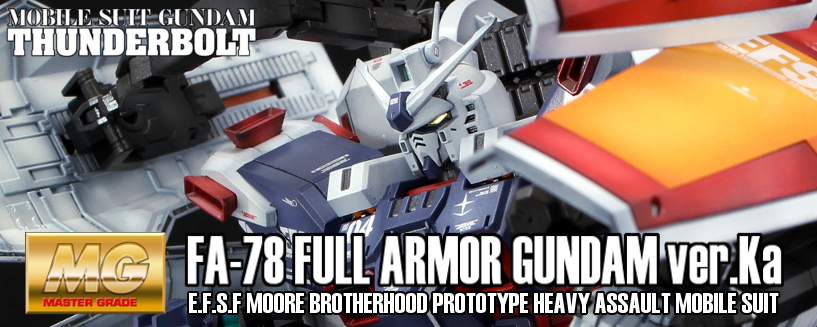
For the complete Full Armor Gundam gallery, please click here!
Foreword
This is it. The last major kit I may have a chance to build for a while. I’ve teased on Twitter for a while that this is my “retirement kit”, and that is because my wife and I are expecting our first child soon and I may not have much time to dedicate to Gunpla (particularly painting) for quite some time, but we shall see!
That being said though, it’s not the first time I’ve taken an extended hiatus from building. Six years ago I had to stop building when I moved out into a tiny apartment where there was no place for my painting booth. It wasn’t until 2013 I had access to working space again and in the time since then I think I’ve finally managed to achieve my goal of being able to produce a model that looks almost just as good as the promotional images in the manuals. I look forward to raising the bar again when again when I return!
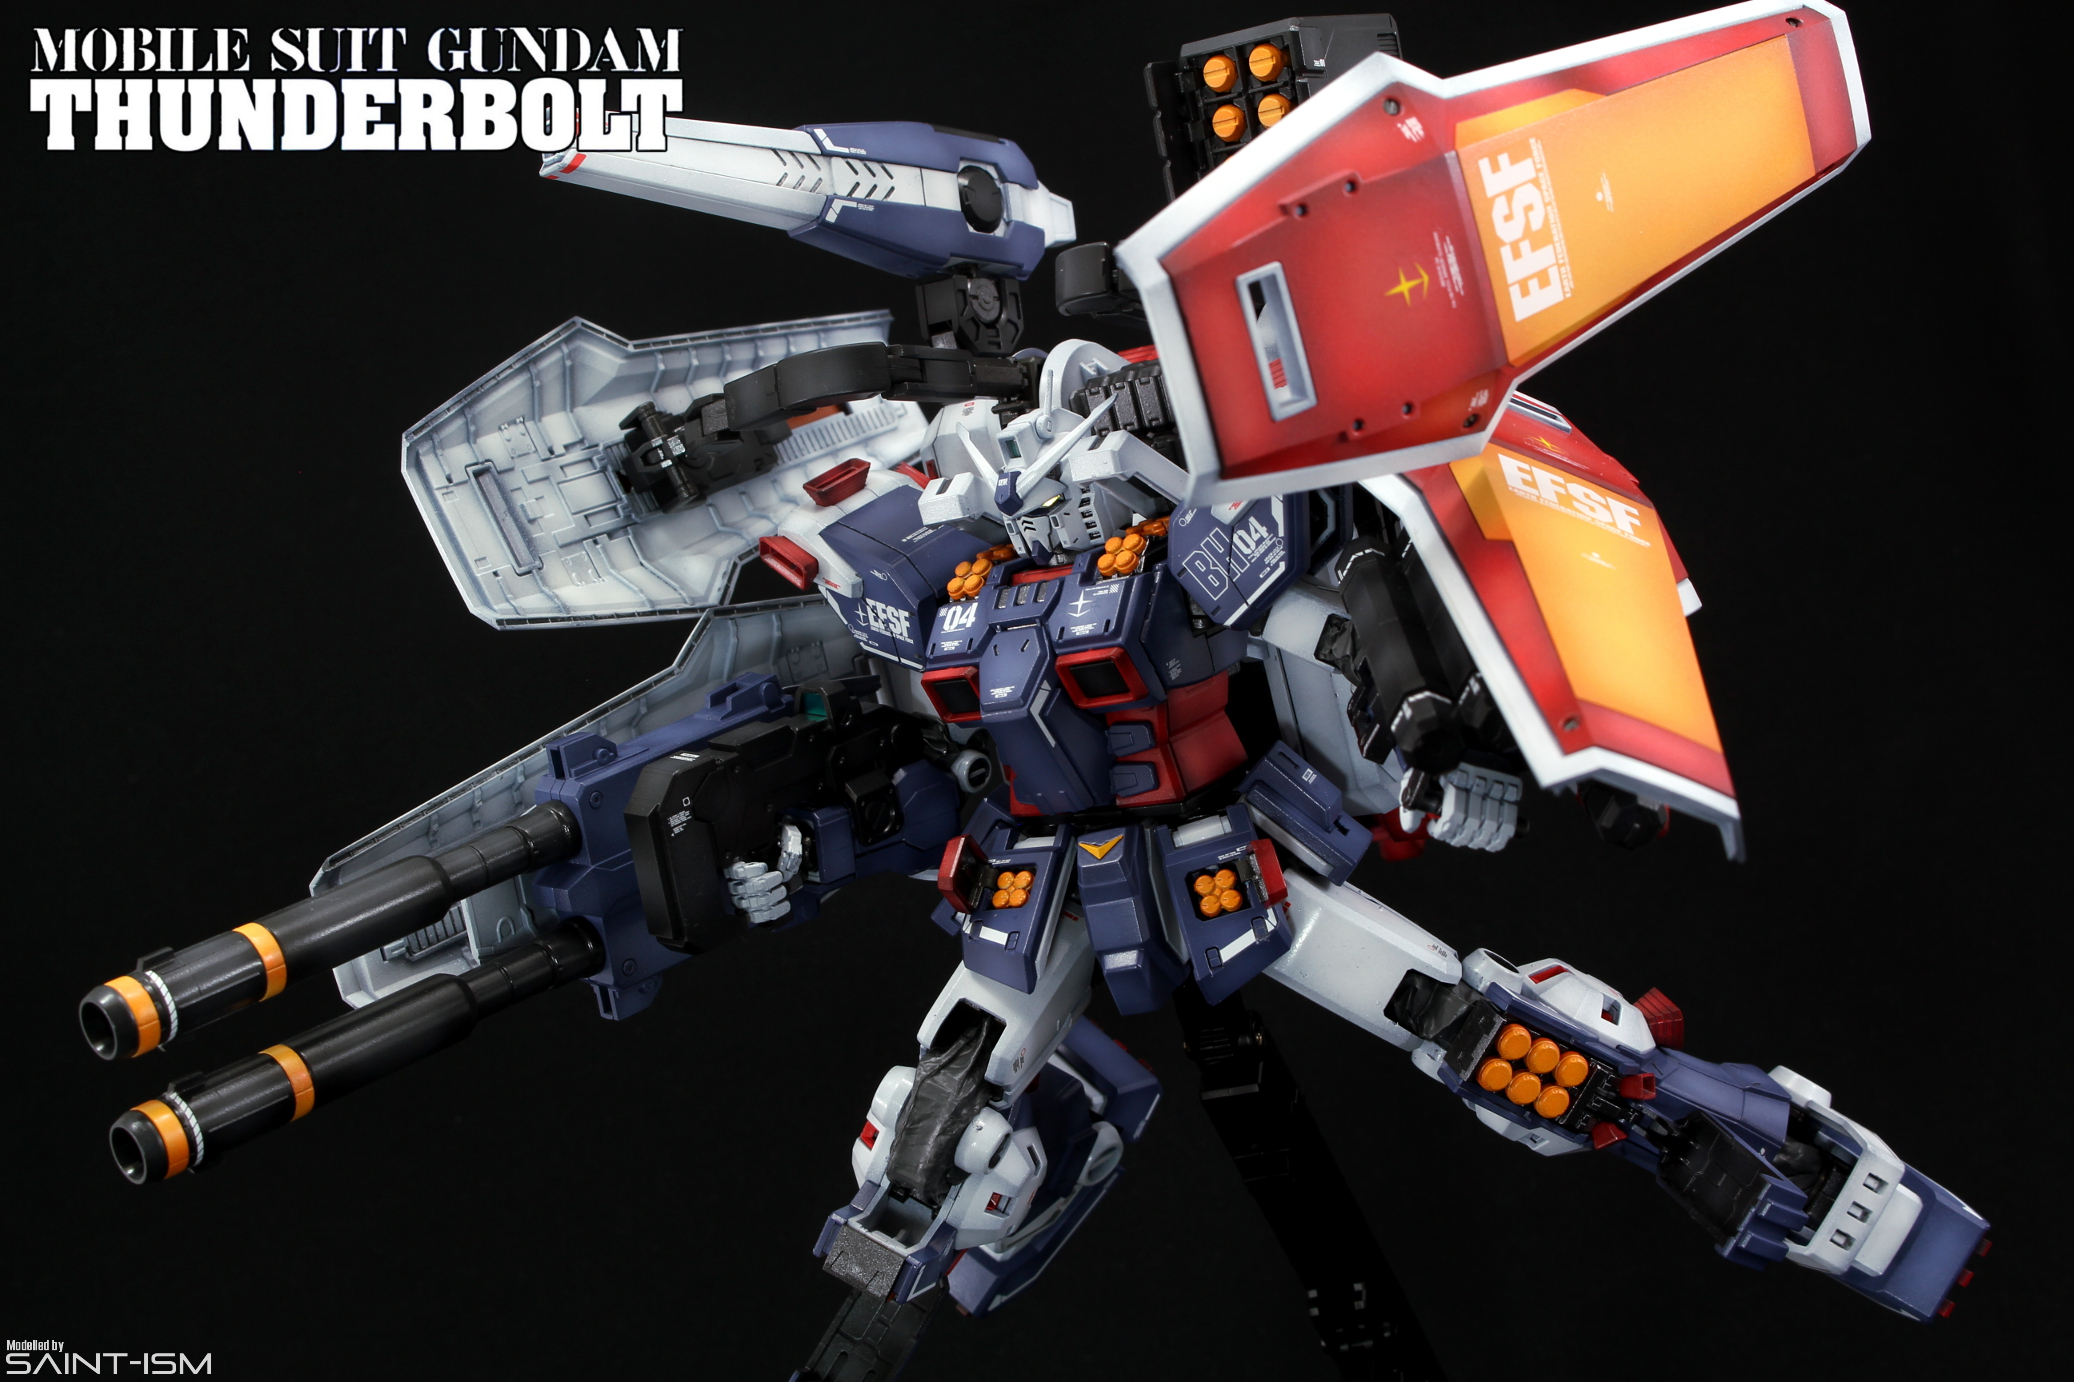
Anyway onto the build itself. This is probably the biggest kit I’ve worked on to date and surprisingly I managed to get it done in around 60-ish hours over a month. In all my years of building Gunpla, this was probably the most intense and satisfying build I can remember. From the sheer amount of plastic you get in the box, putting on frame covers, and seeing my life flash before my eyes as I put the arms onto the kit…it will probably be quite a while before Bandai can top this.
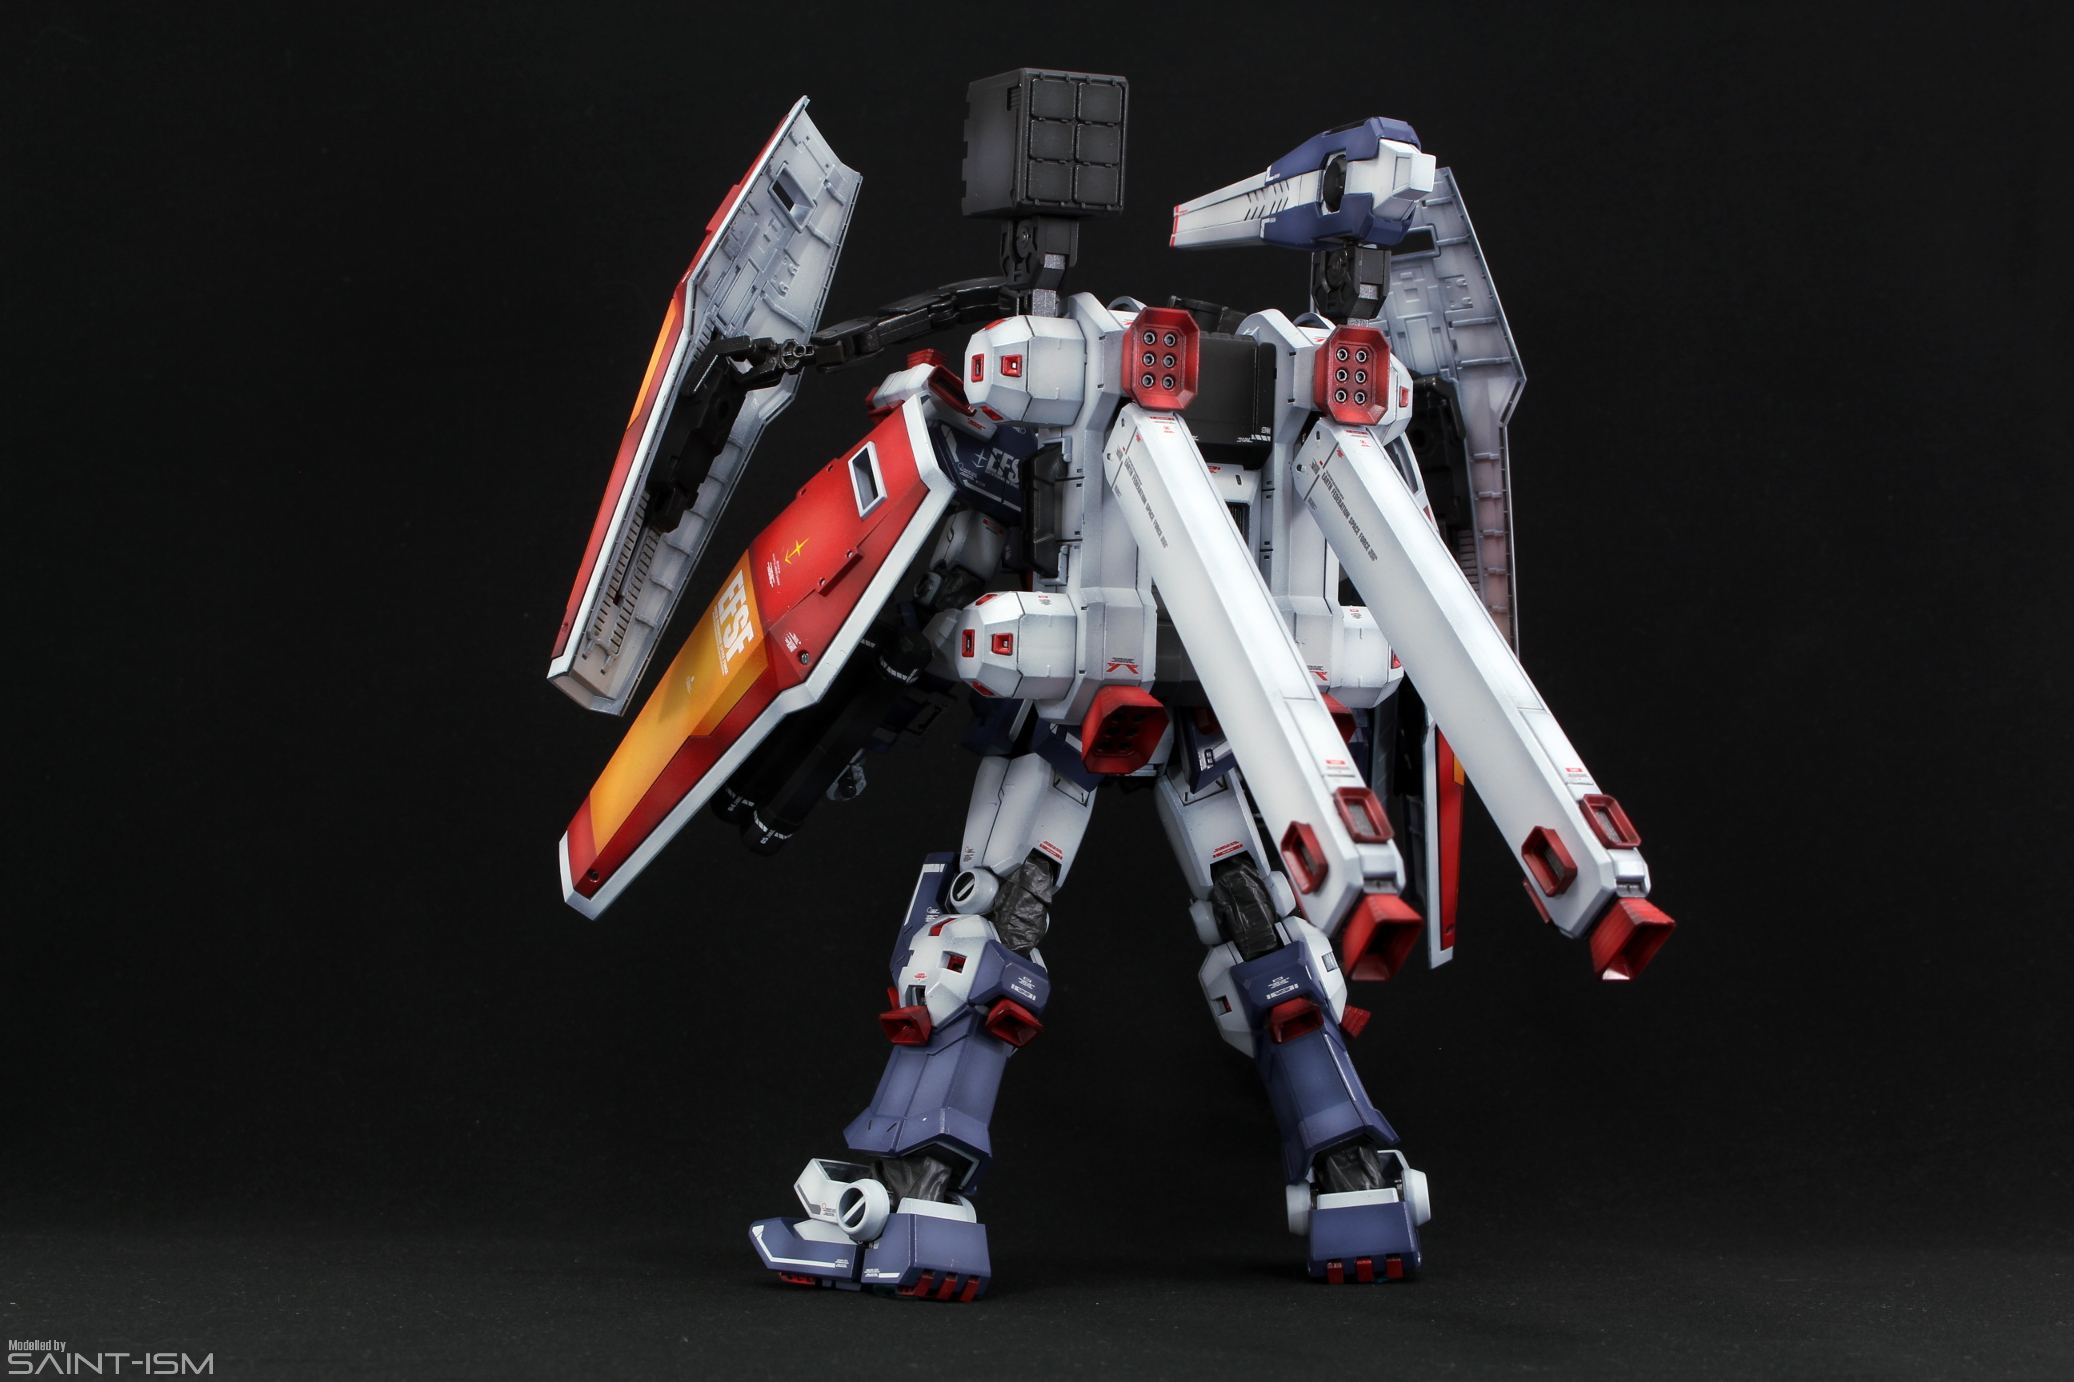
This kit was designed in mind to stay stable despite being back heavy and carrying quite a fair amount of plastic on it’s arms. Thanks to some nifty engineering the Gundam can also hold up it’s massive weapons with minimal issues. Ironically though, the same design which gives the kit this ability is also the same cause of many people breaking their Gundam during construction. The shoulders use some tabs on pegs which require the parts to be inserted fully in specific position then rotated to lock in it. These tabs generate the extra friction needed for the kit to hold up the weapons without the arms sagging. If you don’t push in the pegs all the way prior to rotating it, the peg will most likely snap off.
I was particularly stressed about installing these shoulders into the main torso after reading several posts on Reddit where people had snapped this peg on the kit. Even using the alternative, safer method described by Syd’s WIP from GaijinGunpla it was a pretty scary experience. Mercifully, it worked like a treat, so thanks Syd!
Other than that, the Gundam also has special pegs connecting the waist to the rest of the torso. While this means the Gundam can’t do any ab crunches back or forwards, it’s also guarantees that the kit won’t sag backwards even with that beast of a backpack equipped.

For the complete FA-78-4 Gallery, please click here!
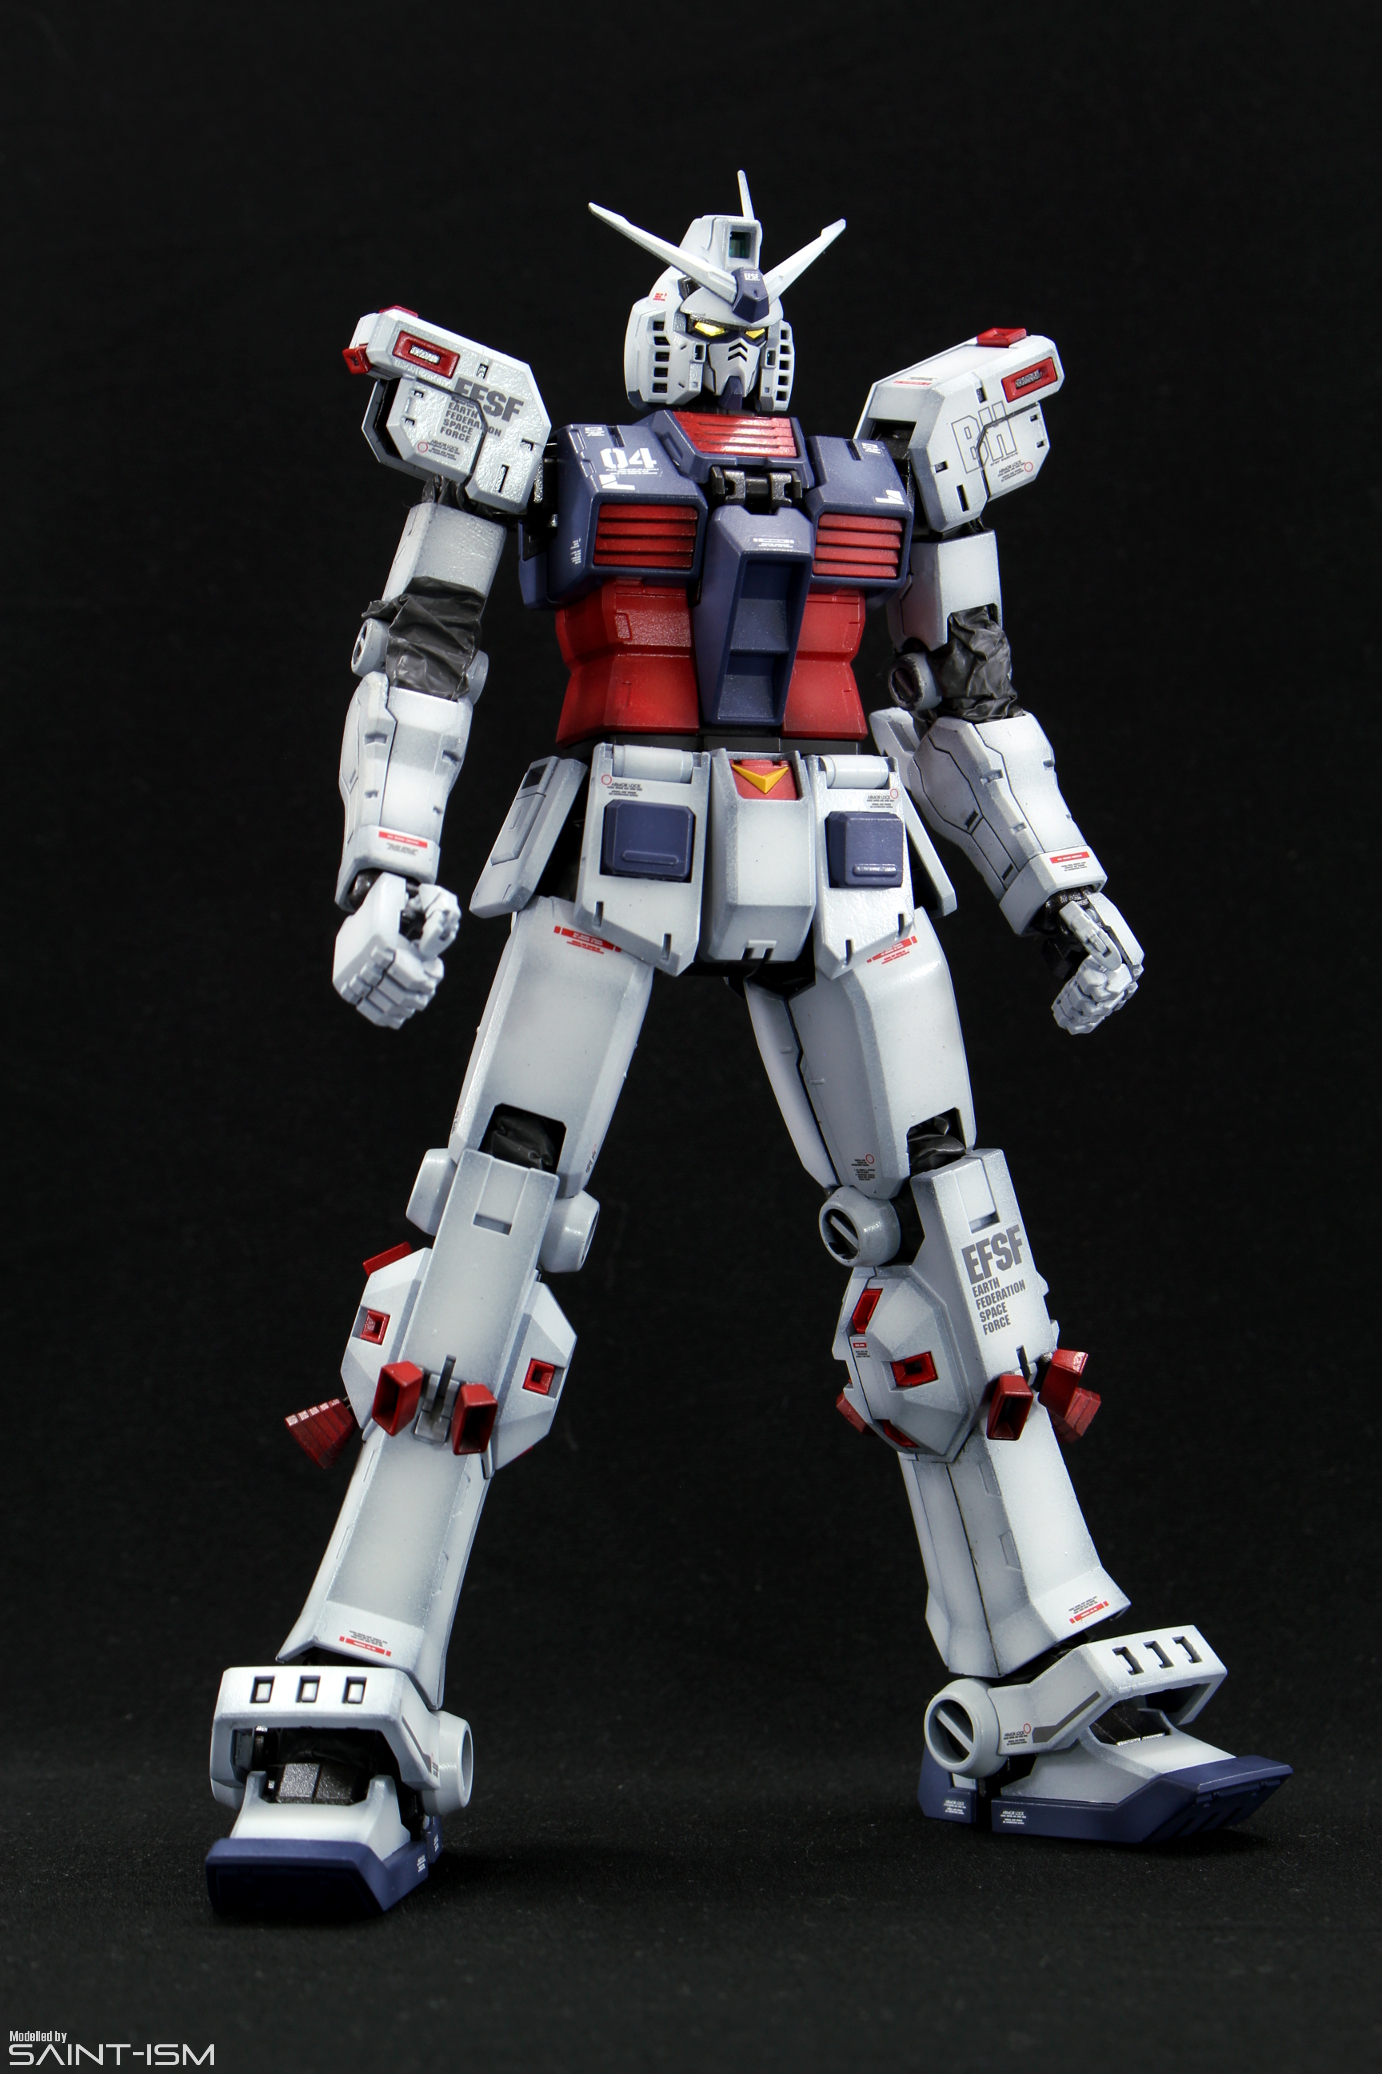
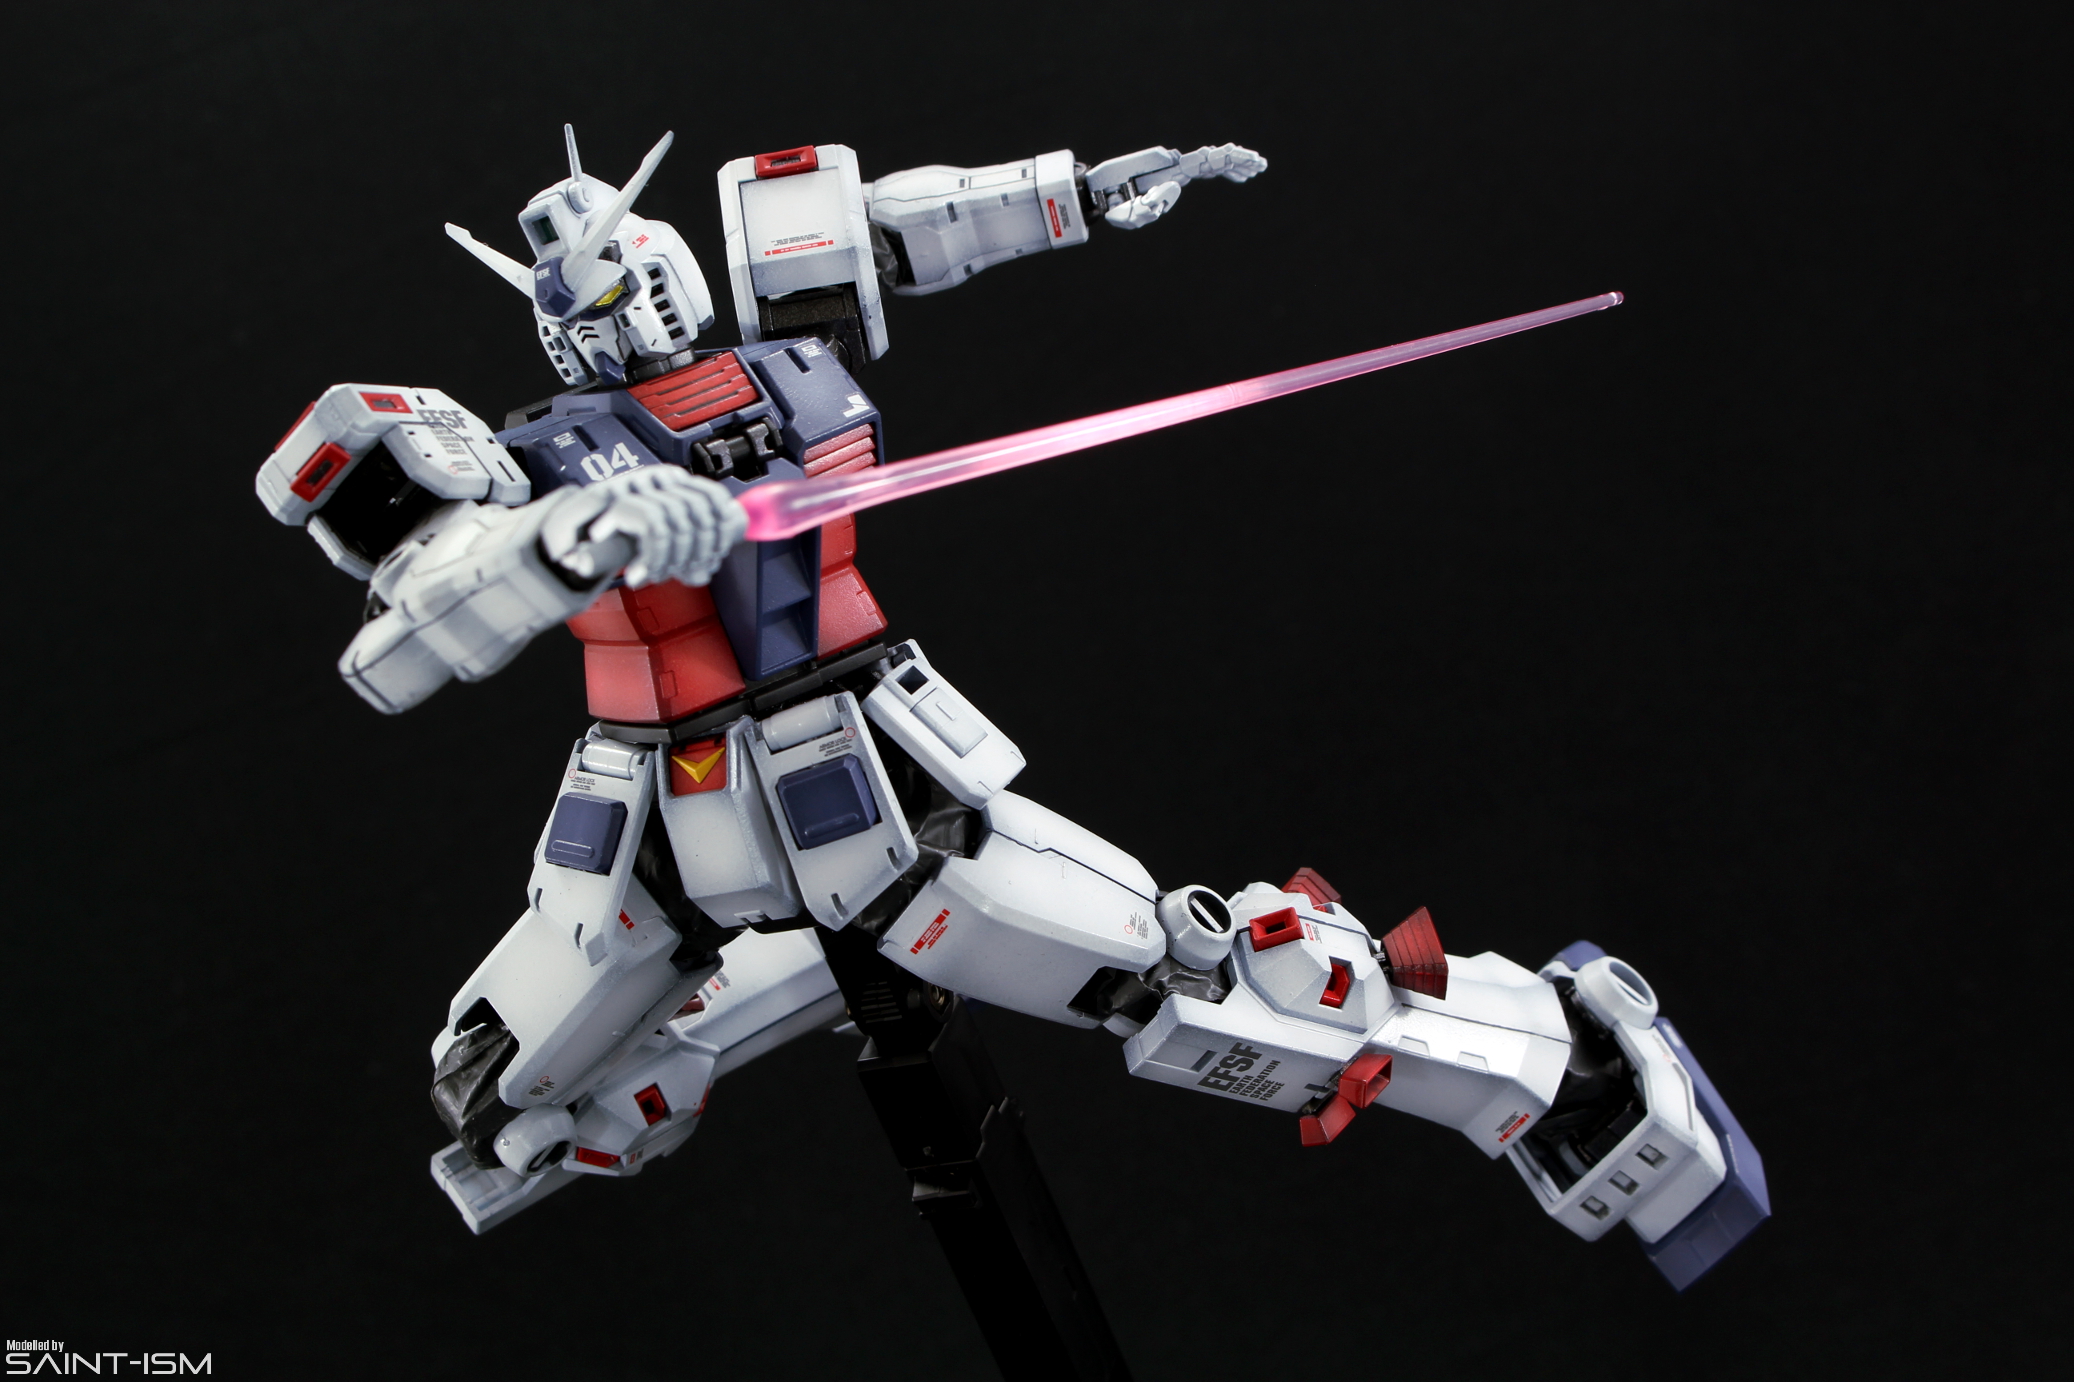
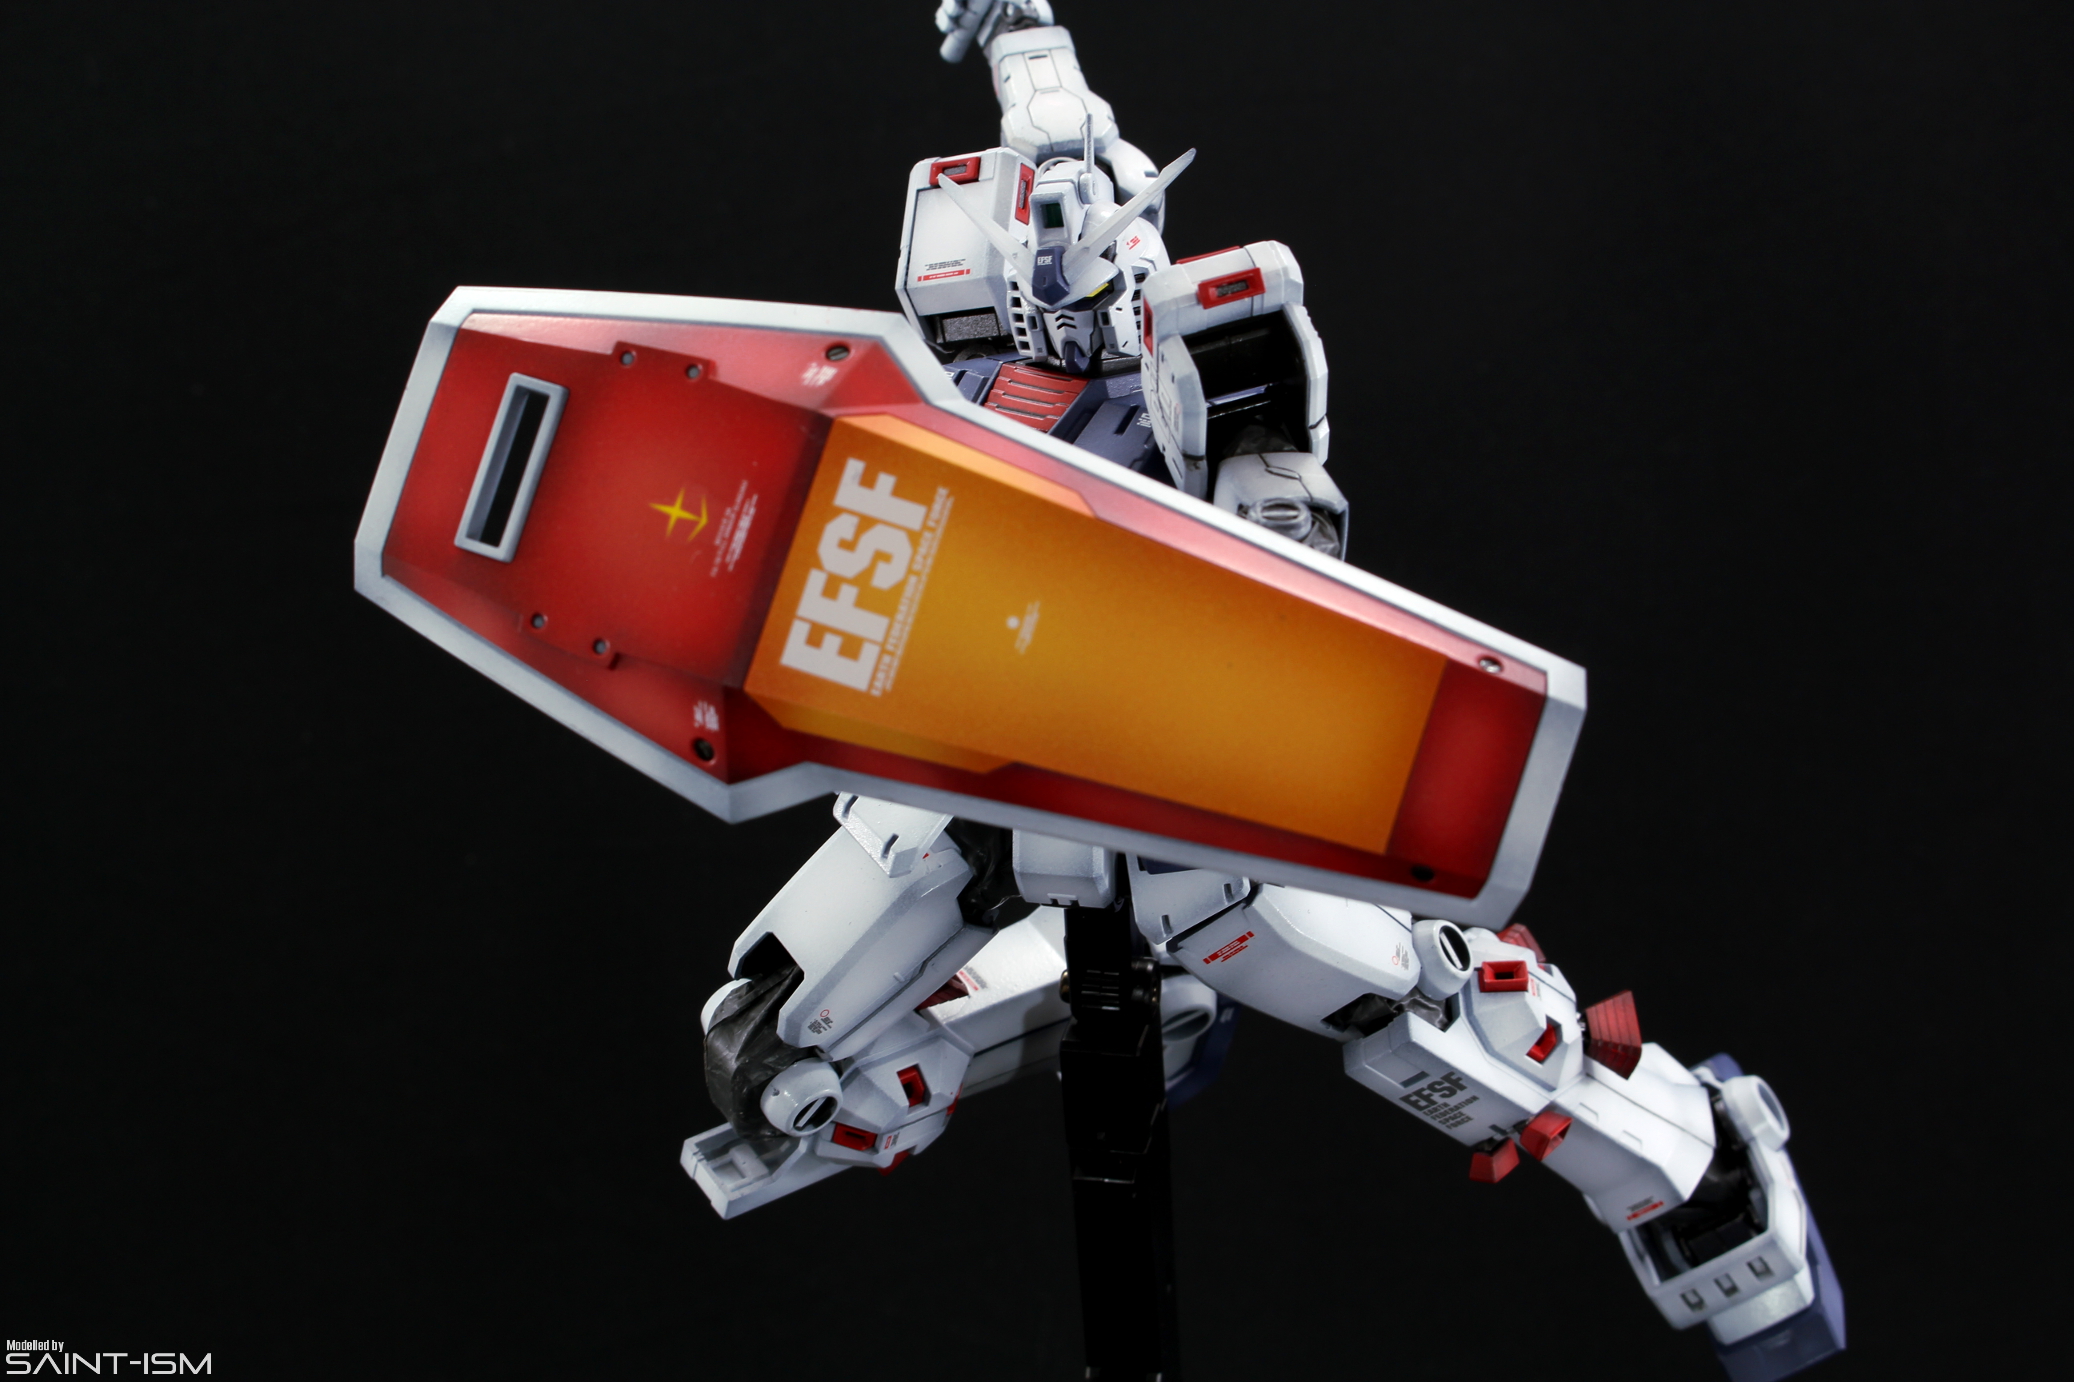
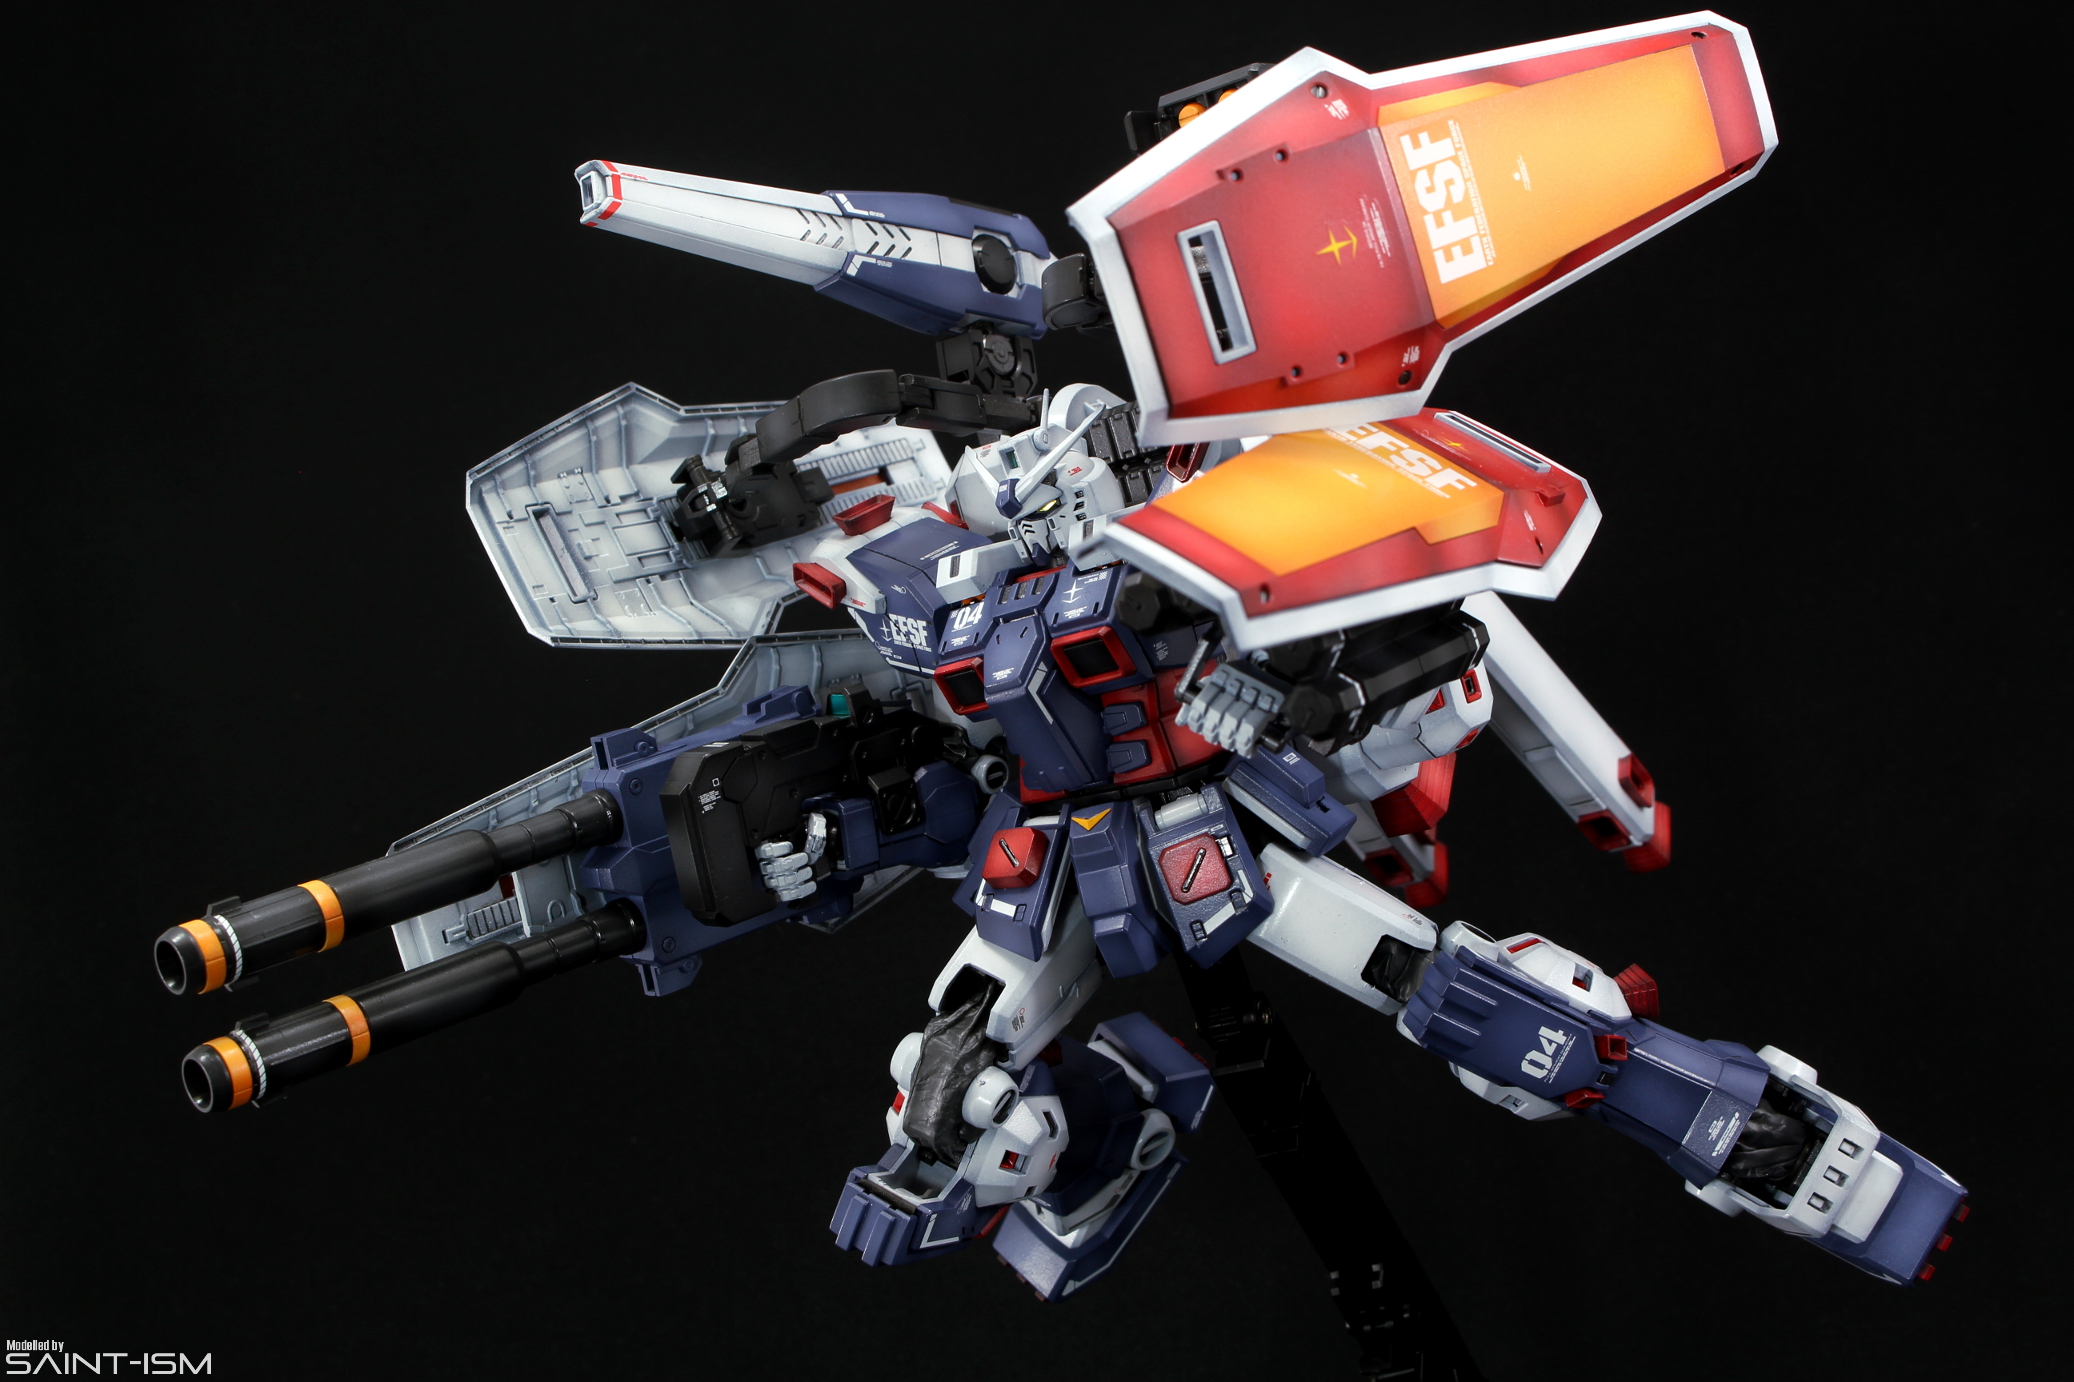
The FA Gundam has some of the best shoulder articulation ever. It’s almost wasted on this kit because it really doesn’t have any accessories besides the beam saber and shield to take advantage of it (unless you buy the full HUNGRY from P-Bandai). Speaking of accessories…
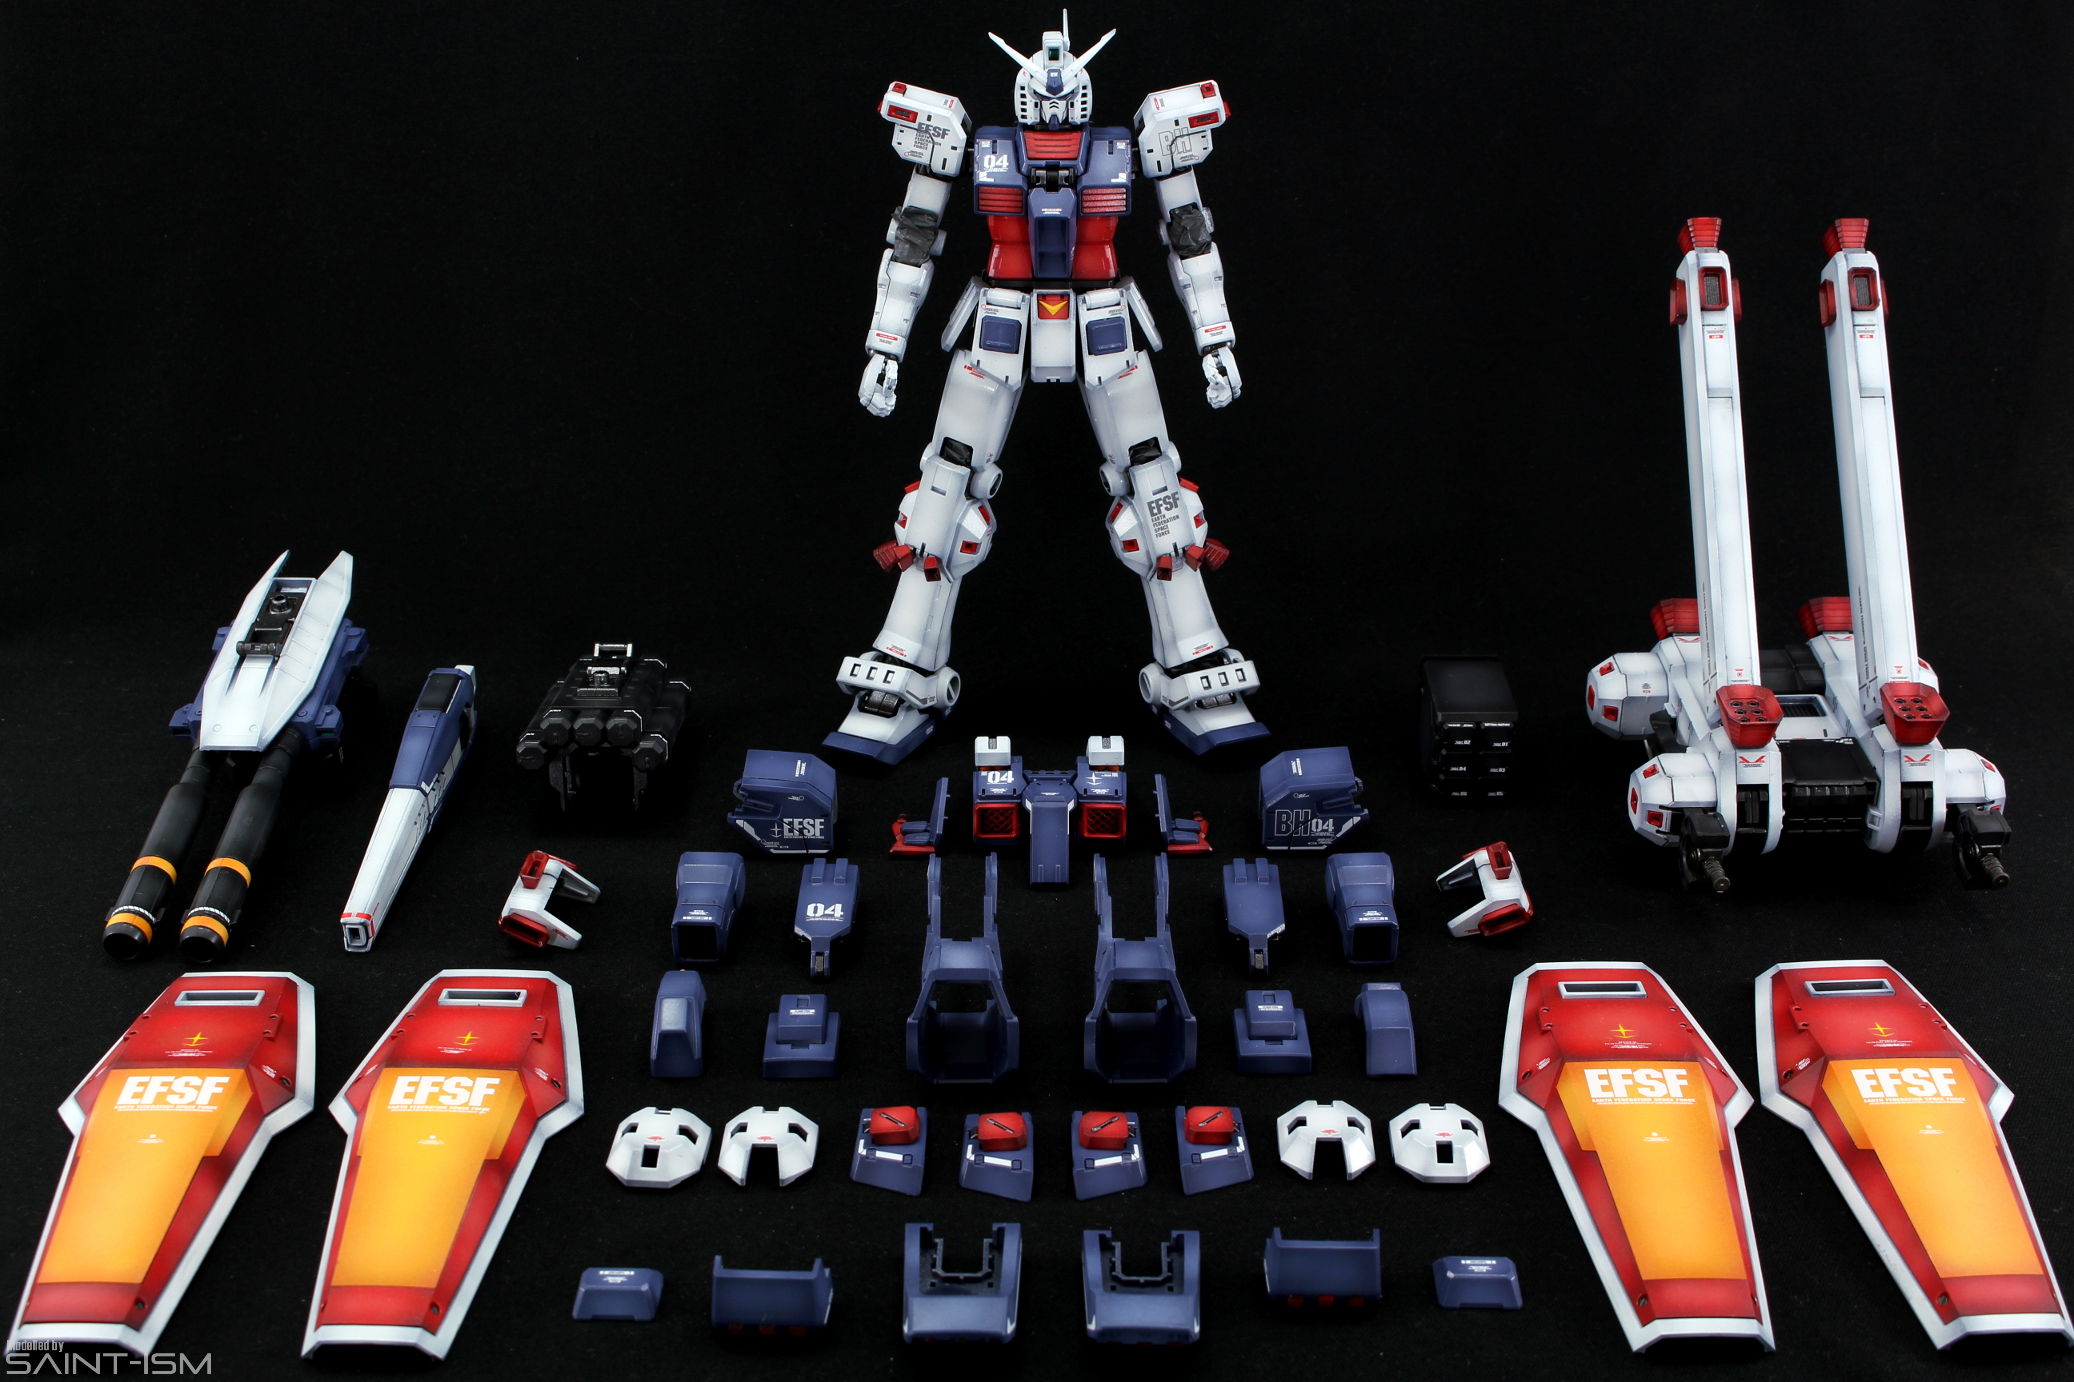
This ‘loadout’ shot was really fun to do. I had to work within the confines of my booth and this is what I came up with. It took many tries to get everything straight and to fit into frame but I think it’s immensely satisfying to see just the sheer amount of stuff you get with the kit all in one picture.
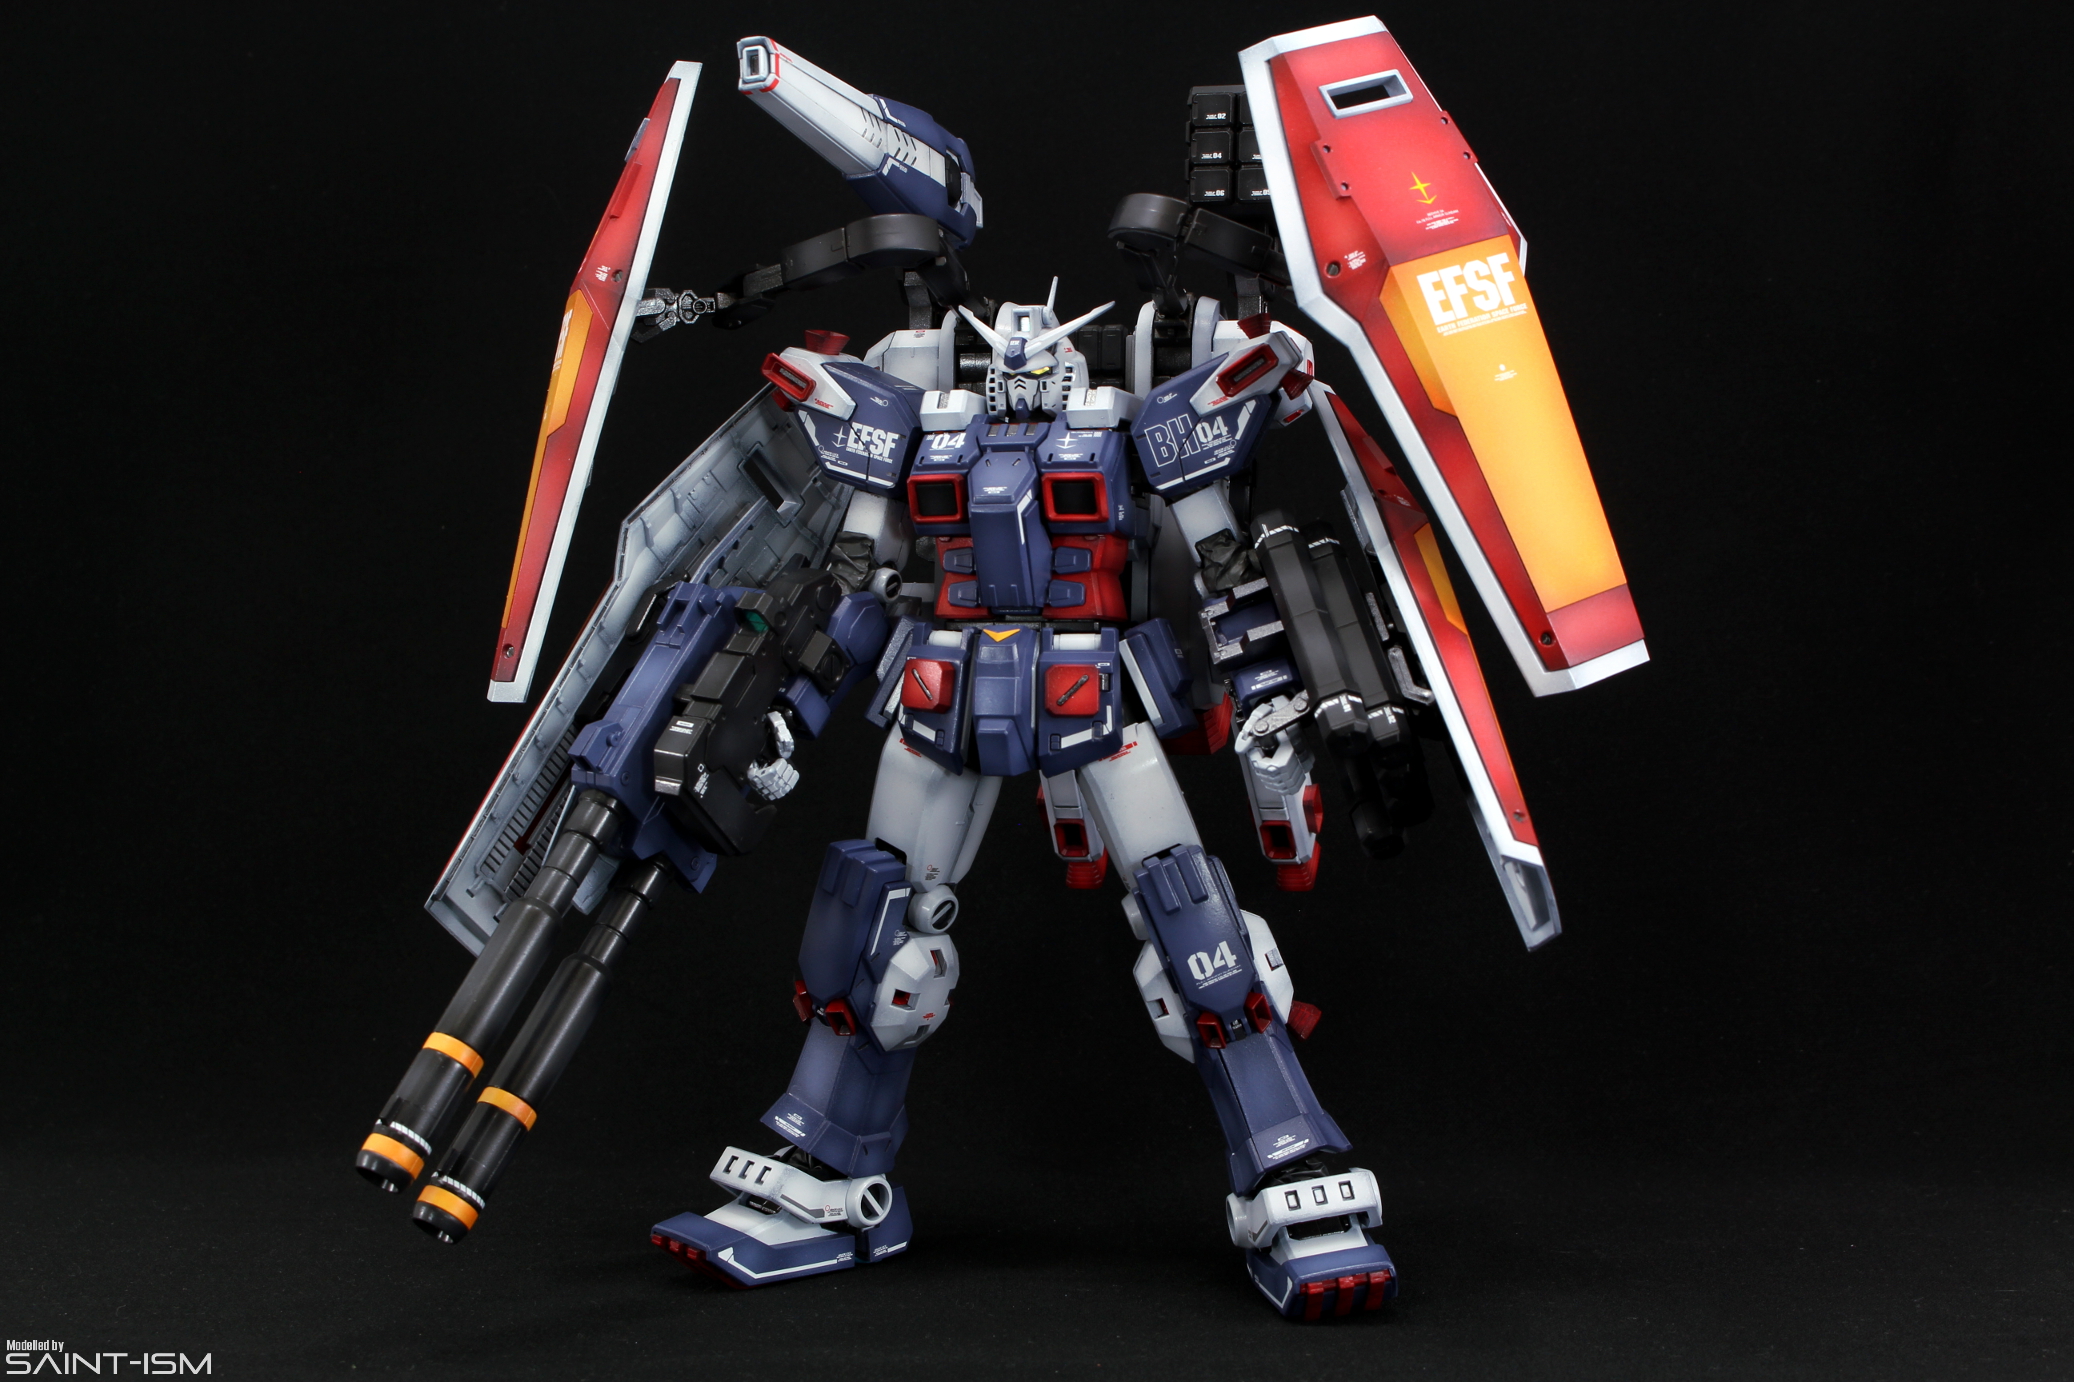
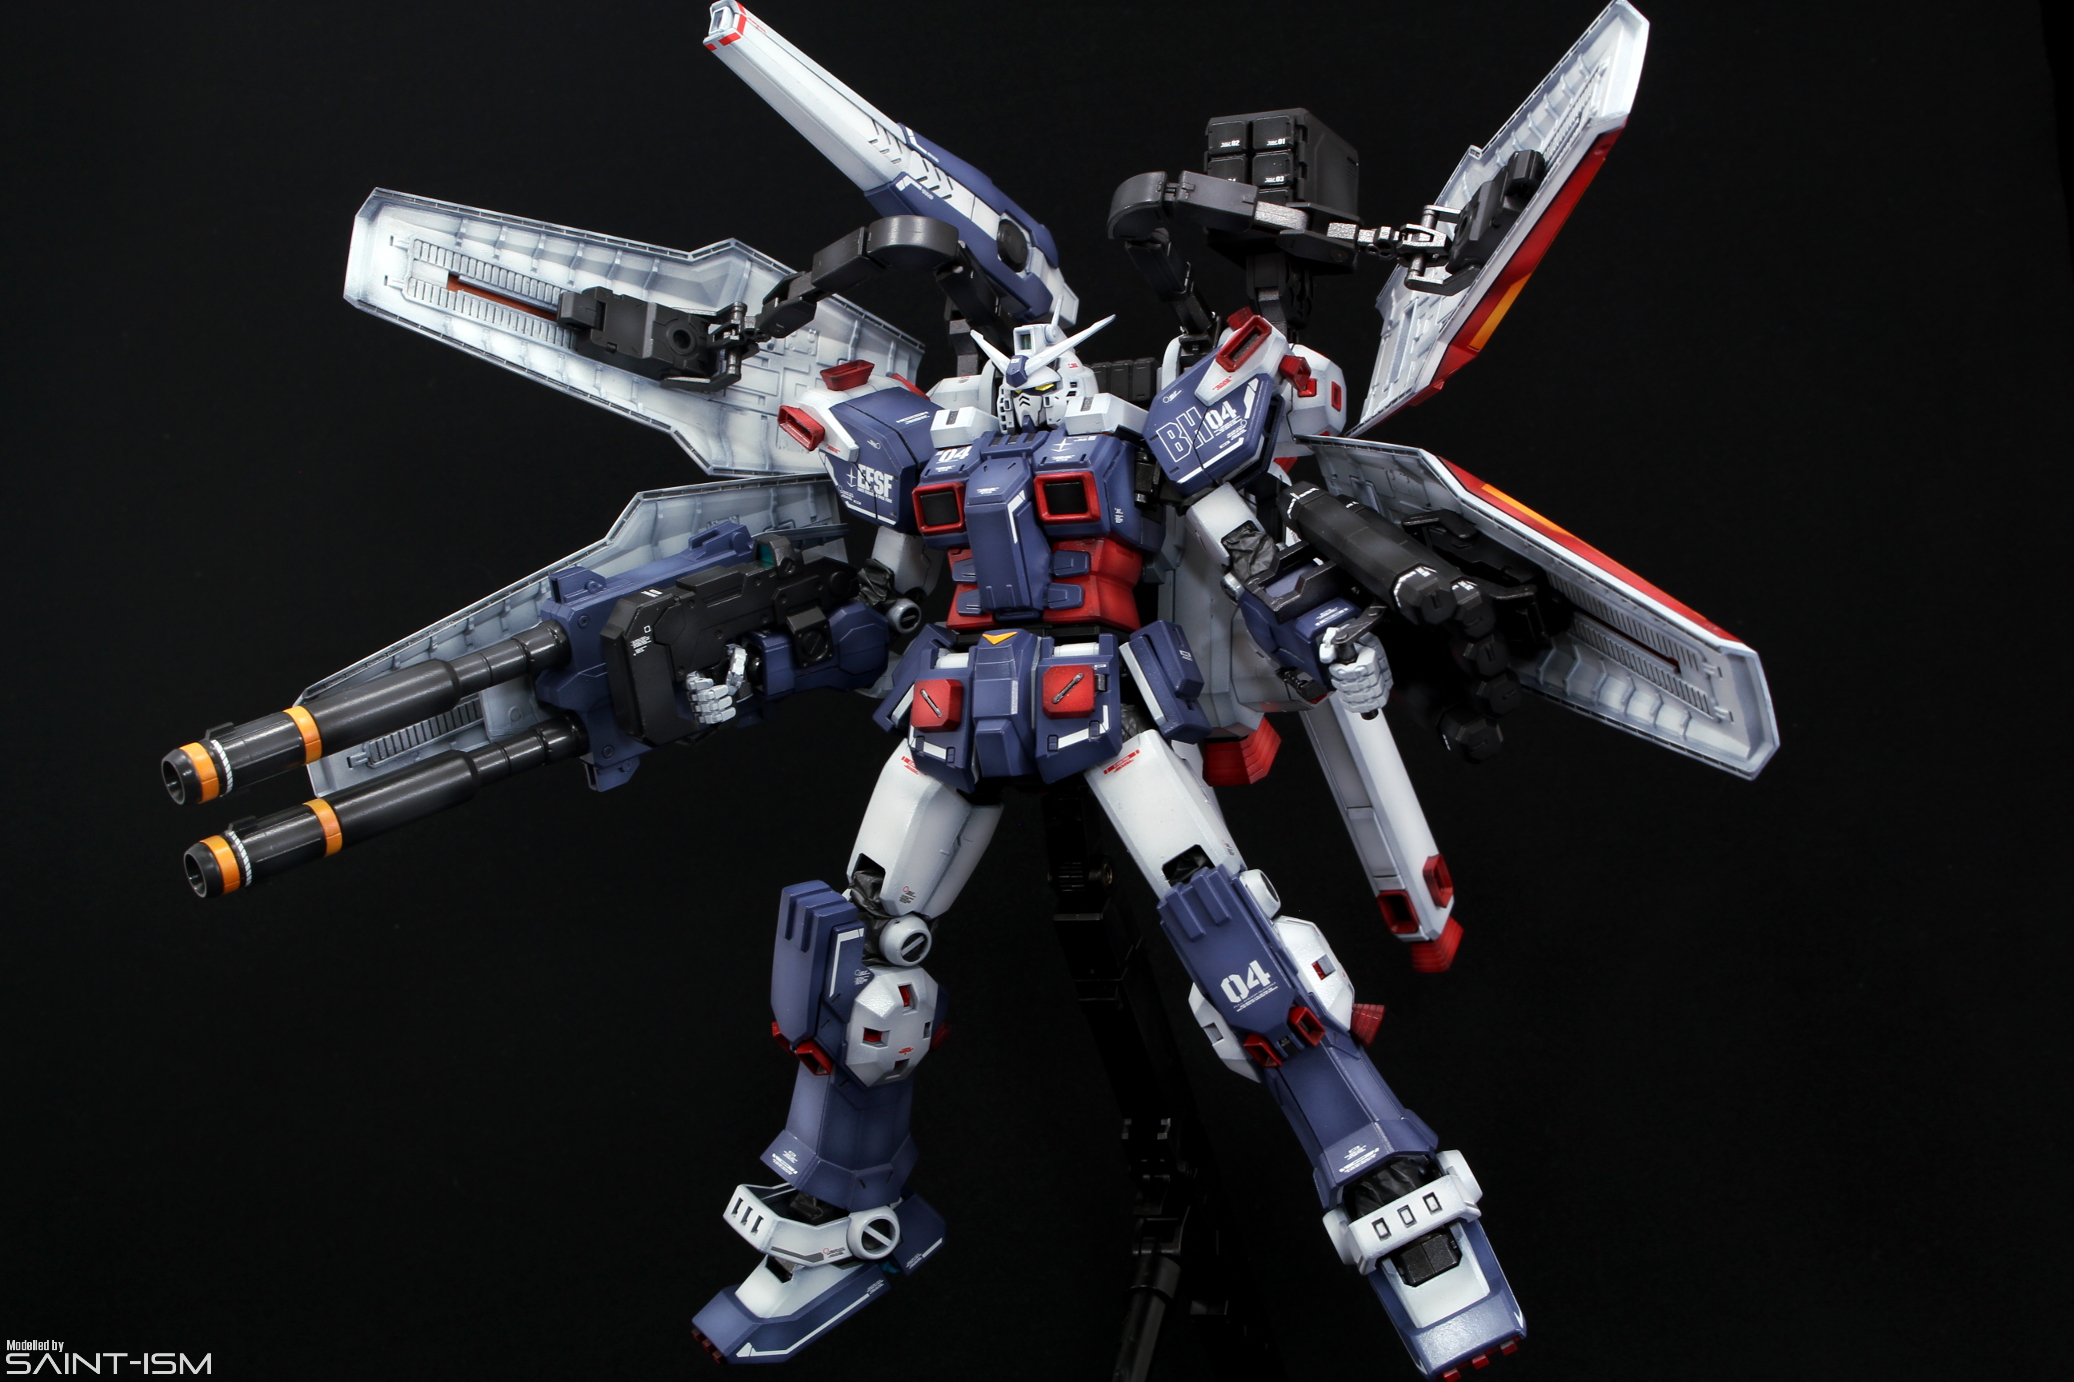
Installing the full armor is a breeze and I’m very impressive at how smooth the process is. Unlike the Duel Gundam Assault Shroud, everything clips on using well designed pegs which not only keeps it on very securely, but also features fully functional open hatch gimmicks with the missile pods!
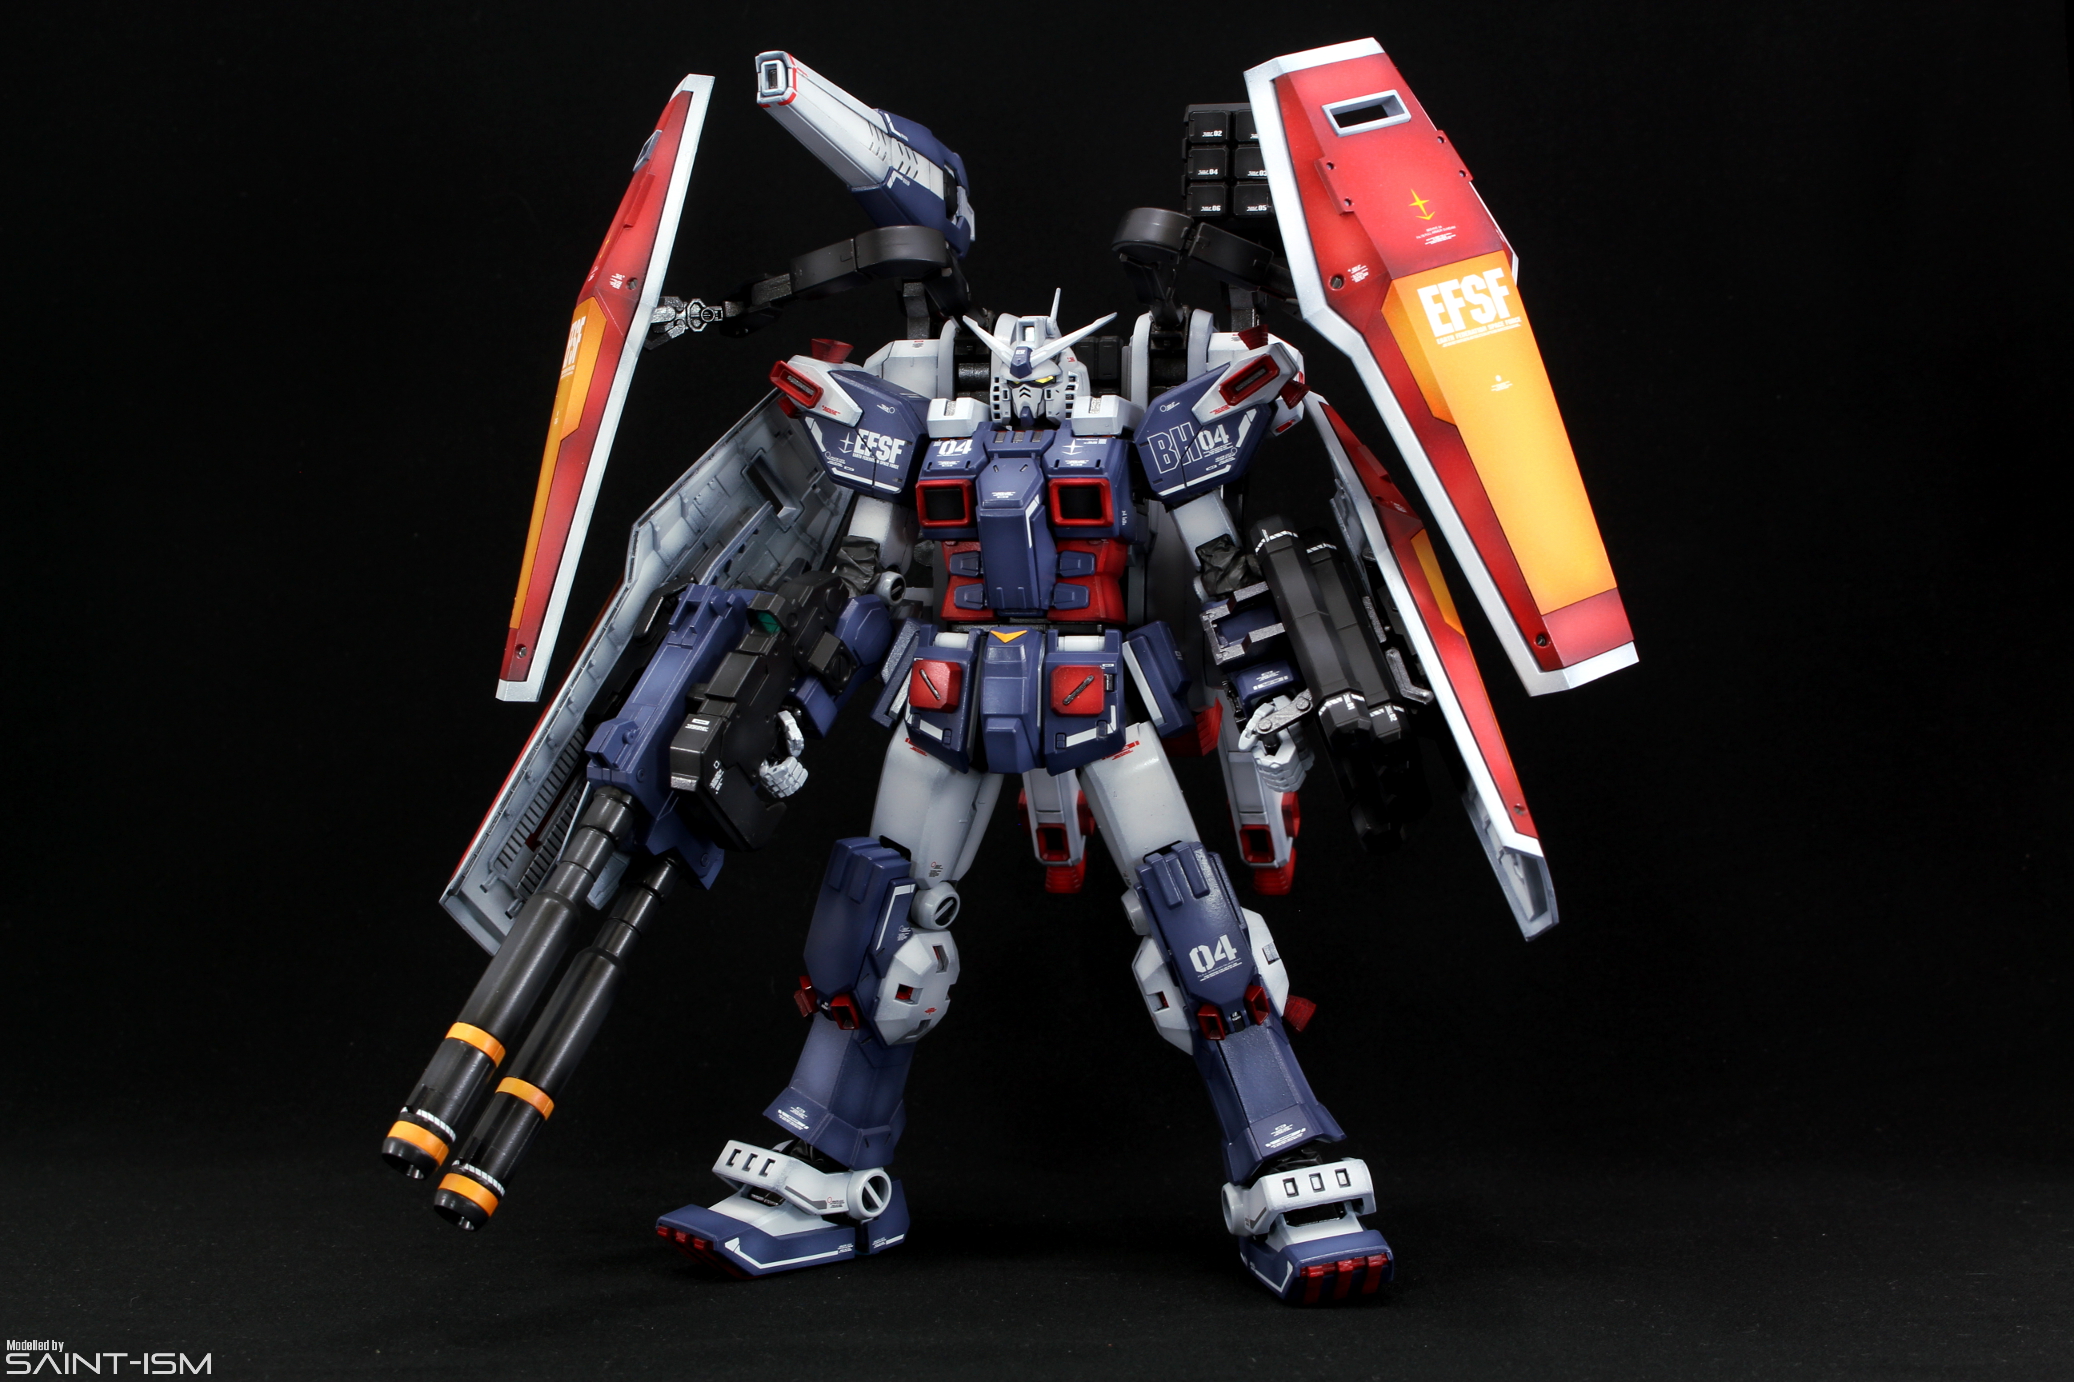
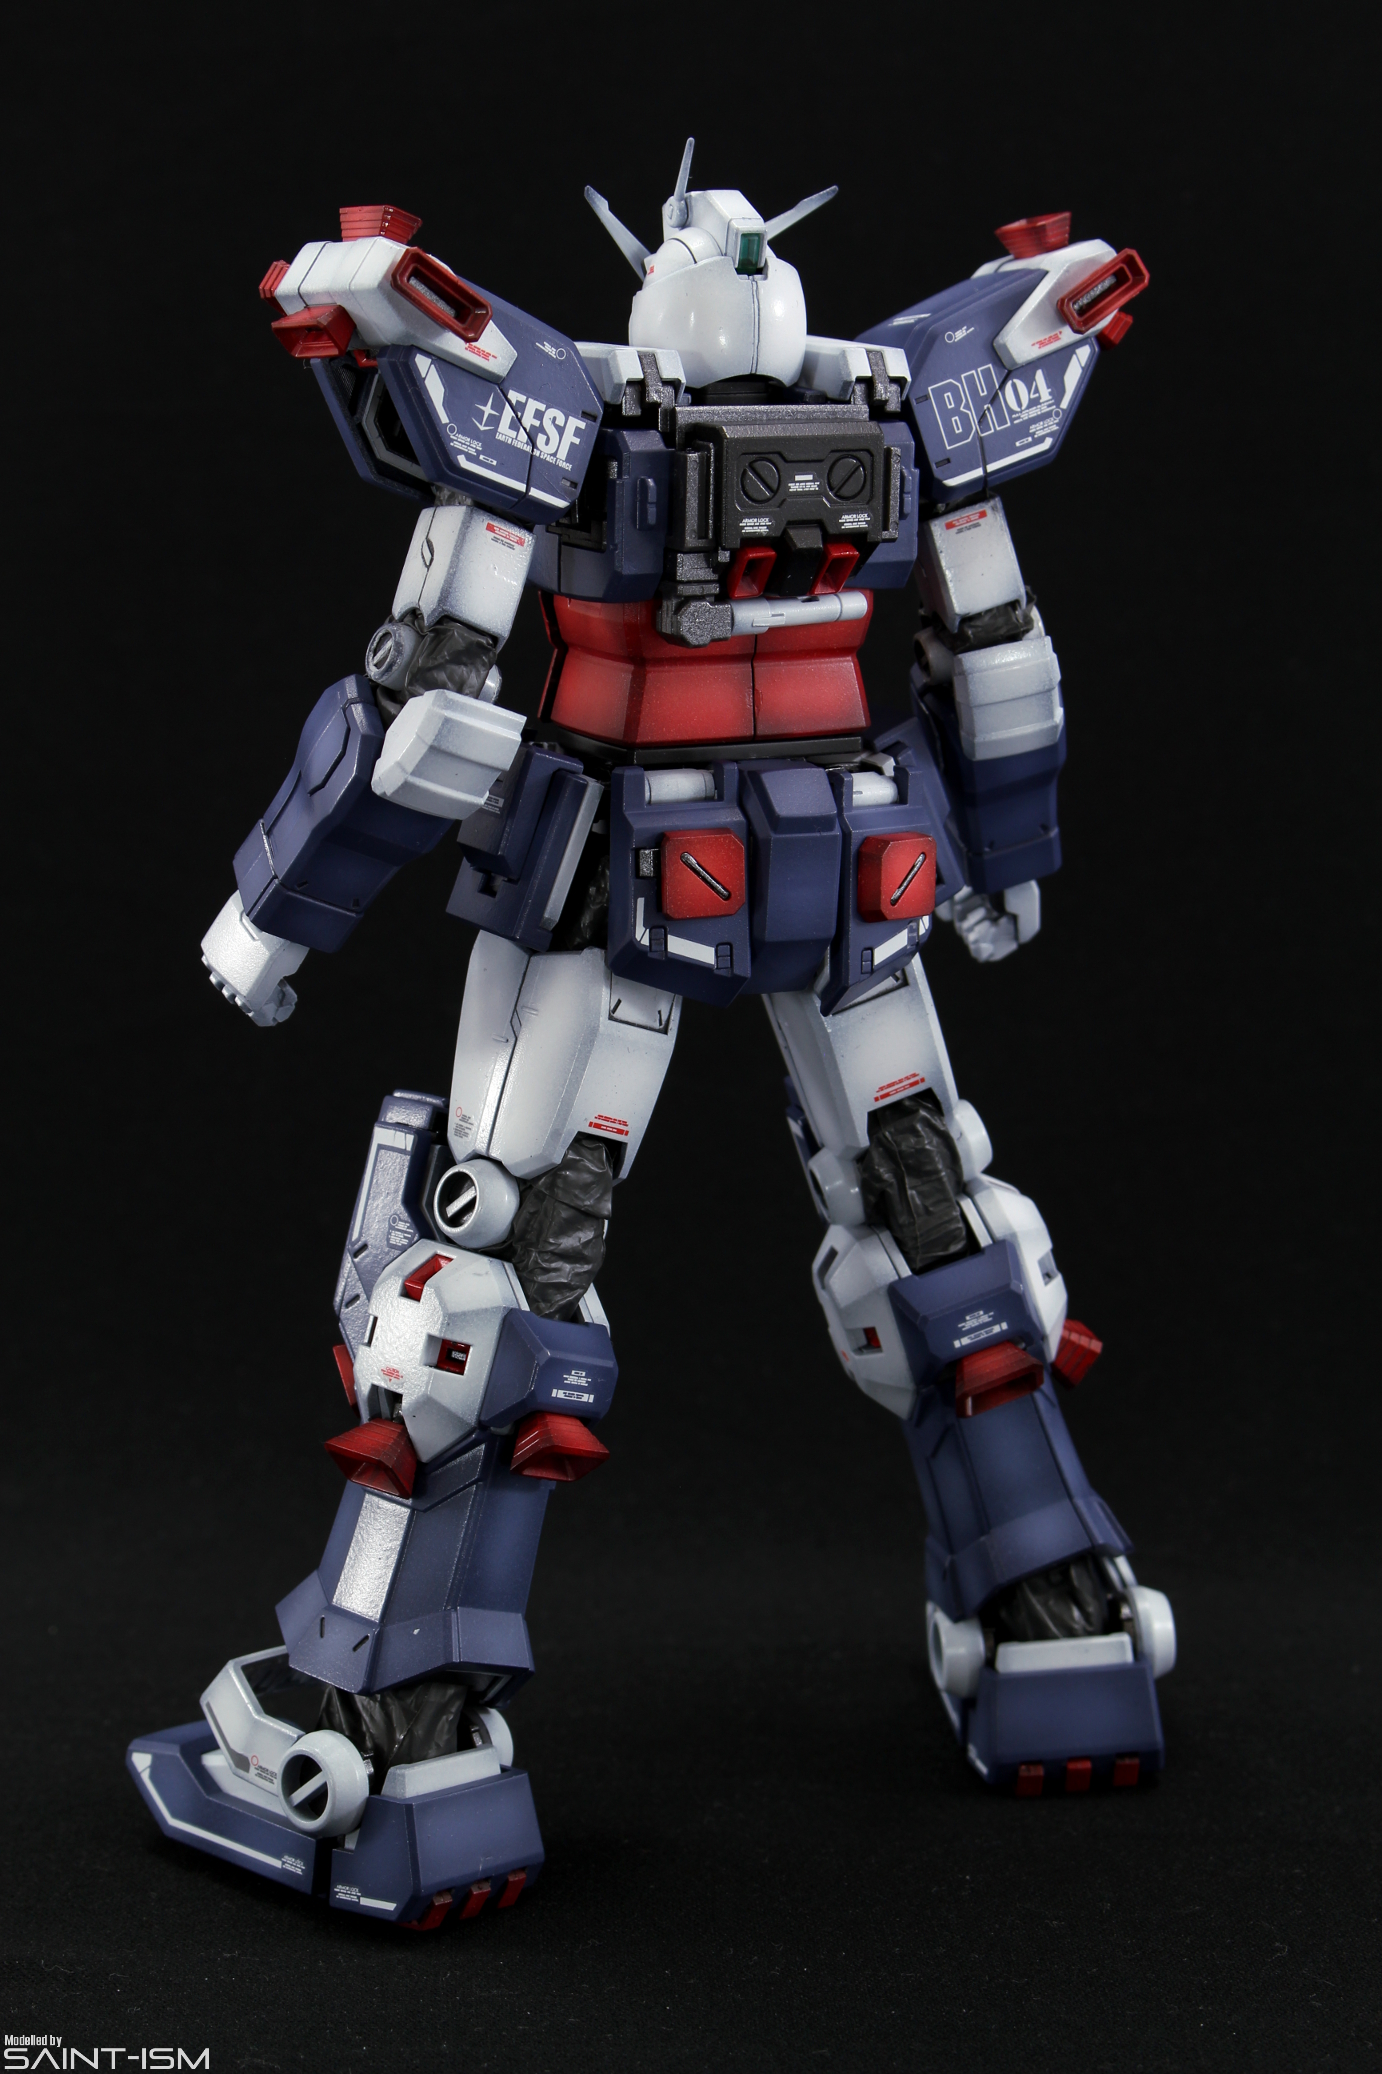
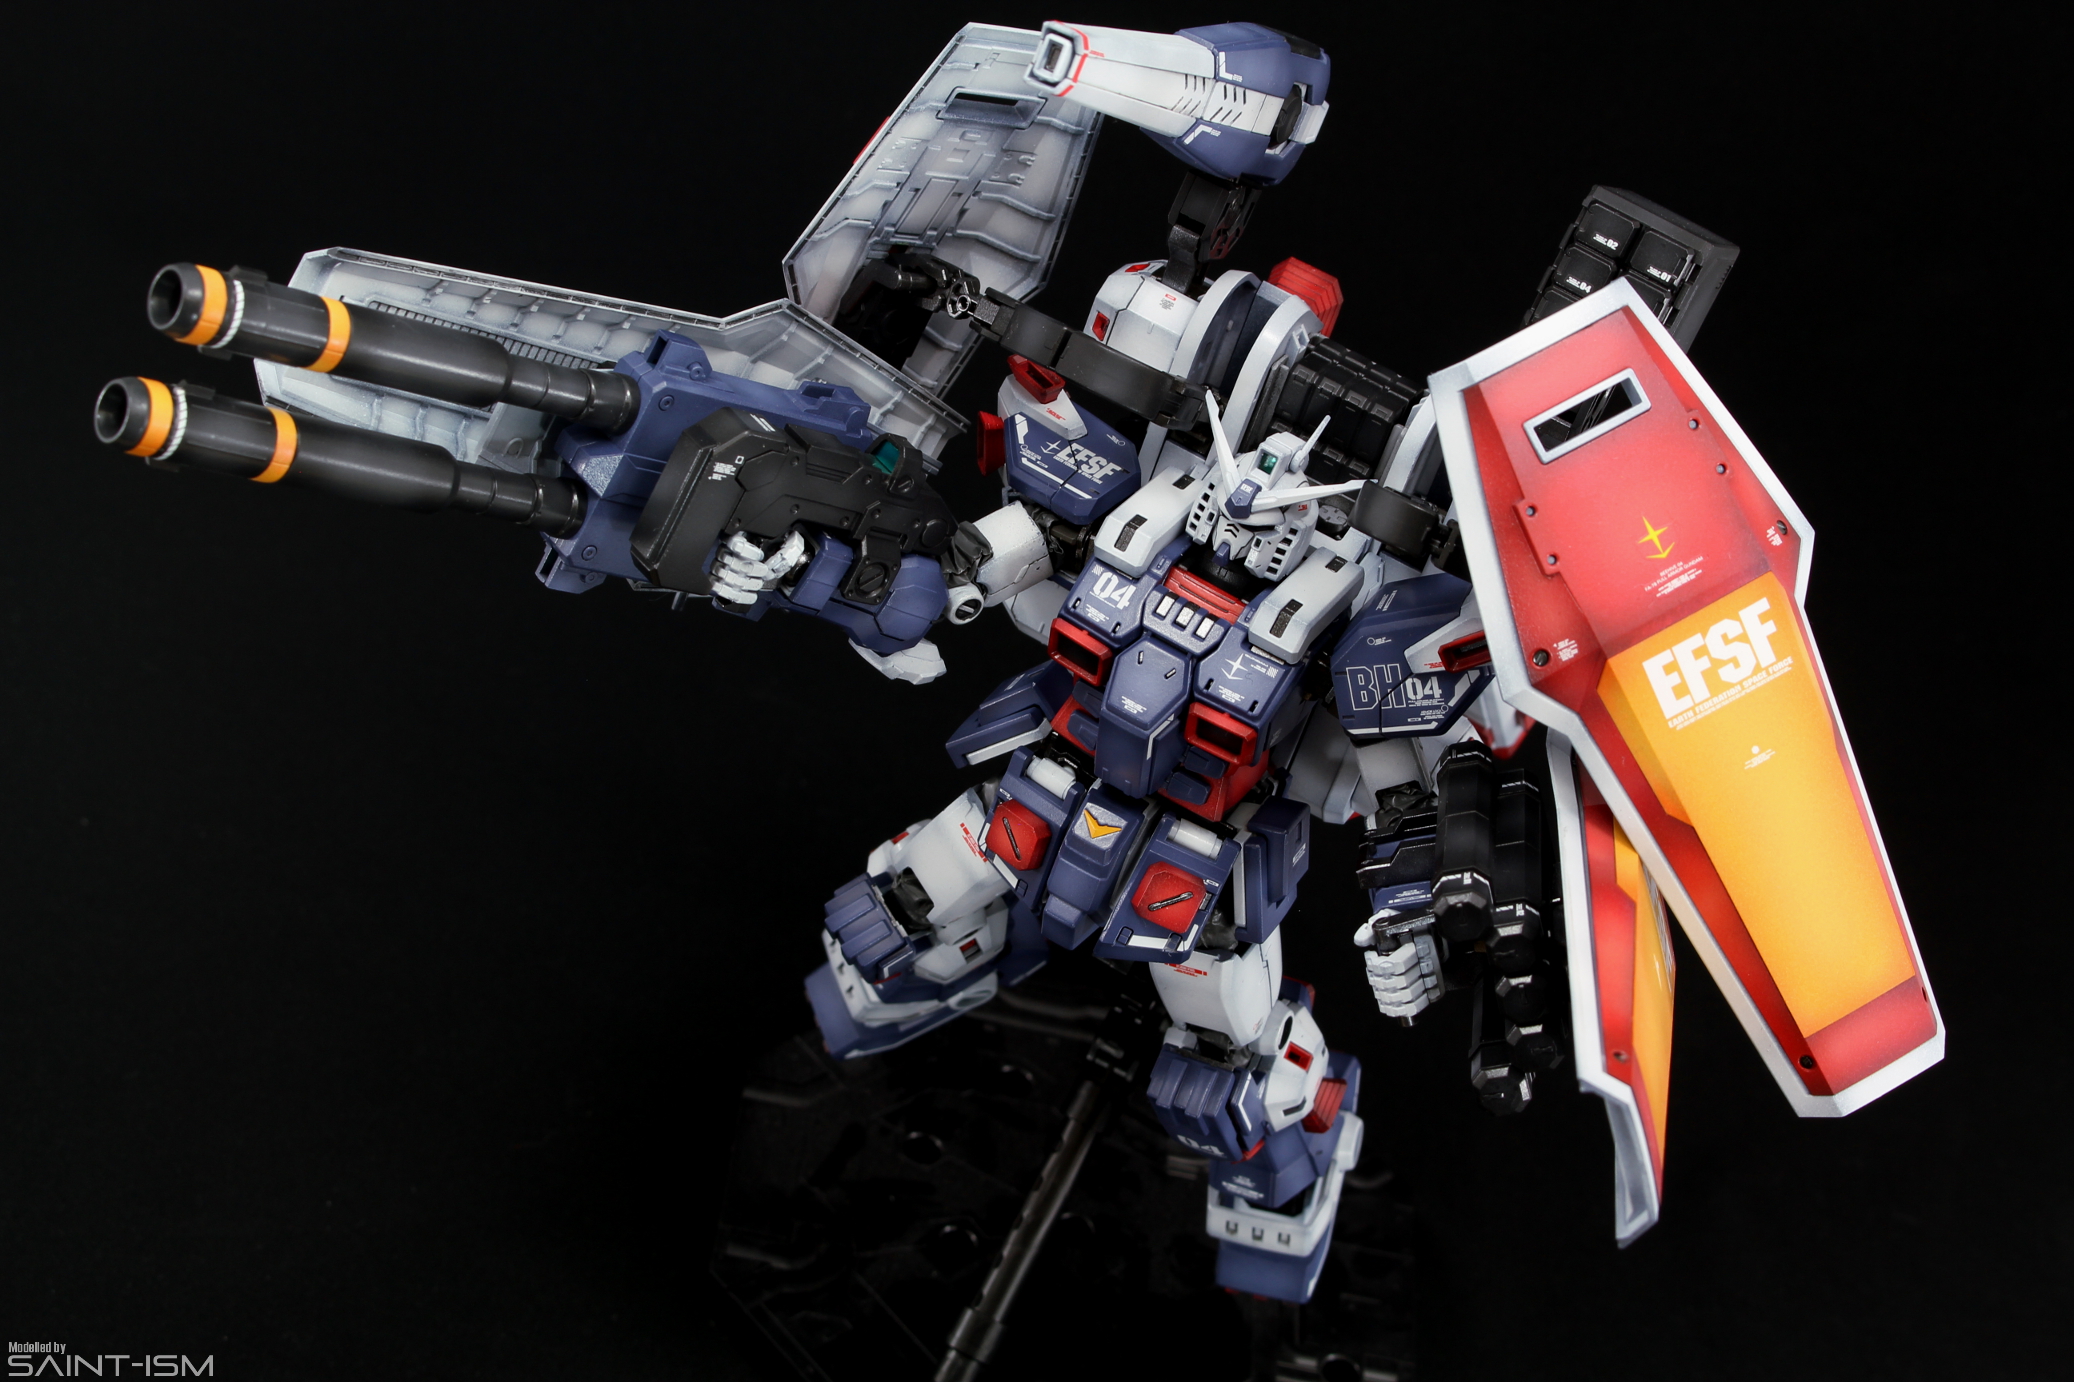
Upon equipping the weapons and backpack and you’re greeted with one of the most impressive Gunpla ever. We’ve seen big kits before like the Ex-S, FA Unicorn, and Sazabi, but unlike those, this kit is actually pretty functional despite looking like a brick. Even though it’s back heavy, the FA Gundam is almost capable of standing by itself thanks to the counterweight of the weapons on the arms. In my case I had to use some blue tack on the soles of the feet. You’ll still want to get yourself an Action Base 1 to hold this kit up for aerial poses as the included display stand does tend to sag under the kit’s weight.
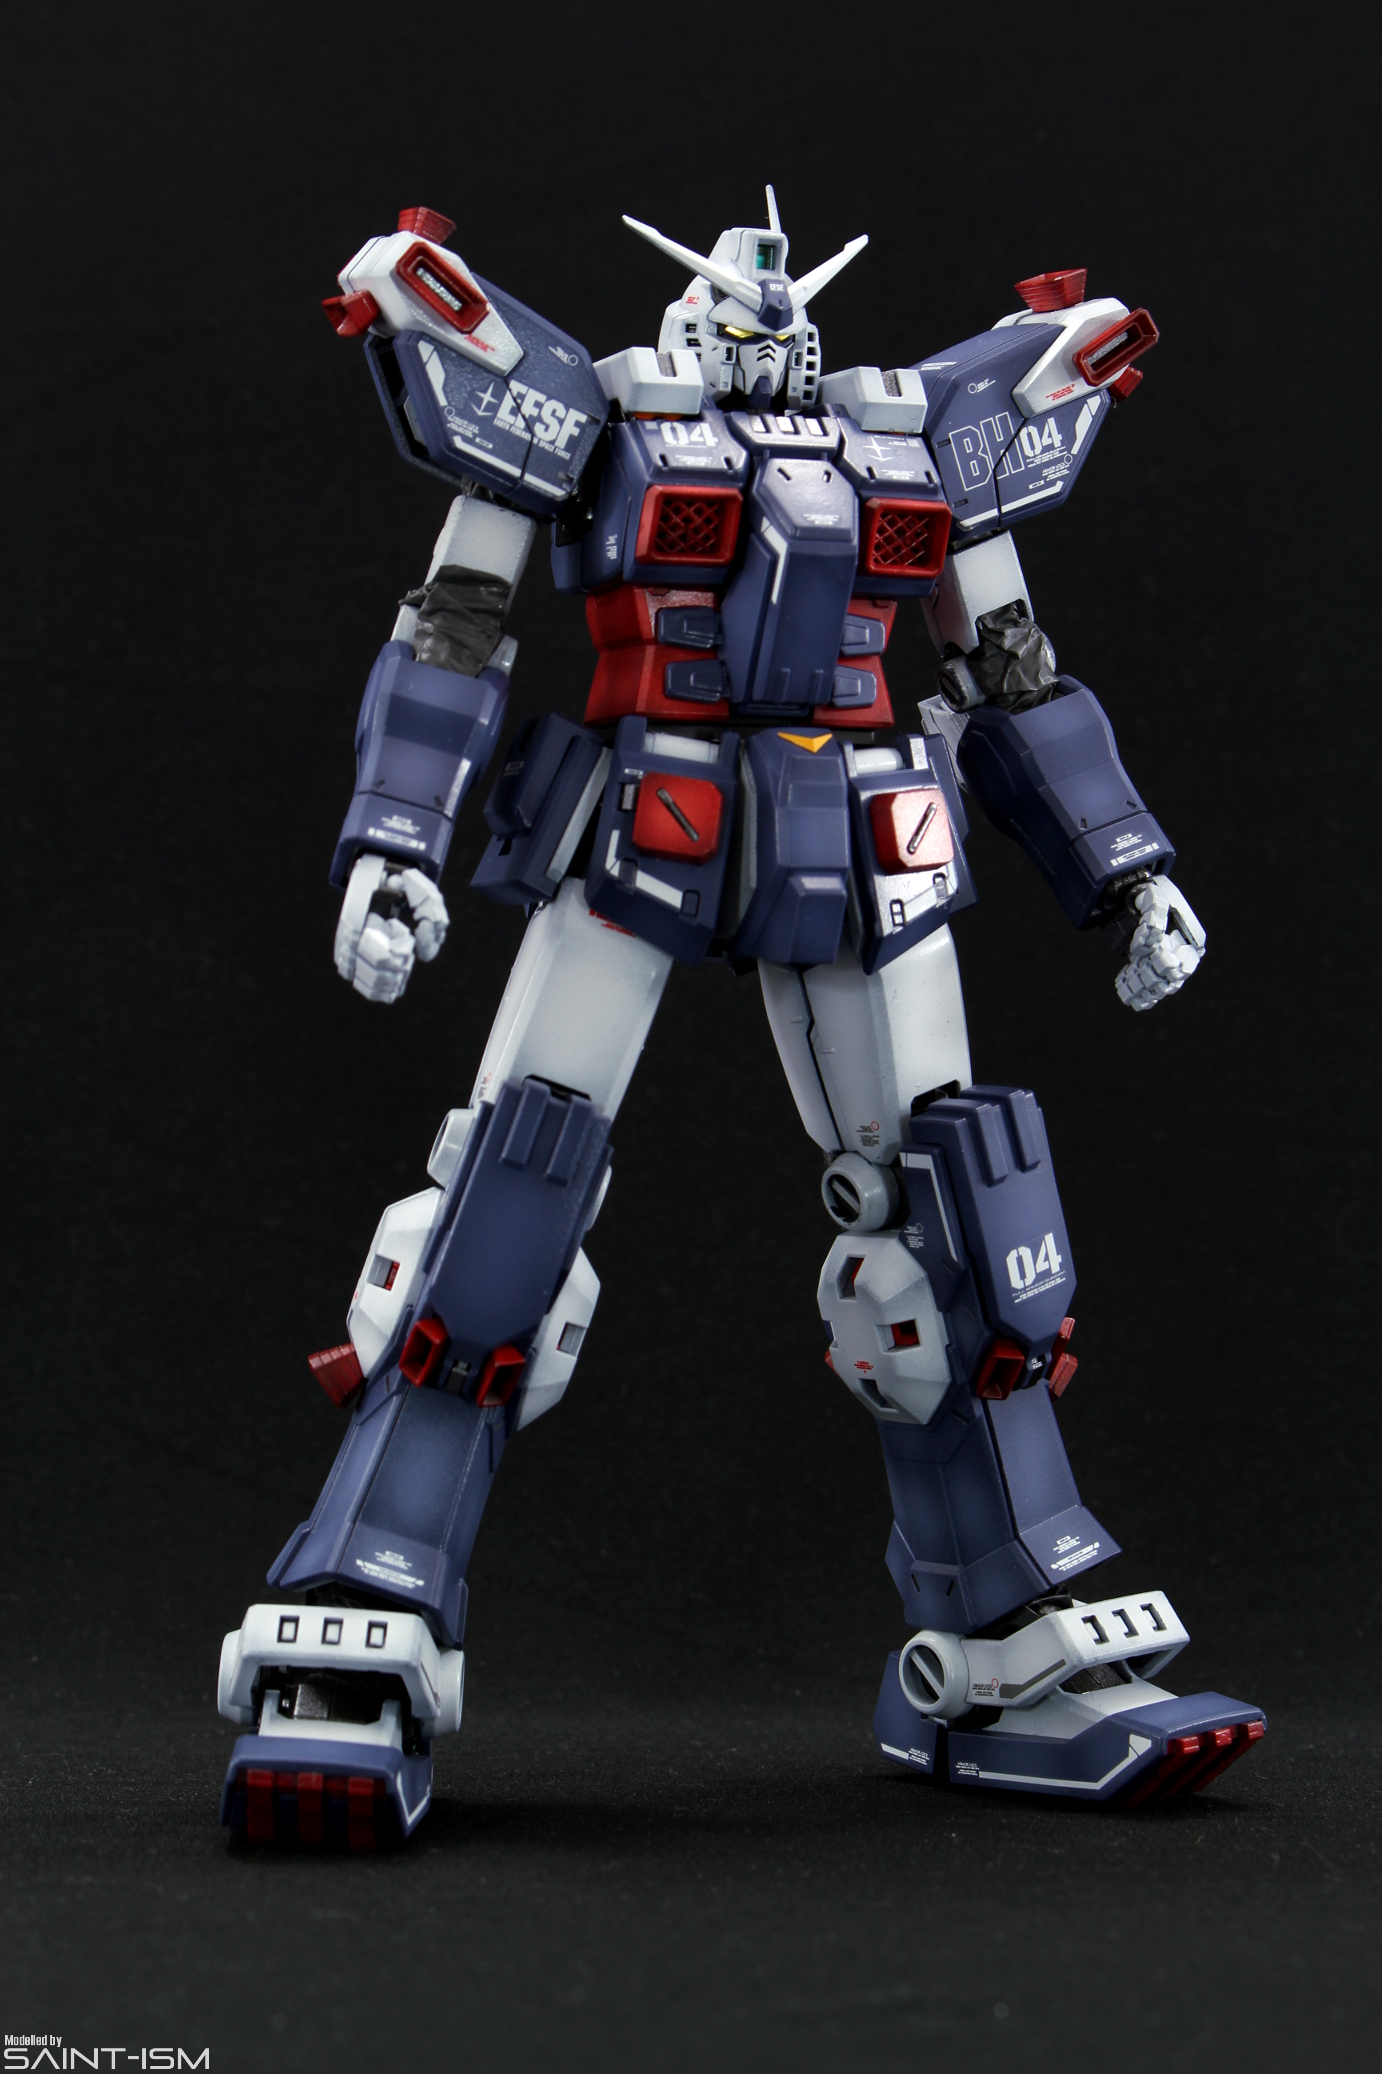
Painting
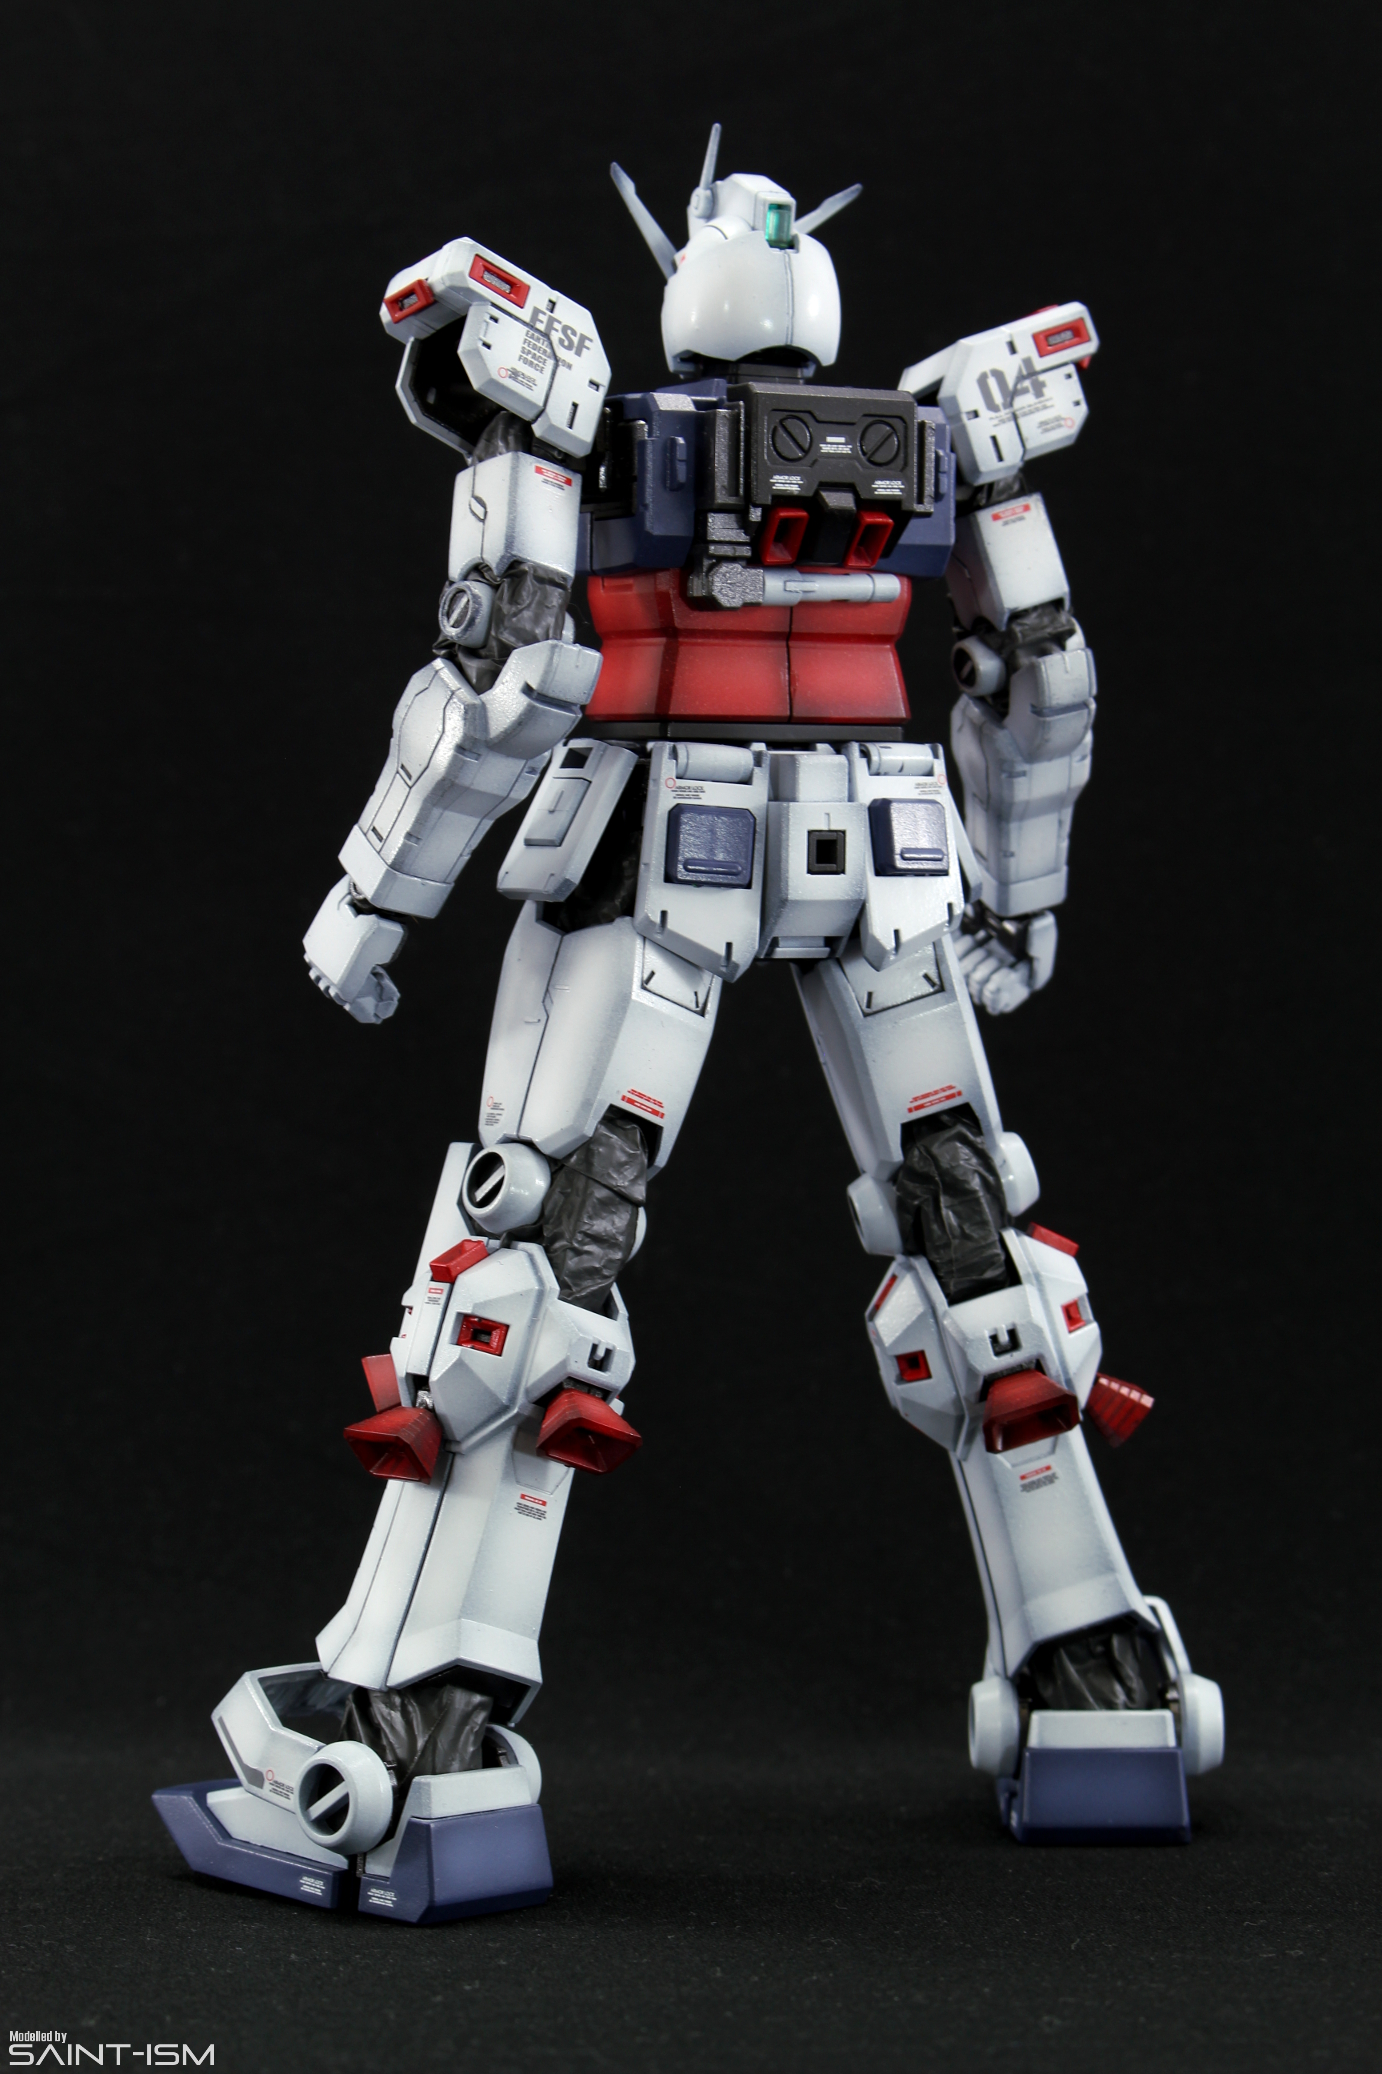
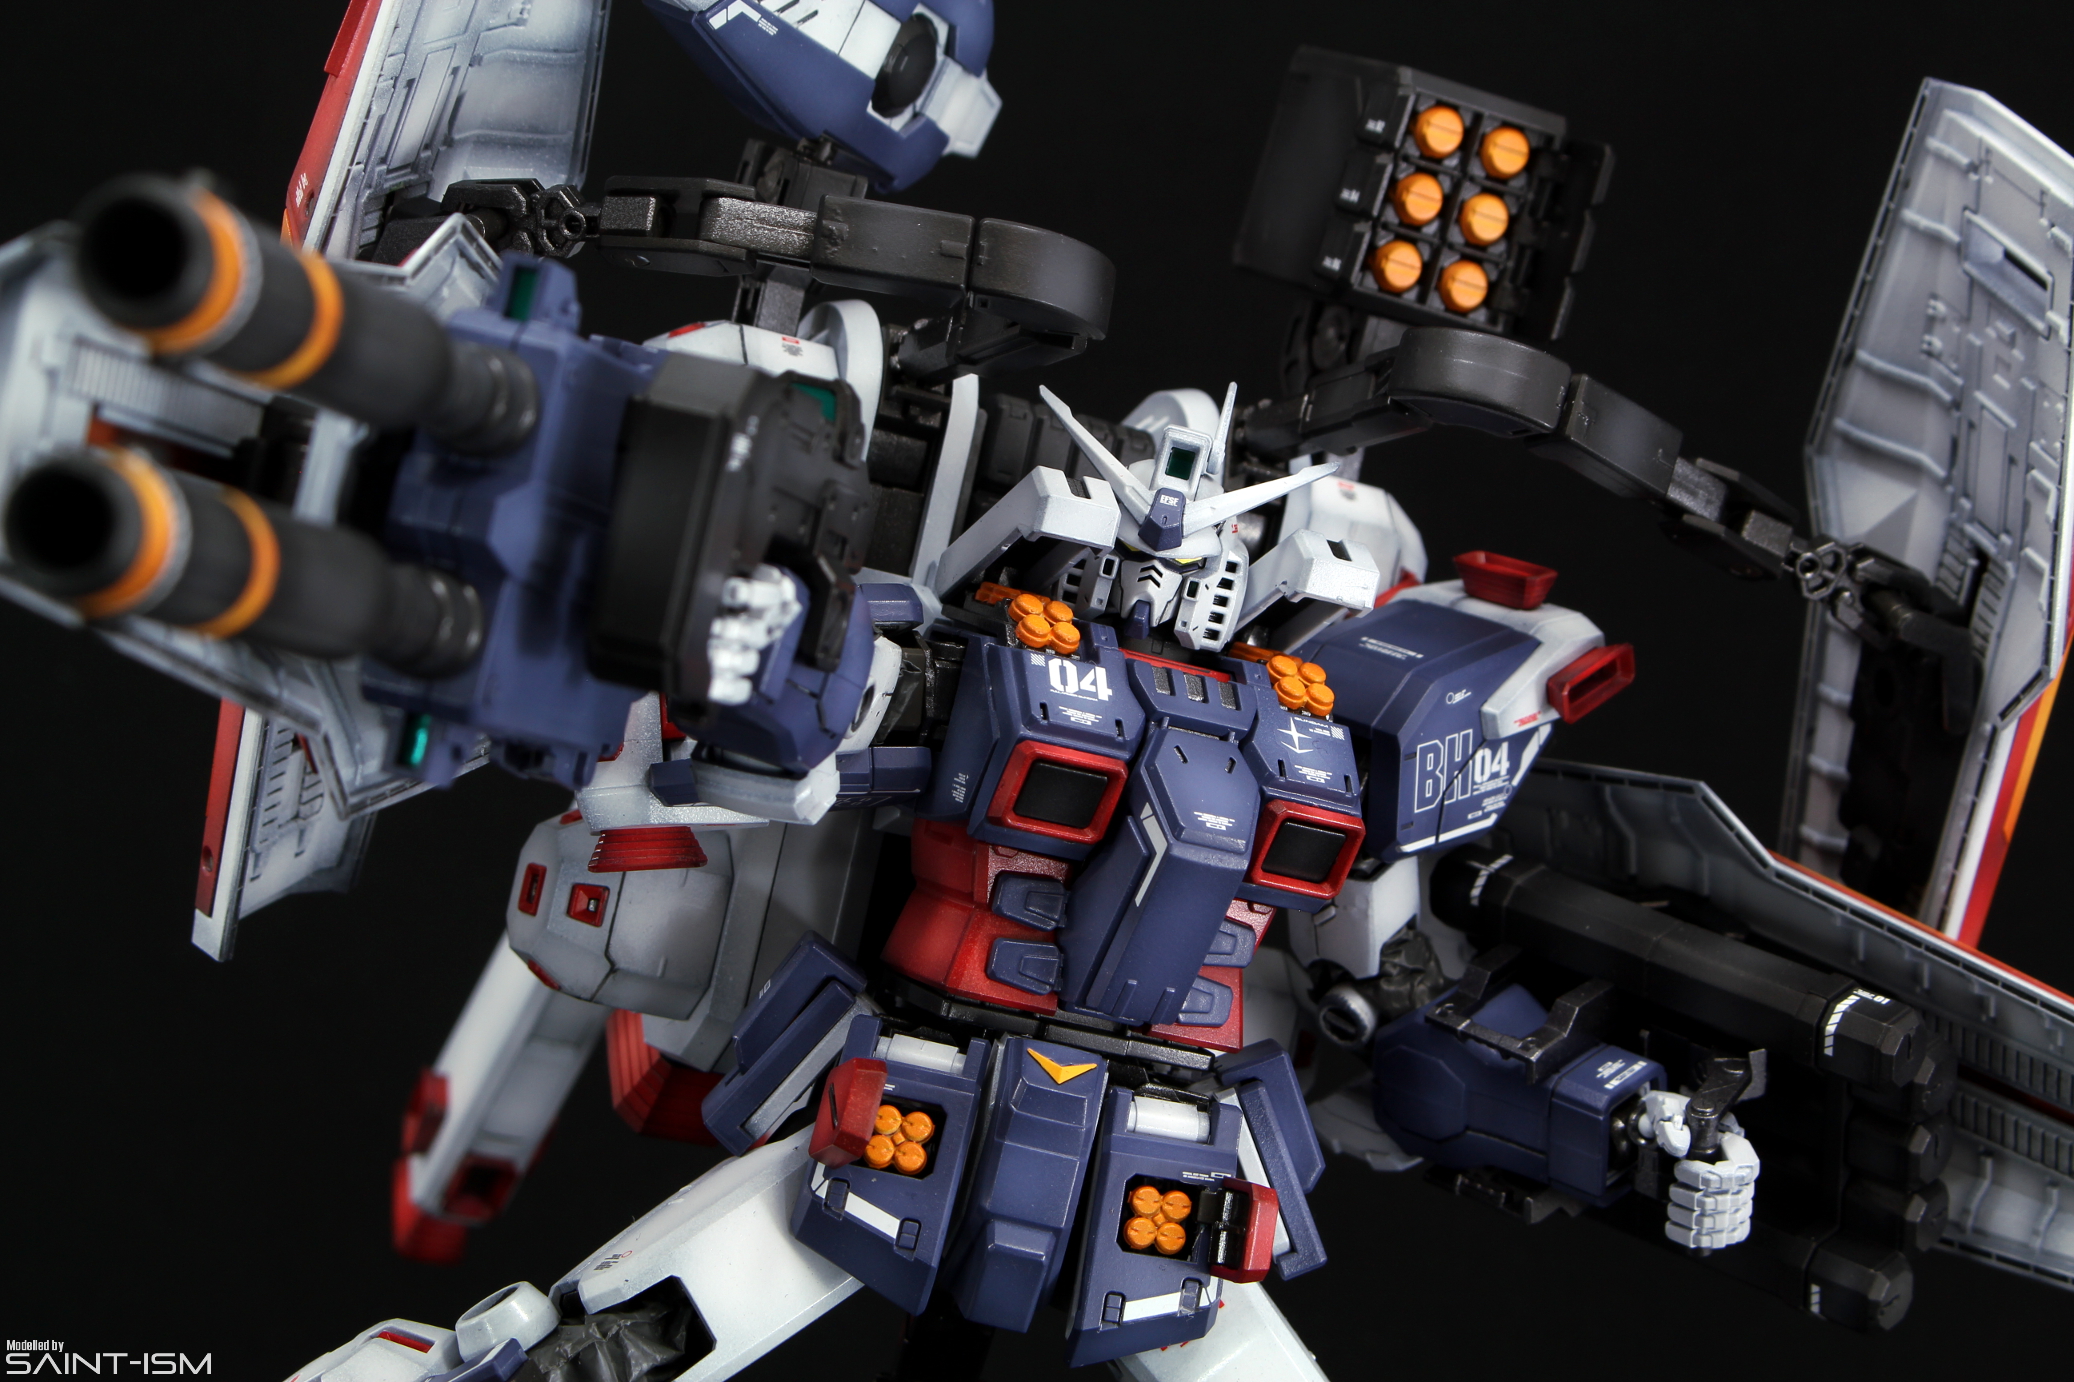
Out of the box the FA Gundam has some really drab looking colours. I wanted something closer to whats on the boxart and the front page of the manual so I tweaked the colours a bit.
Blue – Cobalt Blue (60%) + Intermediate Blue (40%). White added into the mix for highlights.
Red – Black primer, followed by white for pre-shading. A coat of Wine Red (40%) + Shine Red (60%) is then applied. Finally, yellow and white is added into the mix for highlights.
White – Base coat of Intermediate Blue (100%), followed by White (100%) + a drop of Purple and drop of Intermediate Blue for full coat.
Orange – Base coat of Orange (100%), followed by White (100%) for pre-shading. A light coat of Orange Yellow (70%) + Yellow (30%) is then applied. White is added into the mix for final highlight.
Grey – Base coat of Black (80%) + Neutral Grey (20%), followed Black (60%) + Neutral Grey (40%) for highlights.
Various Internals – Tamiya Gunmetal Spray


For the complete Full Armor Gundam gallery, please click here!
Summary
This is by far the most interesting Master Grade kit that Bandai has made in quite some time, but definitely not a beginner friendly build due to the fragile nature of some key pieces and the frame cover process.
- Imposing silhouette
- Lots of gimmicks
- Only 1 seamline
- Armor installation process is well done and stays on
- Structurally strong enough to hold up it’s heavy weapons
- Some necessary design sacrifices in posability in order to make the Gundam stable in FA mode
- One of the trickier builds due to armour covers
- Certain parts are quite easy to break during construction
Thats one incredible result. Really inspiring
Beautiful shading work
Gonna paint my kit base on your work to test my skill
WELL DONE
so the outer armor doesnt scratch the paint off the actual body ???
Sadly it does. The fact that it stays on so well means it’ll be quite hard to pull off without scratching underneath. The feet especially.
Any tips on putting the armor covers/black plastic sheets?