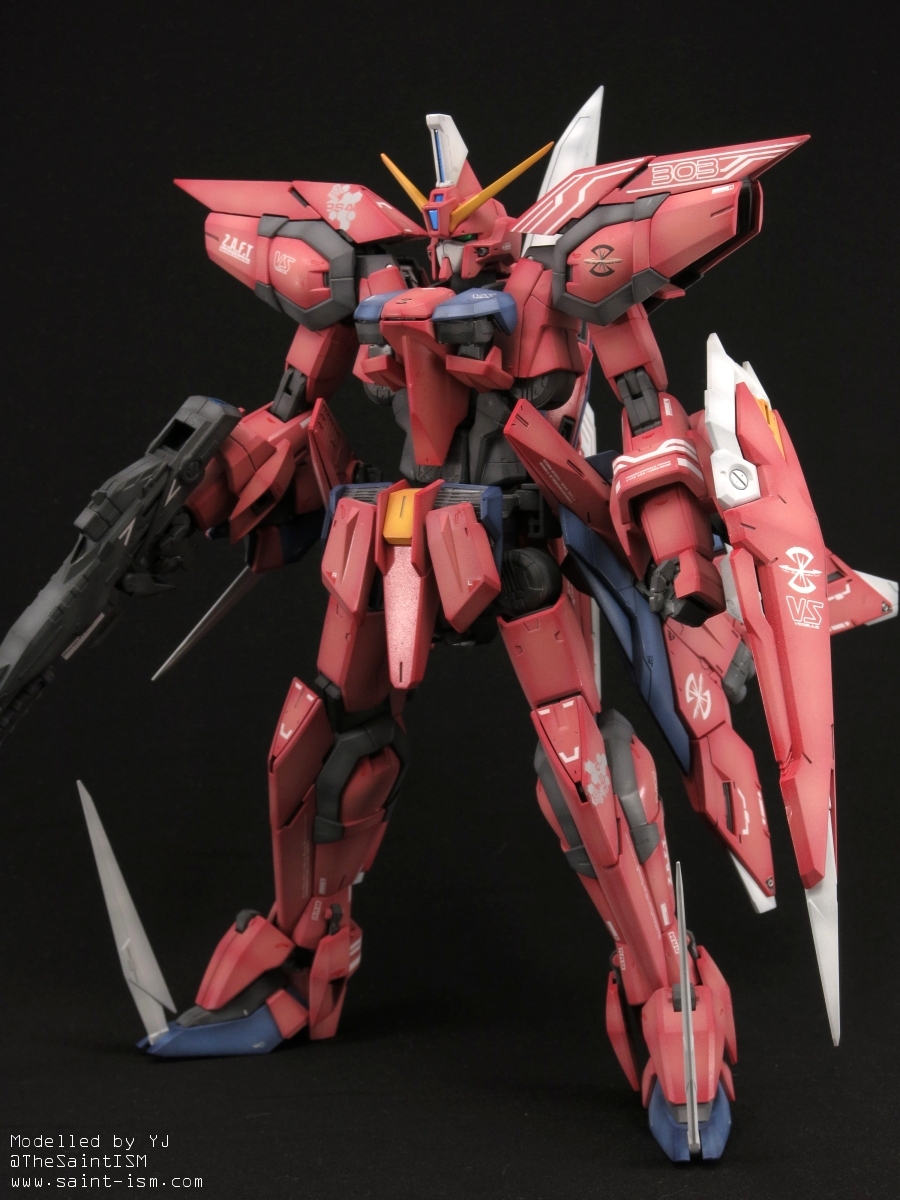
I started this kit in March 2014 and finished in the first week of April. It’s the first step in my goal of hopefully completing the entire GAT-X series this year. Now after having actually built this kit, Bandai continues to amaze me at how they can actually make the Aegis’ rather complex and unique design actually functional in a model form. The kit is also very well detailed, with plenty of natural panels and details moulded into the actual plastic.
Here are my notes and a mini review.
Construction
One of the tricky aspects of this kit is that while many parts for the arms and legs look the same, most of them are not interchangeable. You can tell the differences by the direction or shape of the pegs which they connect together, so if you’re going to decal up the kit, make sure you’re putting the right decals on the right parts.
Also due to the transformation process, there are all kinds of swivel joints in place. One in particular I had problems with were the pink armours under the blue parts on the chest. These wouldn’t hook into place at all! I had to use a bit of Blu-tac to hold them in place.
Another thing to look out for is that there are some parts which have gates connected to pegs, especially on the frame, so you should look twice and consult the manual before cutting.
Being a very modern kit there are practically no seam lines, with the only 2 being on the white head horn and the white tail fin. You could probably ignore these and get away with it (like I did :P).
Painting
One of the reasons why I picked building the Aegis was so I could practice shading red. In the previous kits I’ve done, I’ve always had a bit of problems getting the red shade to come out without looking too pink, so I thought the Aegis would help me get over that.
Red – 50% White, 40% Wine Red, and 10% Orange as a base coat. For highlights, I first added White to brighten to colour, Neutral Grey to make it less pinkish, and finally more Orange to again re-balance the colour so it doesn’t look too pink.
White – Base coat of White (85%) + Neutral Grey (10%) + Navy Blue (5%). Pure white for highlights.
Blue – Base coat of Blue (50%) + Red (40%) + White (10%). Added white into the mixture for highlights.
Yellow – Orange (100%) basecoat. Preshaded with White, then a light coat of Orange Yellow (70%) + White (30%).
Grey – Basecoat of 70% Neutral Grey + 30% Black, followed by Neutral Grey (90%) + Black (10%) for highlights.
Rifle/head lenses etc – Base coat of Tamiya Silver (spraycan), then misted clear blue over.
For panel lines, I used Tamiya’s Panel Line Accent, Black for the red/blue parts, and Grey for the Yellow/White parts.
There are a few areas which you need to mask, these being the vents on the tail stabilizer, the connectors where the side skirts can extend (there are four of these), and the vents on the backpack.
As usual I just used the foil sticker for the eyes, and decals came from Samueldecal. Despite the sheer number of decals on the kit, I think it really helps break up the monotonous colour scheme. Speaking of which, I feel a RG style or Sazabi ver.Ka type colour scheme with multiple reds would really help this kit, so consider doing that on your Aegis!
Posing & Gimmicks
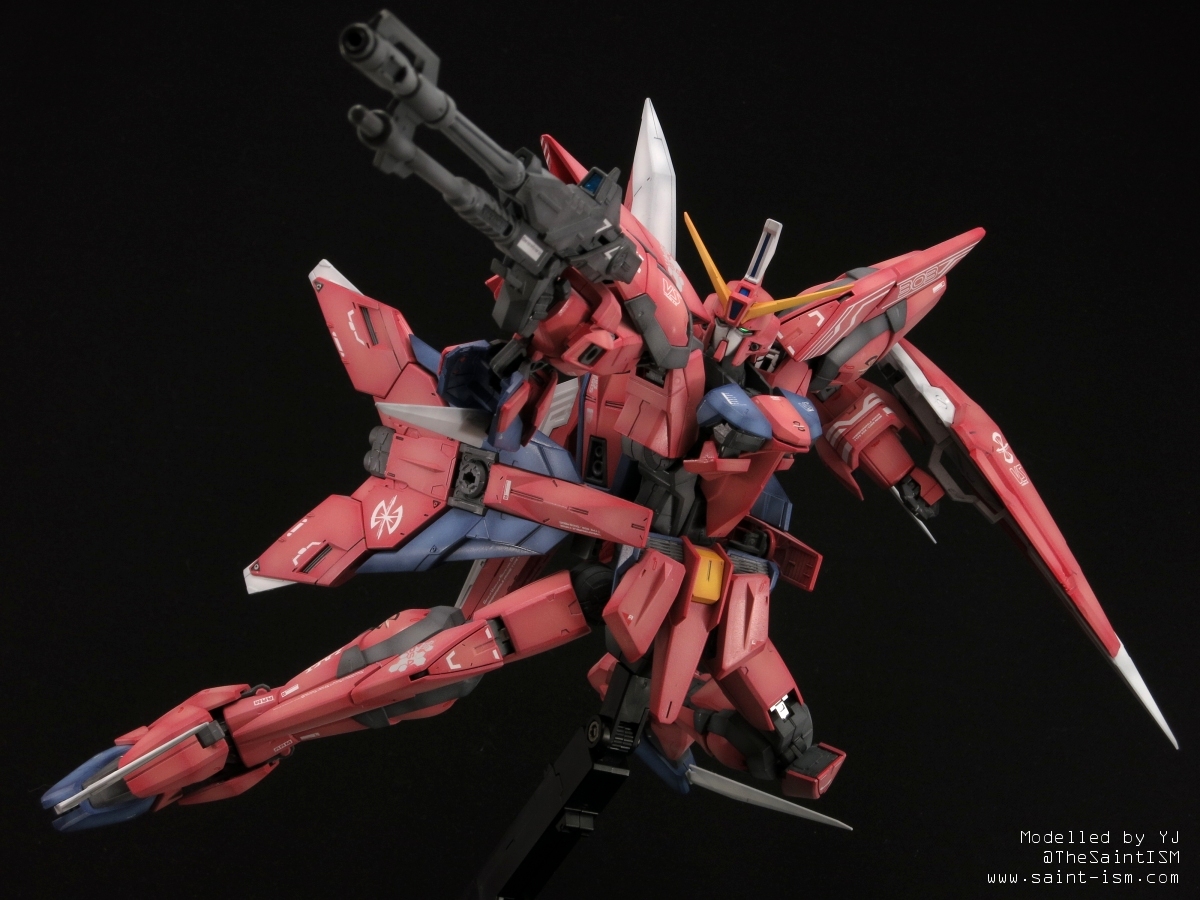
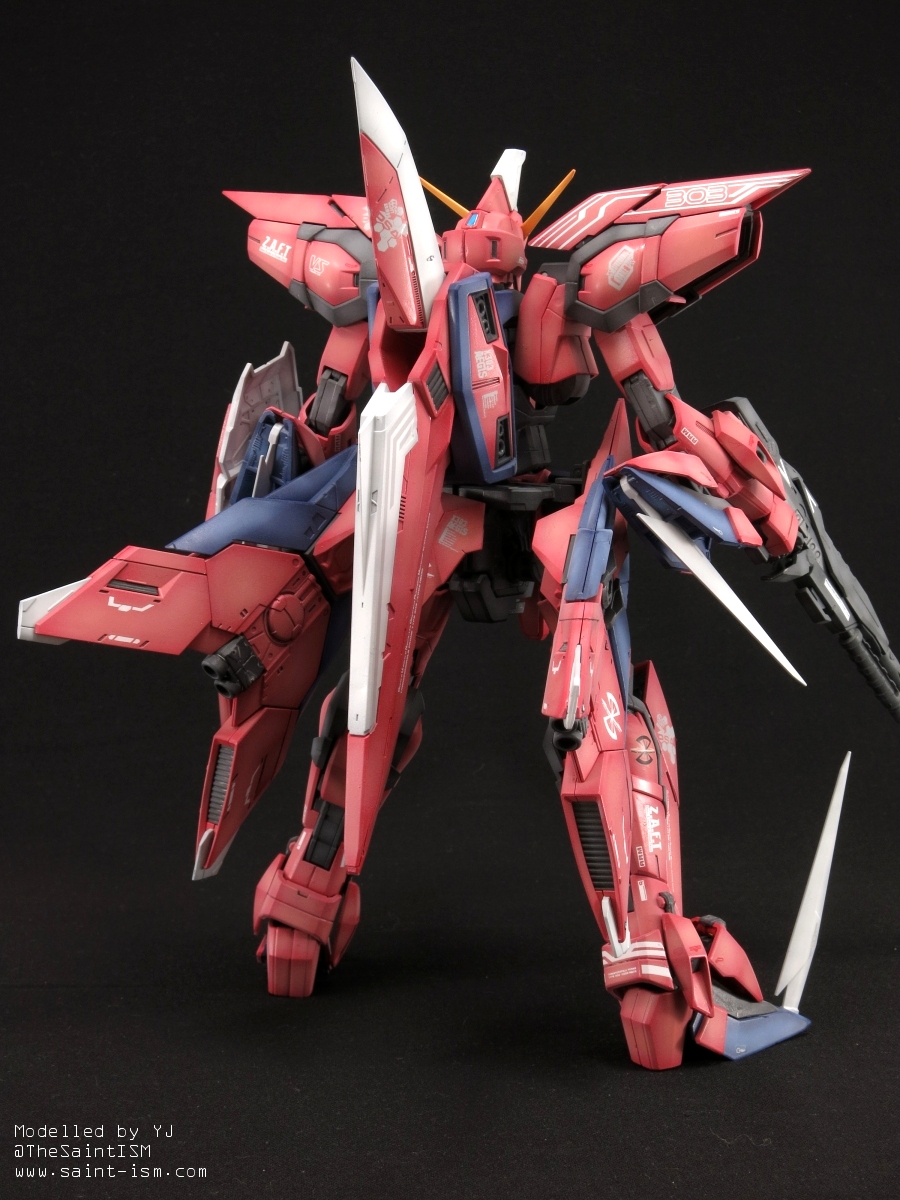
The Aegis is one of those cases where the transformation gimmick results in a slightly unstable kit. Not only is the kit pretty back heavy, but the feet are quite small, with the connection over the heel of the foot and not in the middle. The result is that it is pretty tricky to get him to stand upright at times, but as with most Gundam SEED kits, he ultimately belongs on an action base anyway (which sadly isn’t included).
Unfortunately I can’t comment on the actual transformation as I’m not willing to put the paintwork at risk. The only minor criticism I have is that it seems that by design you need to pop out the hands in order to complete the transformation, though I guess you could leave them there.
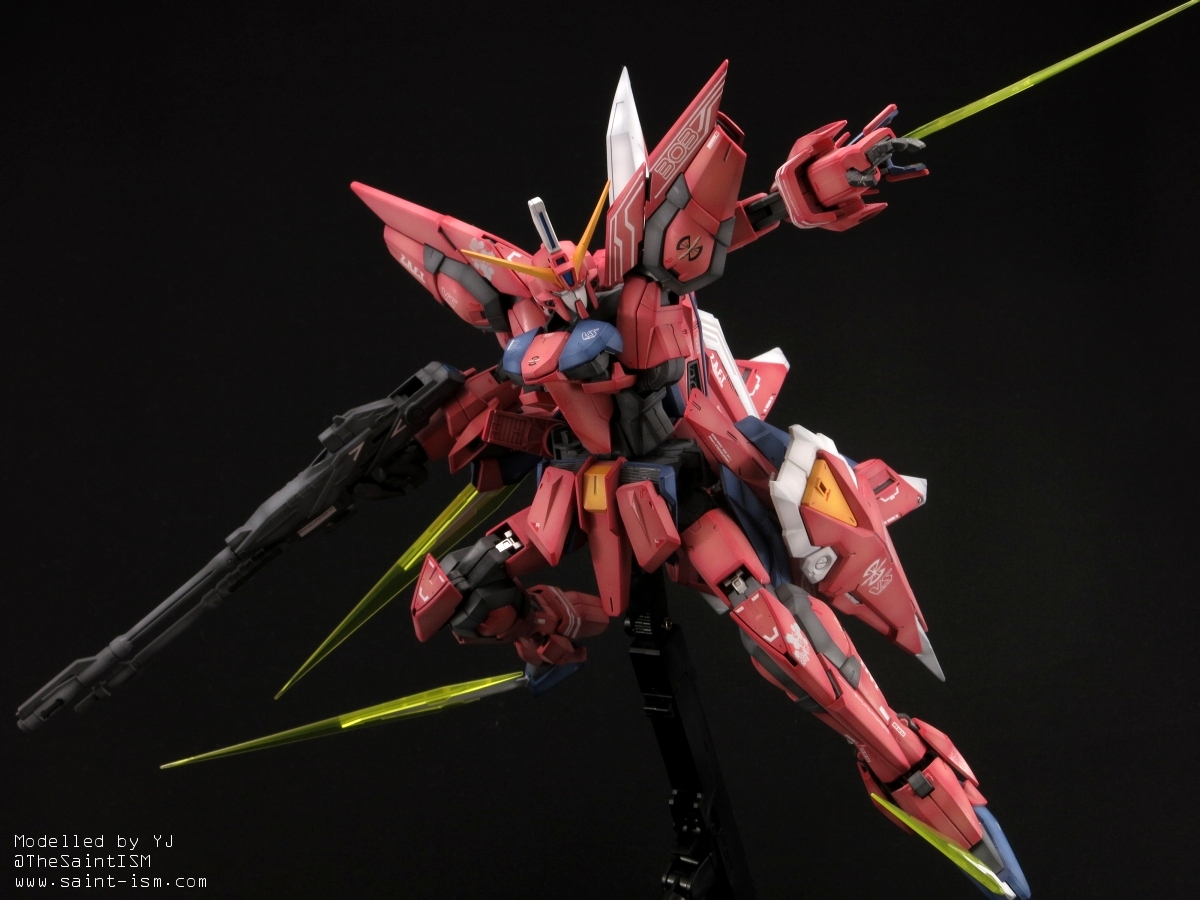
I had trouble getting the trigger hands to grip the beam rifle (as GaiGun did on his build), so I had to use some Blu-Tac to hold it in place. On the other hand, the Aegis is one of the rare Gundam kits which can actually hold it’s shield in a proper blocking pose.
Also the extremely large shoulders can make posing the kit rather troublesome as they tend to knock into the head.
The four white blades on each of the ‘feet’ also convert into beam sabers via effect parts, these simply slide over the white parts and fit quite snugly without being too tight. This can give the Aegis the potential for some really nice poses though it can look a bit goofy at times.
Summary
+ An amazing recreation of the Aegis in model form
+ Excellent proportions
+ Can actually hold it’s shield!
– Back heavy and smallish feet make the kit a bit unstable
– Minor parts swapping (not mandatory) for the transformation process
– Shoulder armour size makes it a bit hard to pose
– Some parts just don’t want to stay in place, like the pink chest armours and the beam rifle
– No action base
Gallery


Action Pose


Dang, that looks great! The red looks spot on, and nice job on the model overall.
This looks awesome! The red that the Aegis uses here is similar to the Justice’s, so this is definitely good practice. You nailed it.