After a marathon 4 hour painting session today, I’ve finally gotten pretty much everything painted on the Aegis.
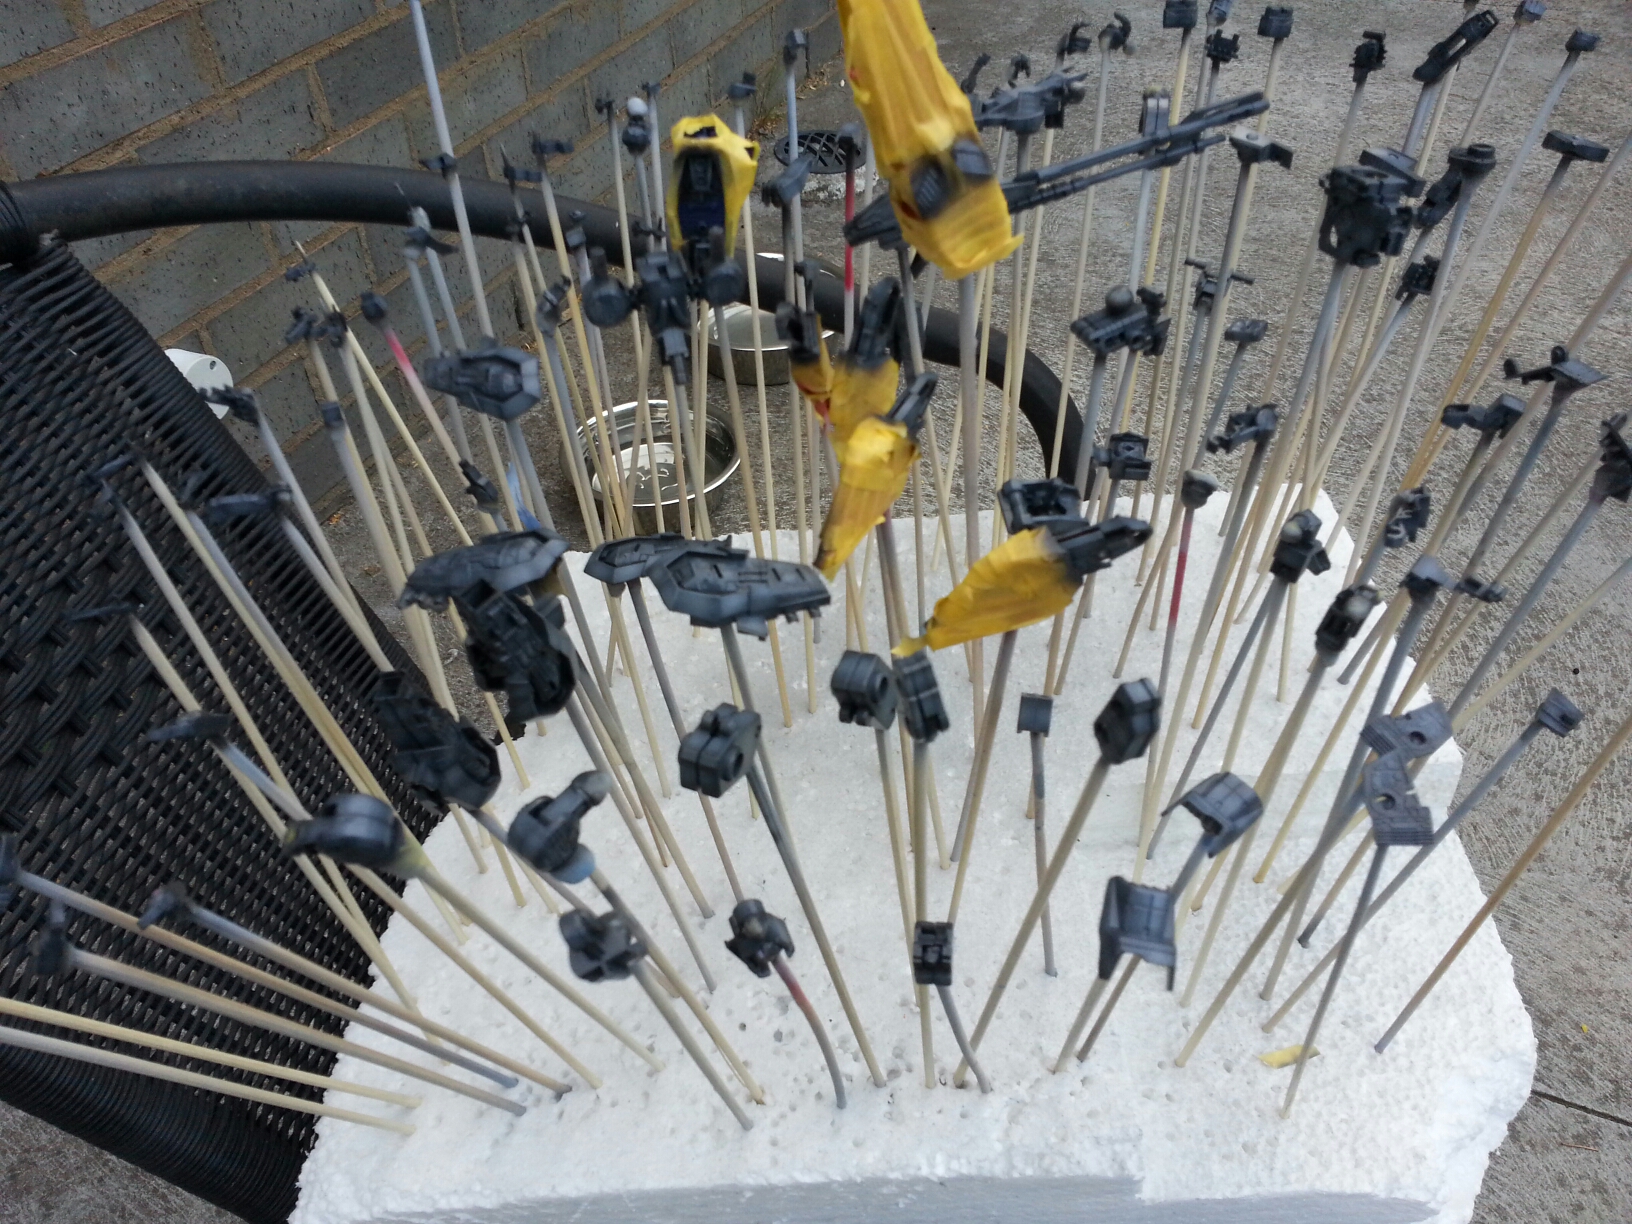
Holy crap that’s alot of frame parts to paint.
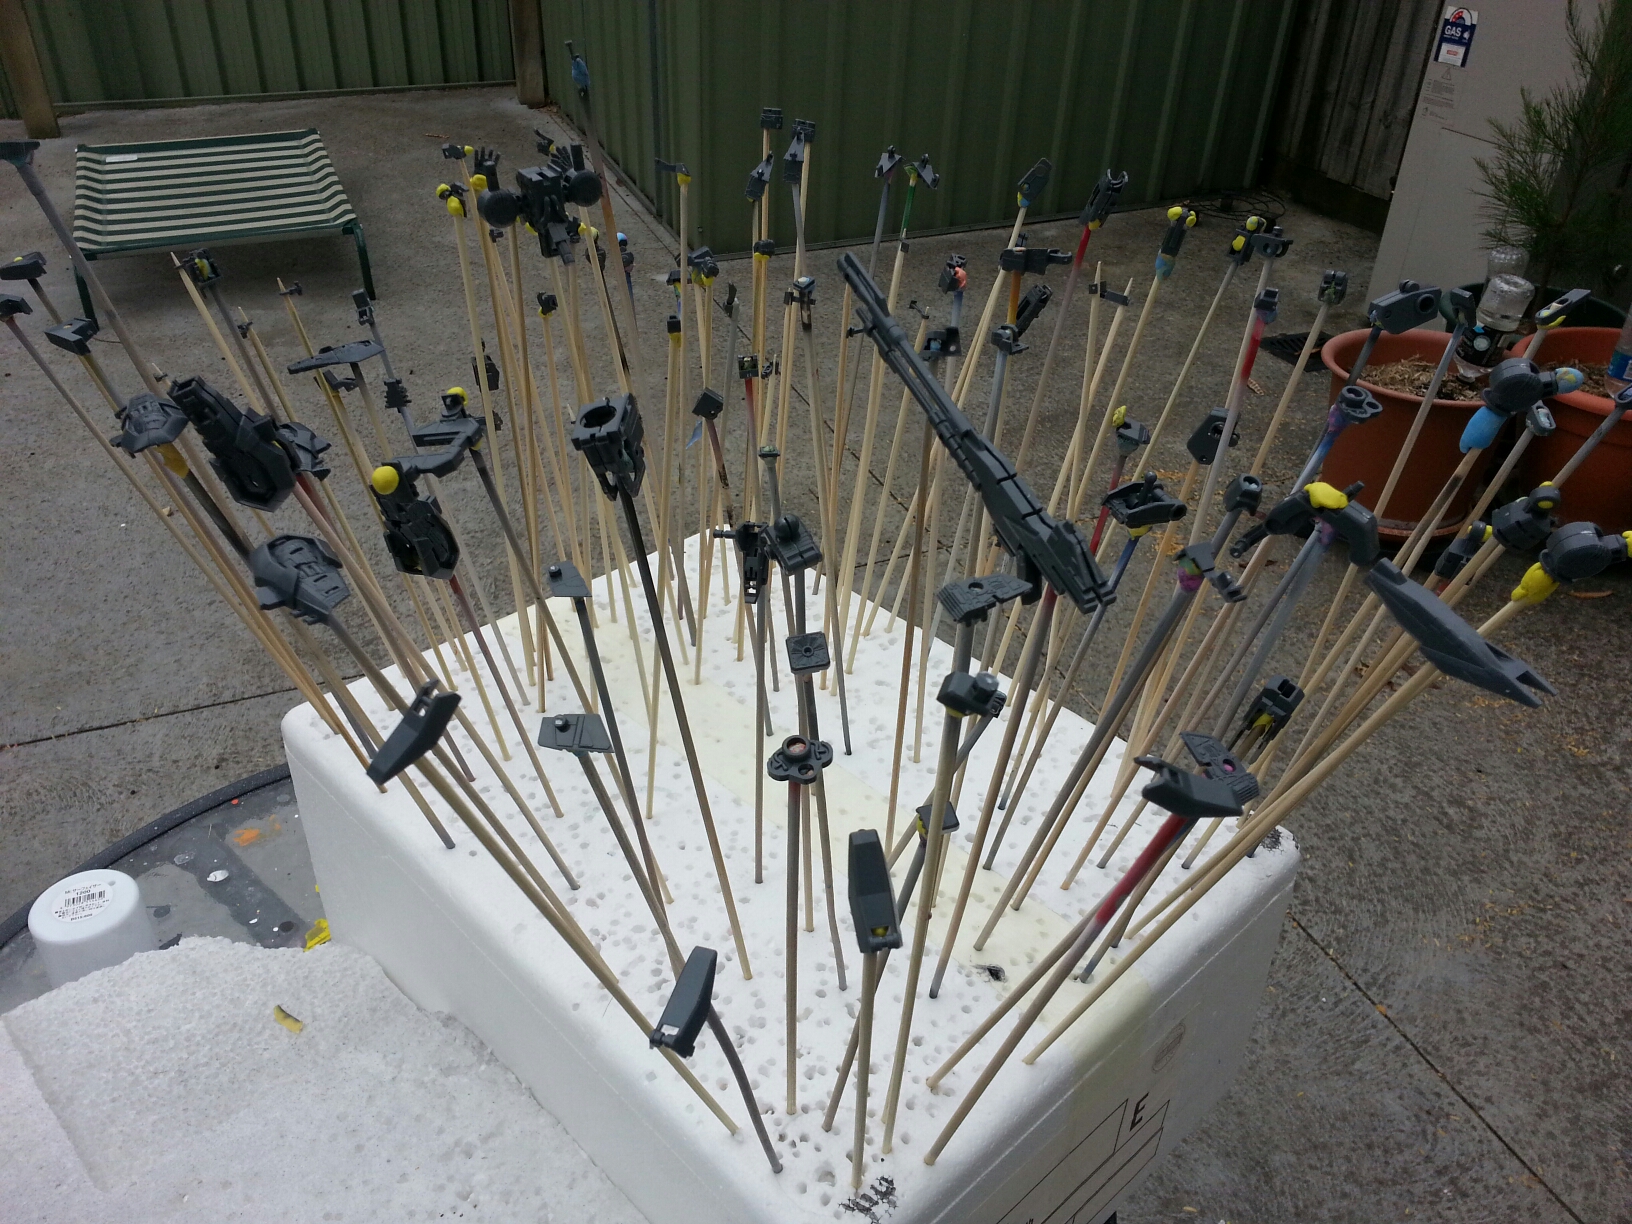
Primed and ready to paint.

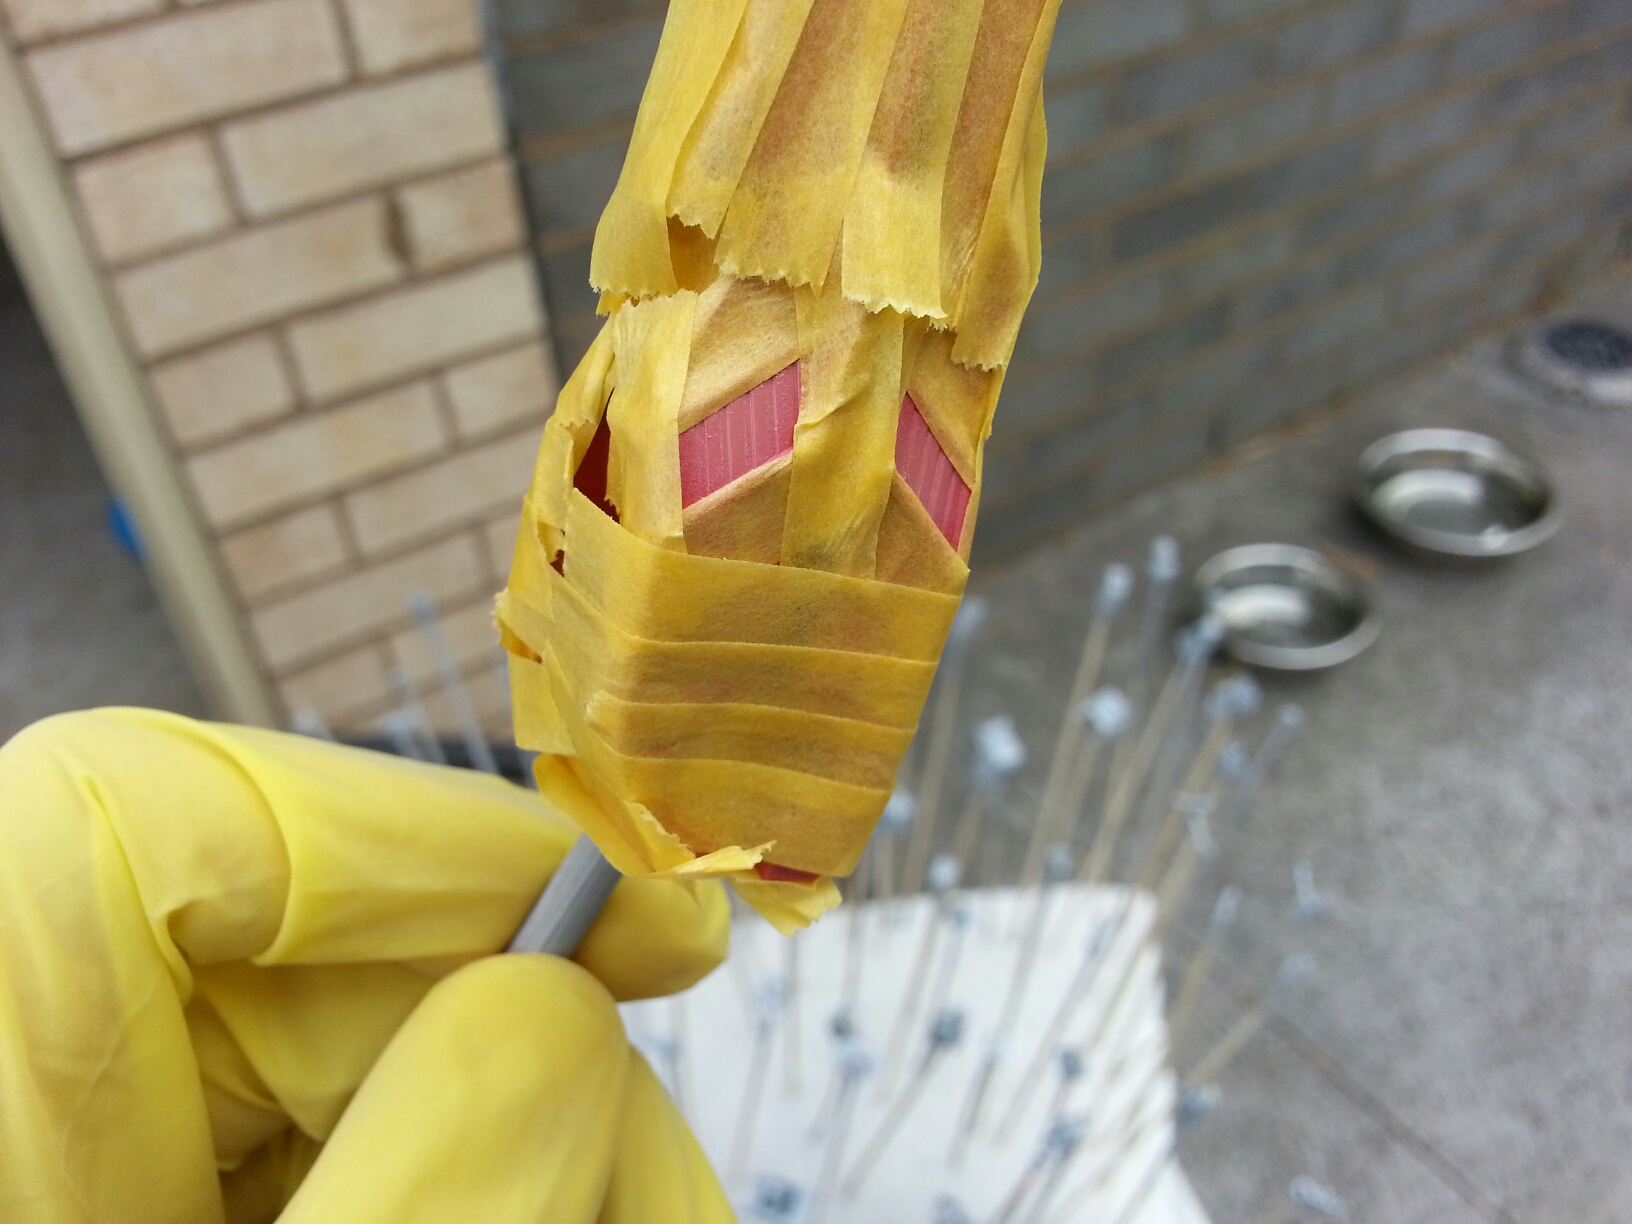
It should be noted that there’s a few parts which have some places where the colour is not molded correctly. These sections on the side skirts where they can expand out should be grey. I also masked that little piece on the corner because, well, I saw goodguydan do it 😛
These vents on the tail stabilizer should be grey.
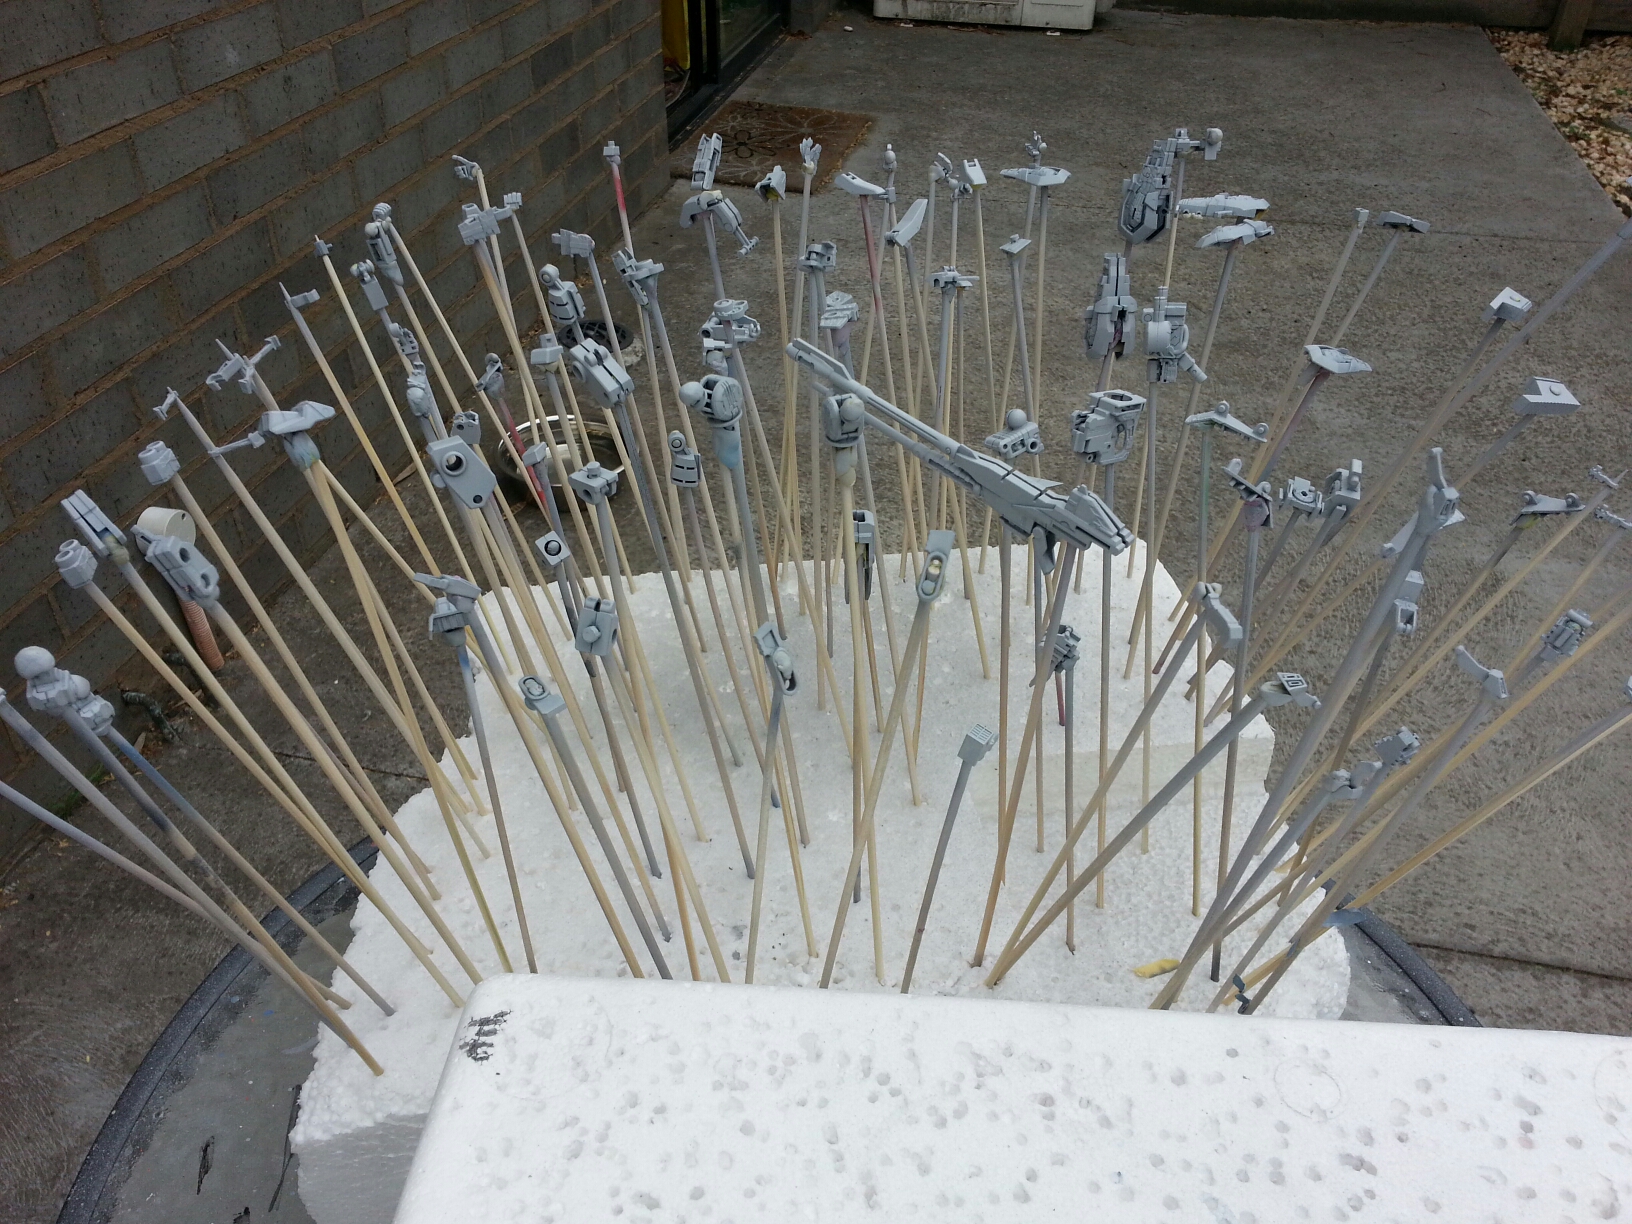
Here are the parts after the first pass. I used 70% Neutral Grey + 30% Black.
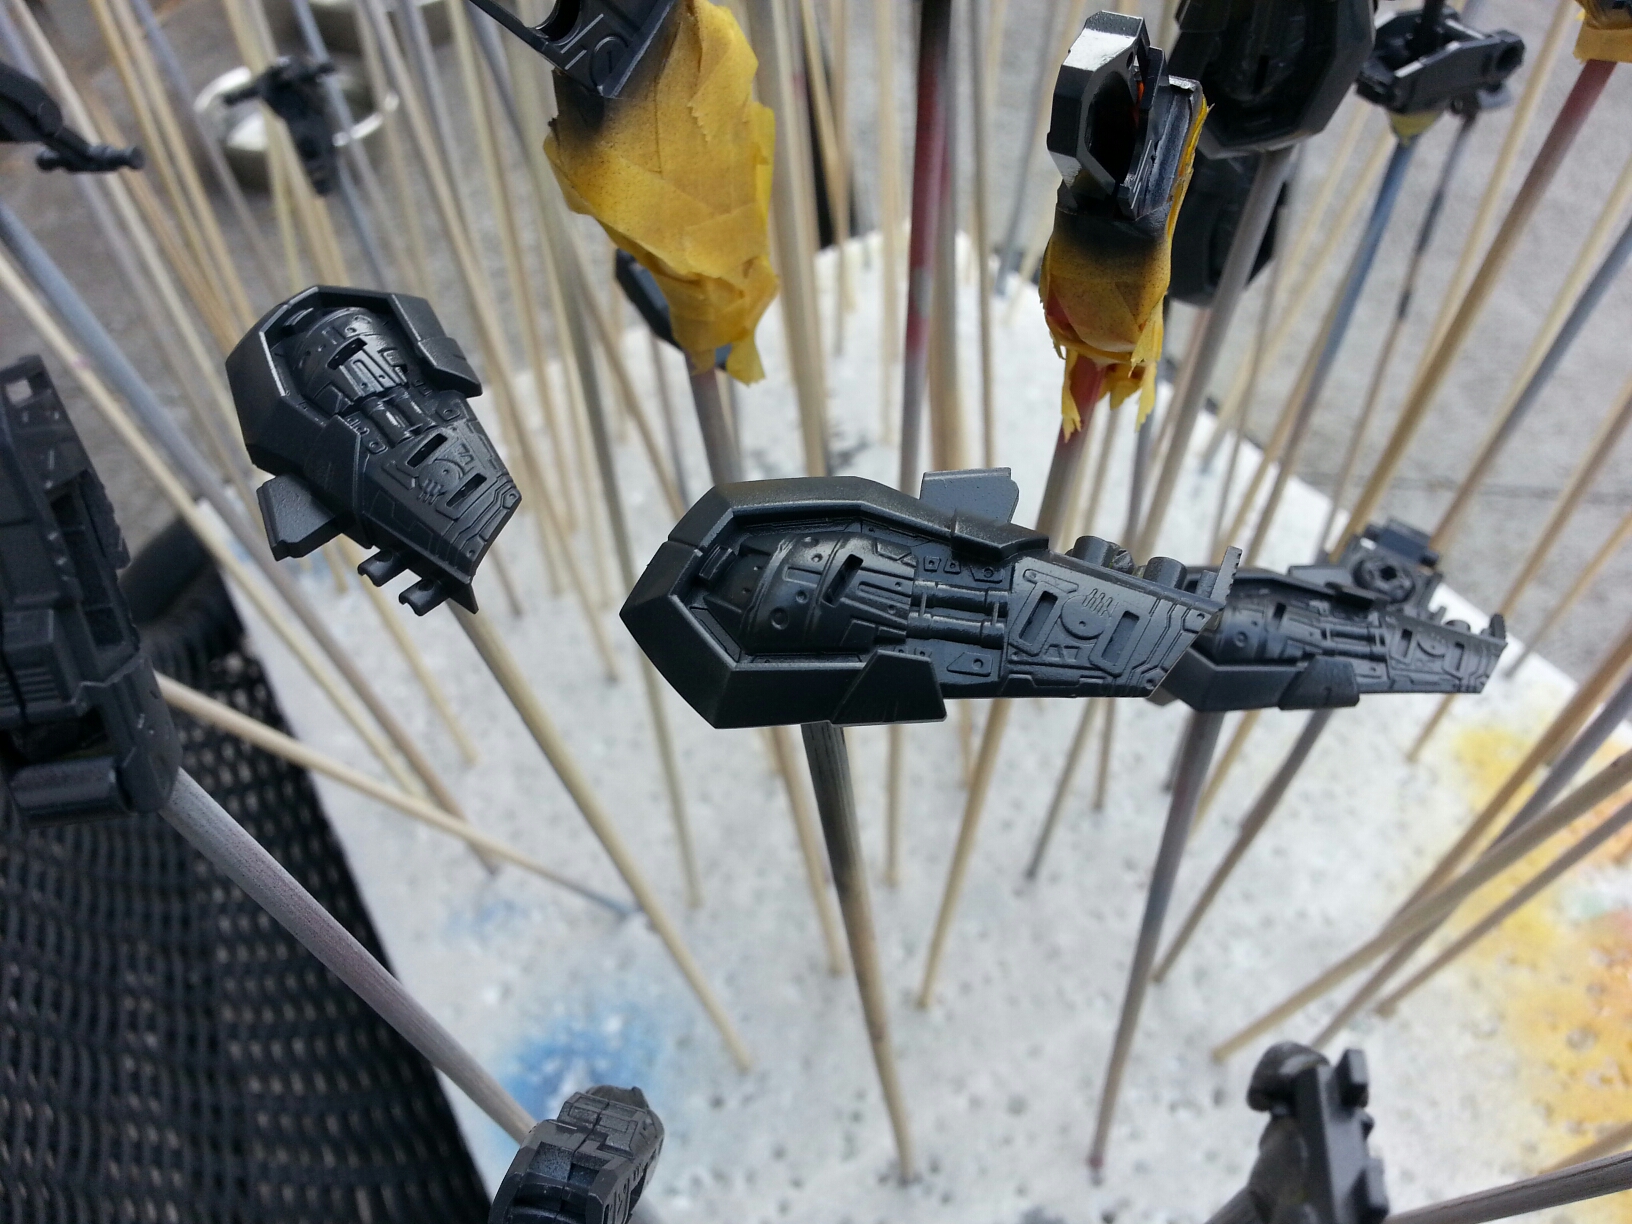
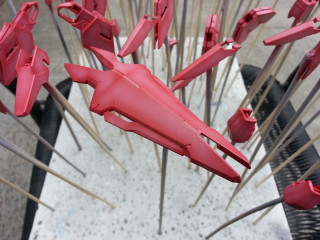
Closeup of one of the shoulder frames.
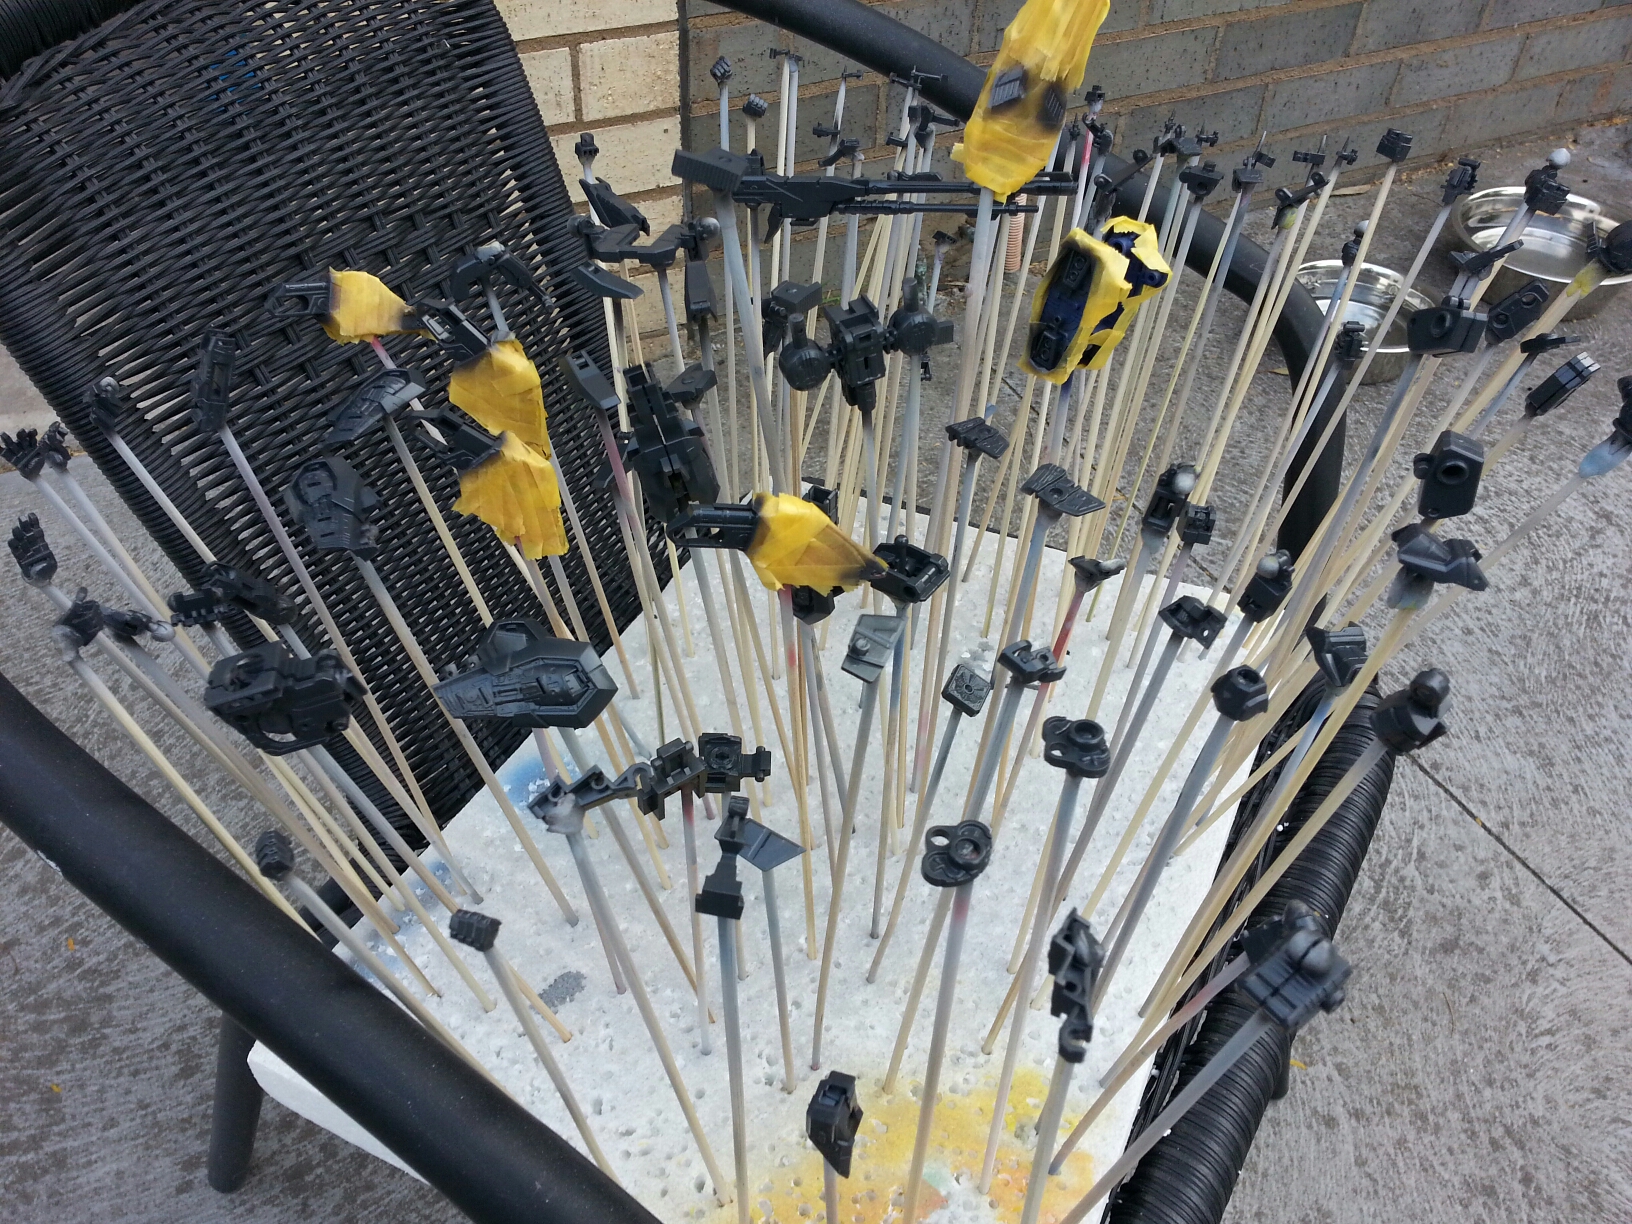
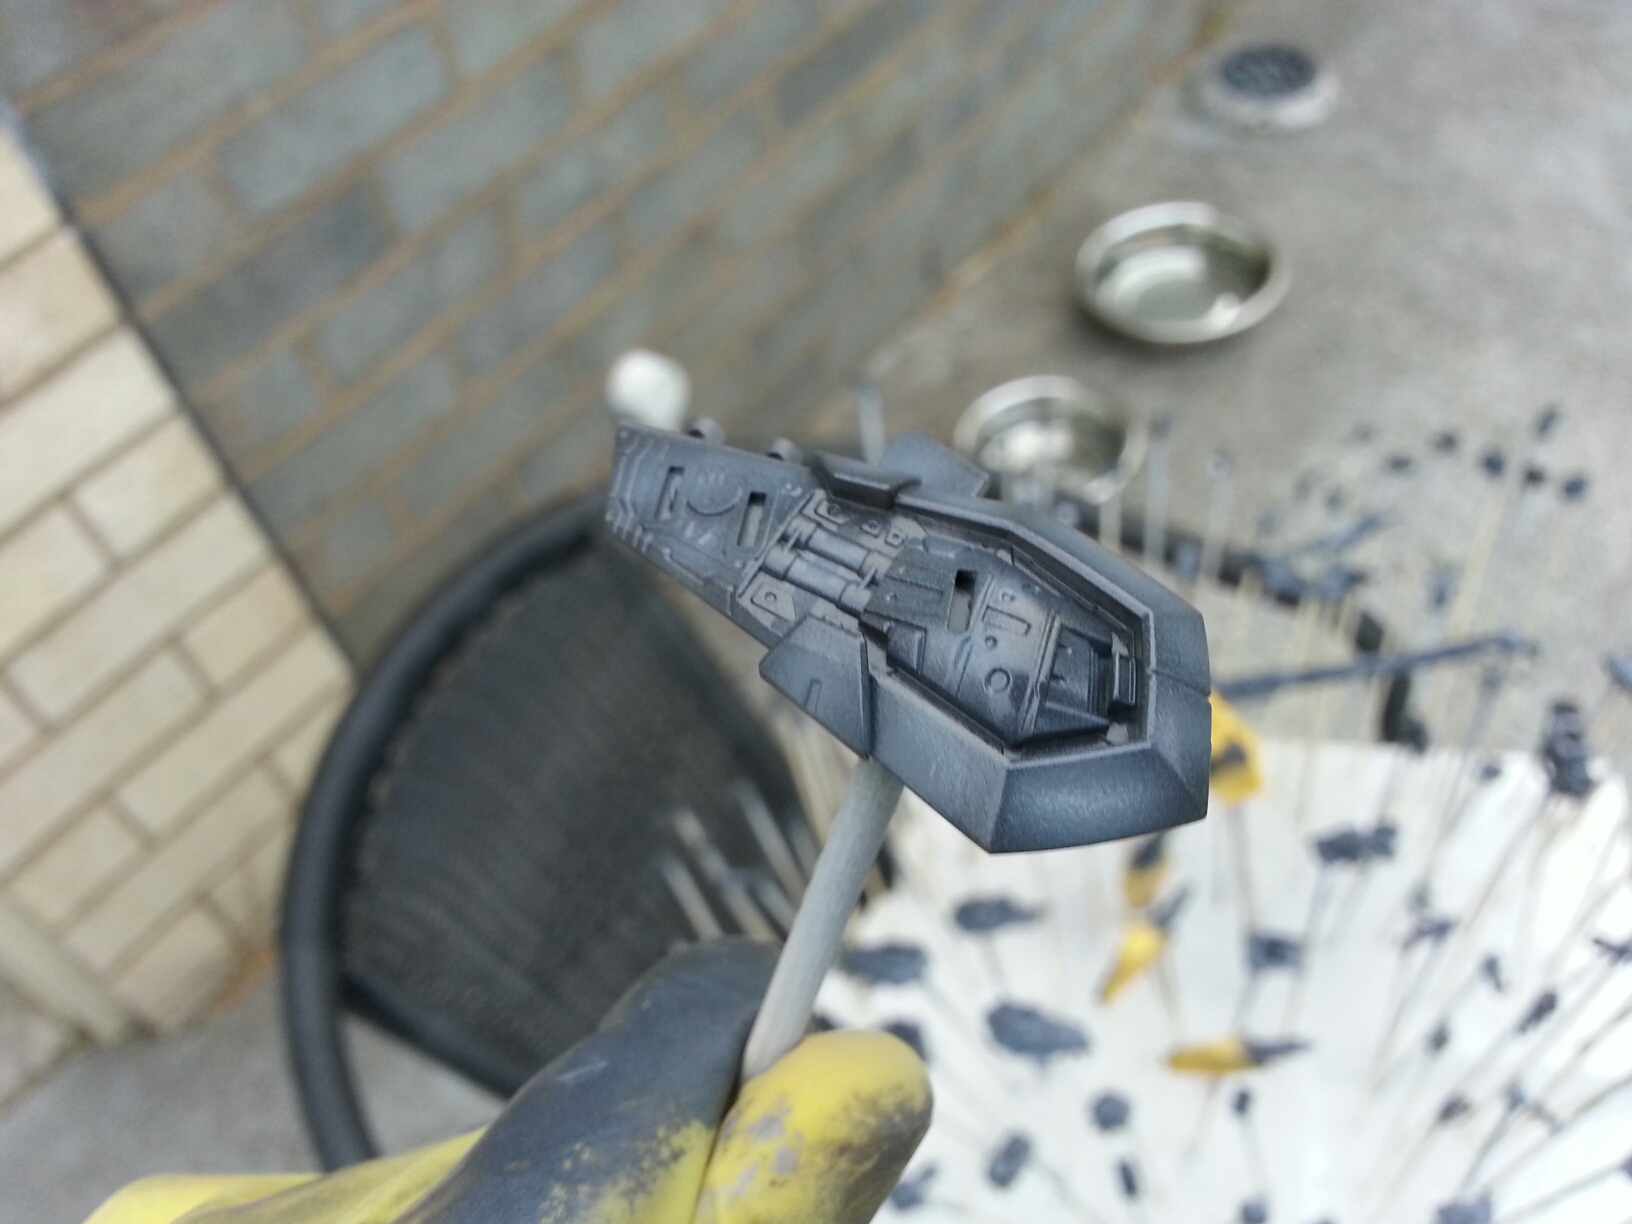
Parts after shading is applied. I went with Neutral Grey (90%) + Black (10%) for the highlights.
Here’s the shoulder frame again with the shading. It’s a bit overcast today so it looks a bit darker than it really does in the picture.
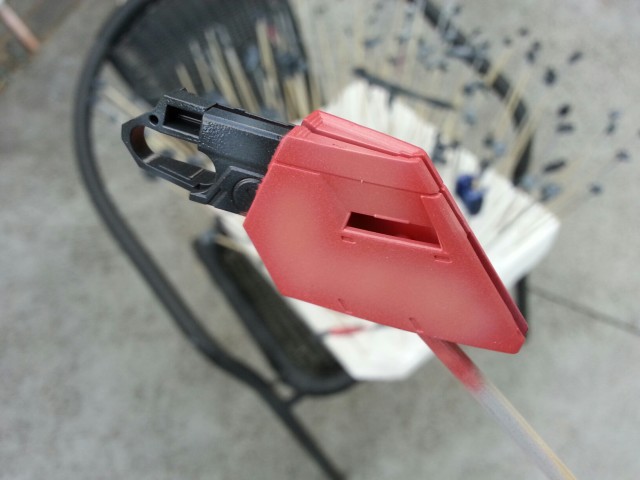
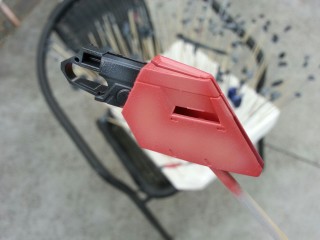
I didn’t show it before, but these vents on the ‘backpack’ also should be grey.

The tail stabilizer after unmasking. I missed about 0.5mm on a few areas but it’s hardly noticeable.
Side skirts after unmasking. I didn’t have a picture, but I went back and added an extra coat to the red parts. I added a bit more orange into the mixture from before and now the parts look less ‘hot pink’ than before.
Before and after comparison.
Well that’s pretty much all the parts painted now, except for the various camera lenses. What’s left is a topcoat, panel line and decals, which I’ll hopefully have done by the end of the week.