
Hobbylink Playing with Plamo 2013 2nd Place – Intermediate Category
Started in the last week of November 2013, and completed on Christmas Day, this MG Force Impulse was my entry for Hobbylink.tv‘s Playing with Plamo 2013 competition. Now that the competition is over I can finally share my work with the rest of you guys!
I was praying for a top 10 finish, but really I’m truly honoured and totally over the moon to get 2nd place, considering the competition standard was pretty high. I’d like to say thanks to Hobbylink Japan and Hobbylink.tv for running this great competition again, it really pushed my limits as I tried to cram in every last bit of detail that I was capable of doing at the time.
Also another thing. I was originally going to enter my Qan[T] for this competition, however it became ineligible because I had tweeted a WIP pic of it. I guess this turned out to be a blessing in disguise, because the Qan[T] didn’t really turn out that well, and I used that experience to make this kit much better.
Here’s the video announcing the winners, They call me at the 11:30 mark or so 🙂
Construction
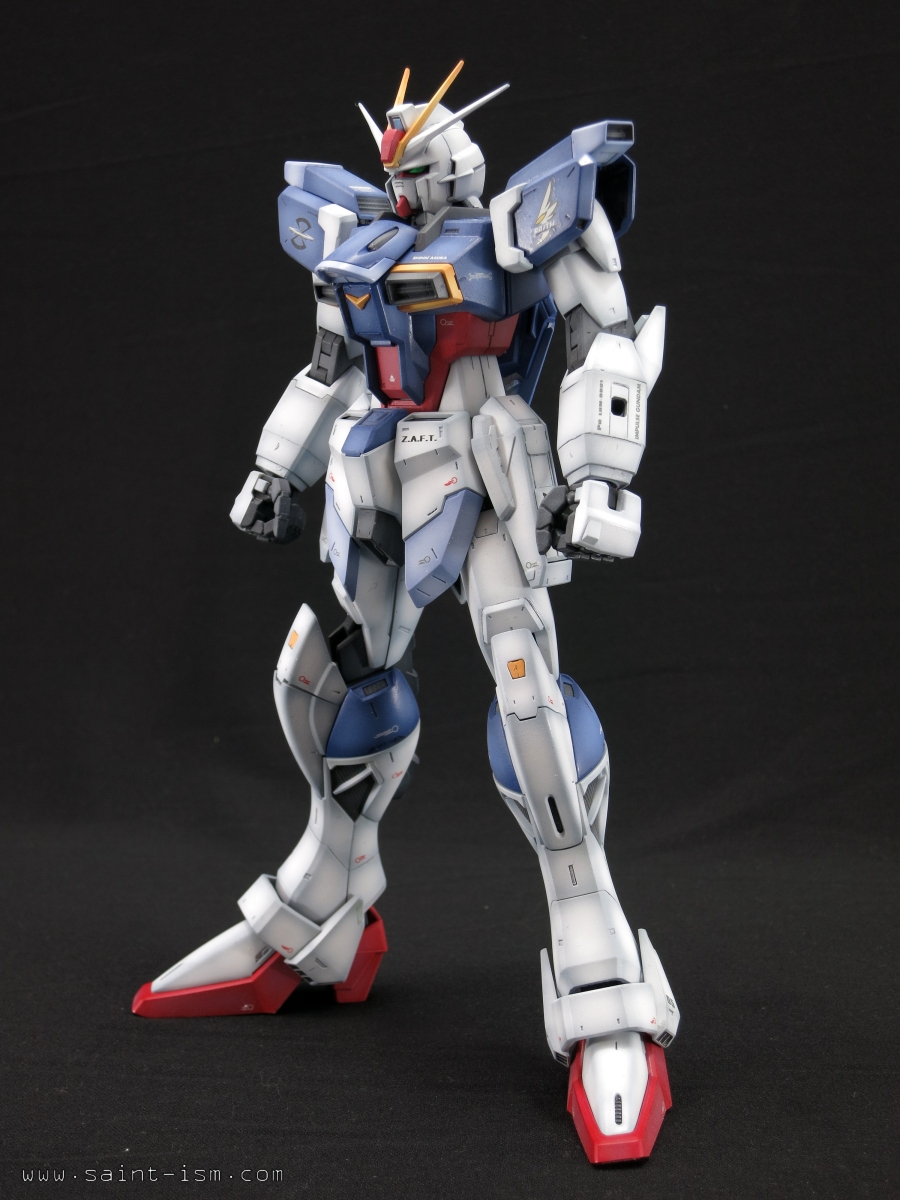
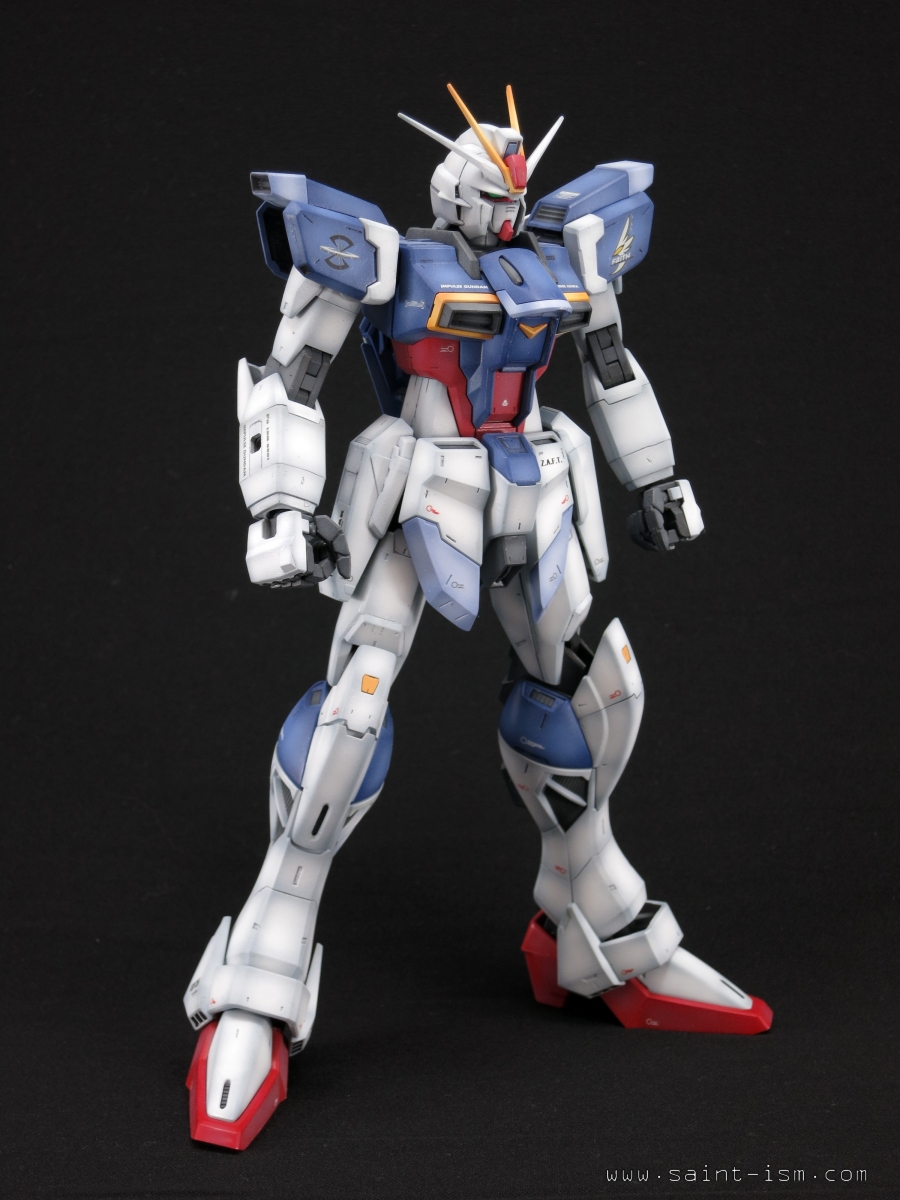
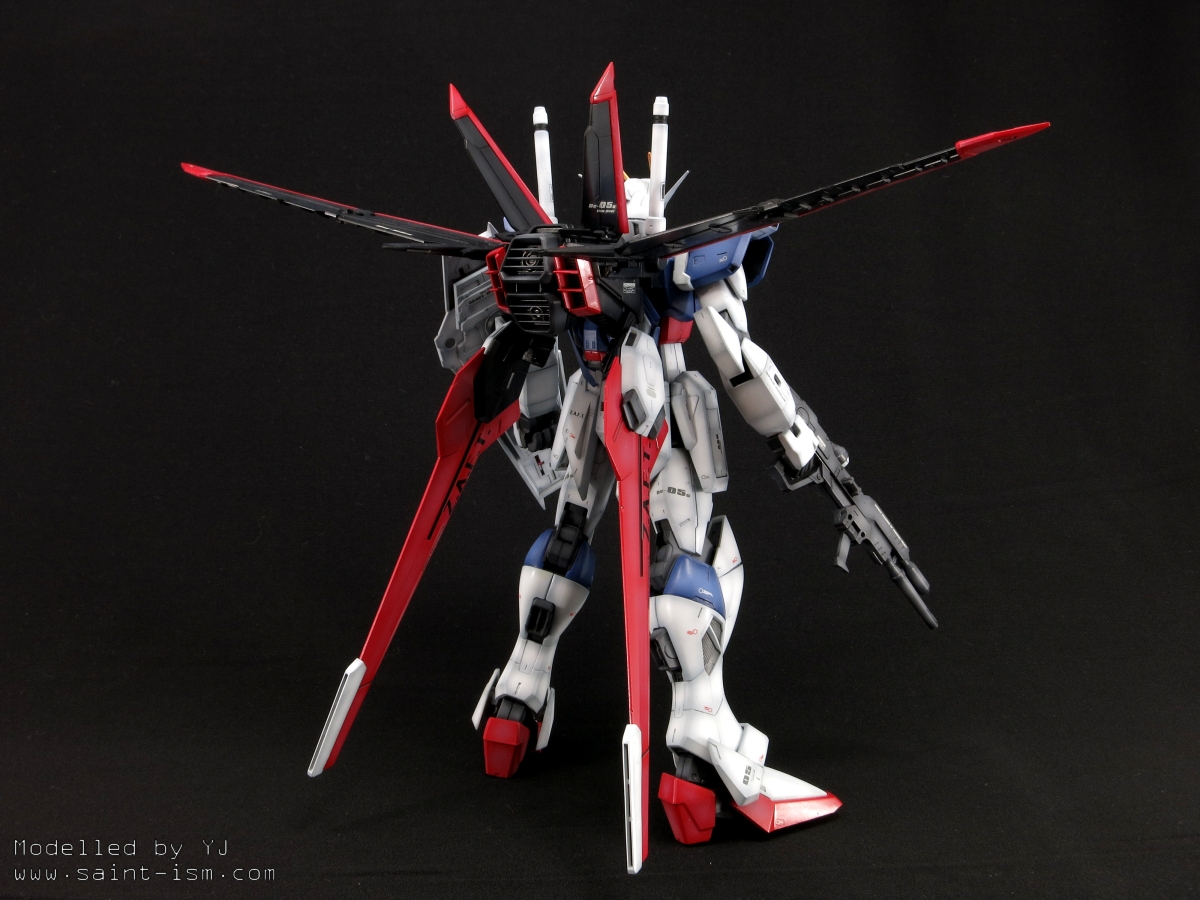
The Impulse is truly one of the more handsome kits out there, with really good proportions and a nice mixture of curves and edges. I think it’s rather longish and sleek legs which gives this kit a really sexy look which few other MS or kits can match.
Head mod?
The Force Impulse came at a strange time for Bandai’s engineering department, when they were somewhat in the middle on transitioning to better colour separation on their kits, and having fewer seam lines. The head vents, for example, are moulded as a separate piece inside the head, which means you don’t have to mask in order to paint them.
This causes a problem though, because the head is still moulded in two separate pieces with a seam line going down the sides. The traditional ‘Gundam Head Mod’ doesn’t work either, due to the aforementioned vent piece which blocks the faceplate going in.
I was almost driven crazy searching for a solution online that didn’t involve masking, in the end I chose to make the seam line a panel line instead, so I took a scriber and ran it down the seam line until it was deep enough to look like a panel line.
Core Splendor
The Force Impulse is fully able to separate into it’s Core Splendor, Chest and Leg Flyer components. The Core Splendor folds up and kinda just ‘sits’ in a groove in the Leg Flyer and doesn’t connect to the Chest flyer at all. In fact the suit can be assembled without the Core Splendor, if you don’t mind a large gaping hole in the back of the Impulse. I didn’t take pics of the individual pieces as I didn’t want to risk further scratching on the model, and I didn’t really put that much effort in painting the Core Splendor either.
Painting
Blue – Base coat of Cobalt Blue (80%) + White (15%) + Bright Blue (5%) + a bit of Fluro pink. White added for highlights. This mix ended up a bit darker than I thought it would, I might try painting blue over white primer next time to see if it makes any difference.
Light blue – Base coat of White (85%) + Cobalt Blue (10%) + Pink (5%) + White (5%). White is added into the mixture for highlights
White – Base coat of White (90%) + Neutral Grey (10%), followed by White (100%) for highlights.
Yellow – Base coat of Orange (100%), followed by ‘Starter White’ technique, then a lightish coat of Orange Yellow (80%) + Yellow (10%) + White (10%) for shading.
Black – Black (100%) base coat, followed by Black (85%) + White (15%) for highlights.
Red – Red Madder (100%) base coat, followed by Red Madder + White + Neutral Grey for highlights. It’s hard to explain the exact combination. Since adding white to Red Madder nets you a pinkish colour, I added Neutral Grey to sort of ‘mute’ the pink until it looks kinda red again.
Grey – Base coat of Neutral Grey (50%) + Black (50%) followed by Neutral Grey (90%) + Black (10%)
Excalibur blue – Base coat of White (60%) + Cobalt Blue (35%) + Purple (5%). White is added for highlights.
Panel lining was done using Tamiya Panel Line Accent (Grey), which I feel gives a better overall tone compared than using black.
The Force Impulse still has quite a few areas which need paint to be colour correct, despite being a newer kit. These are:
- Vents on the back of the head
- Vents on the top of the shoulder facing the main body
- Vents on the light blue shoulder piece
- Blue trims on the wings on the Core Splendor
- Yellow trims on the Core Splendor tail fins
- Vents on white pieces of the Force Silhouette where the bottom fins join to the pack
- Vents on the front of the Force Silhouette
- Vents on the back of the Force Silhouette should be red
- Vents on the ankle guards
- Handle of the Excalibur
- White trims of the Silhouette flyer
Oh god so many vents. Most of these parts require some masking in order to paint. I got away using a wash (using Tamiya Accent Colour) to do the ankle guard vents. Some are pretty hard and need to be handbrushed, like the rear engine cover on the Force Silhouette.
While technically not colour incorrect, I painted the insides of the shoulders the same colour as the inner frame. Make sure you paint these! The shoulders are pretty hollow and you can easily see the insides when posing, so you don’t want to be caught out.
Decals
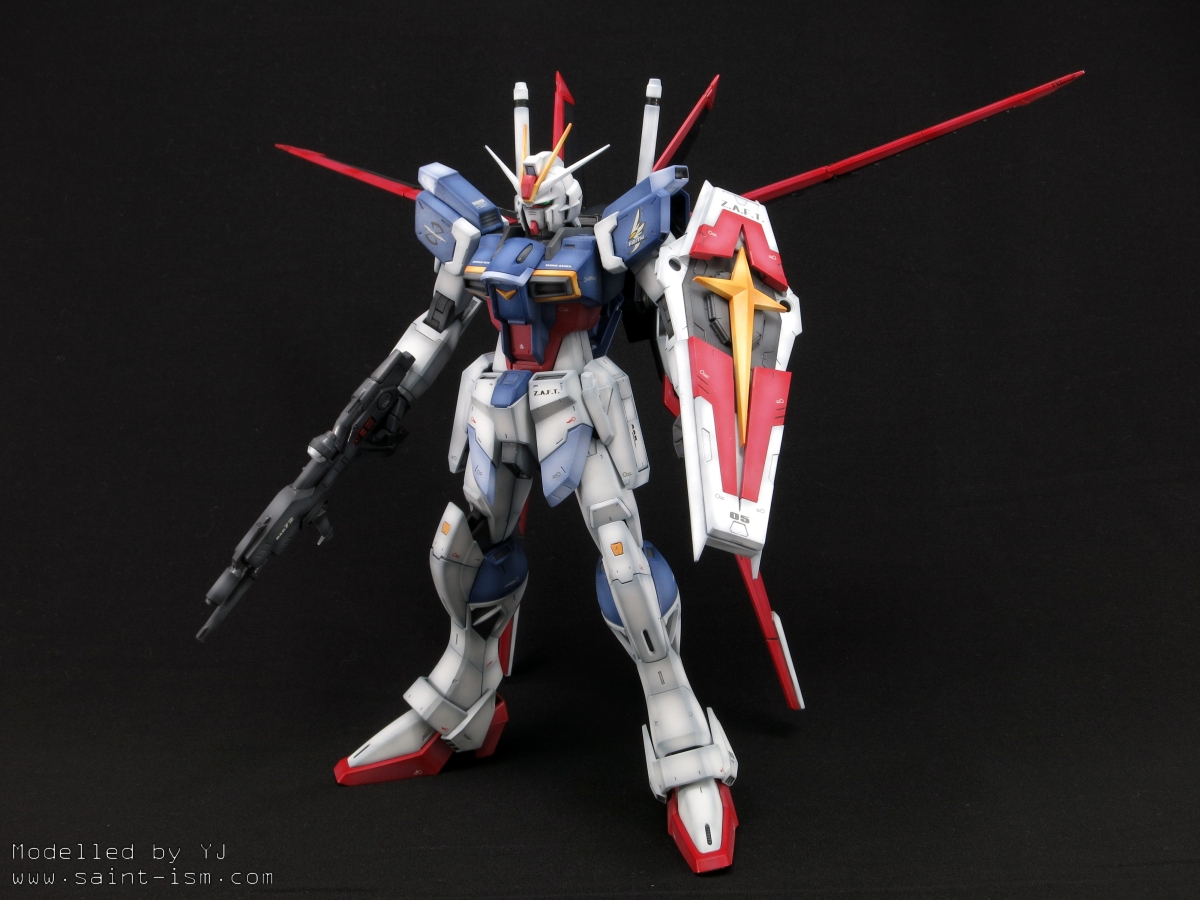
I used the official Force Impulse Decals from Bandai. These are unfortunately discontinued and I had to pick them up from eBay. Other than the Faith and Z.A.F.T symbols, the rest are pretty uninteresting. There are a million Z.A.F.T decals (I guess Z.A.F.T really want you to know Impulse belongs to them!). For text that is black, you also get doubles of the same decal in grey, so you get to choose which one you want to use.
I also cannibalized leftover decals from the MG Aile Strike Gundam and MG Unicorn to make things a bit more interesting. The decal sheet doesn’t provide too many of those ‘red warning circles’ to use, so I took some from the aforementioned sets as well.
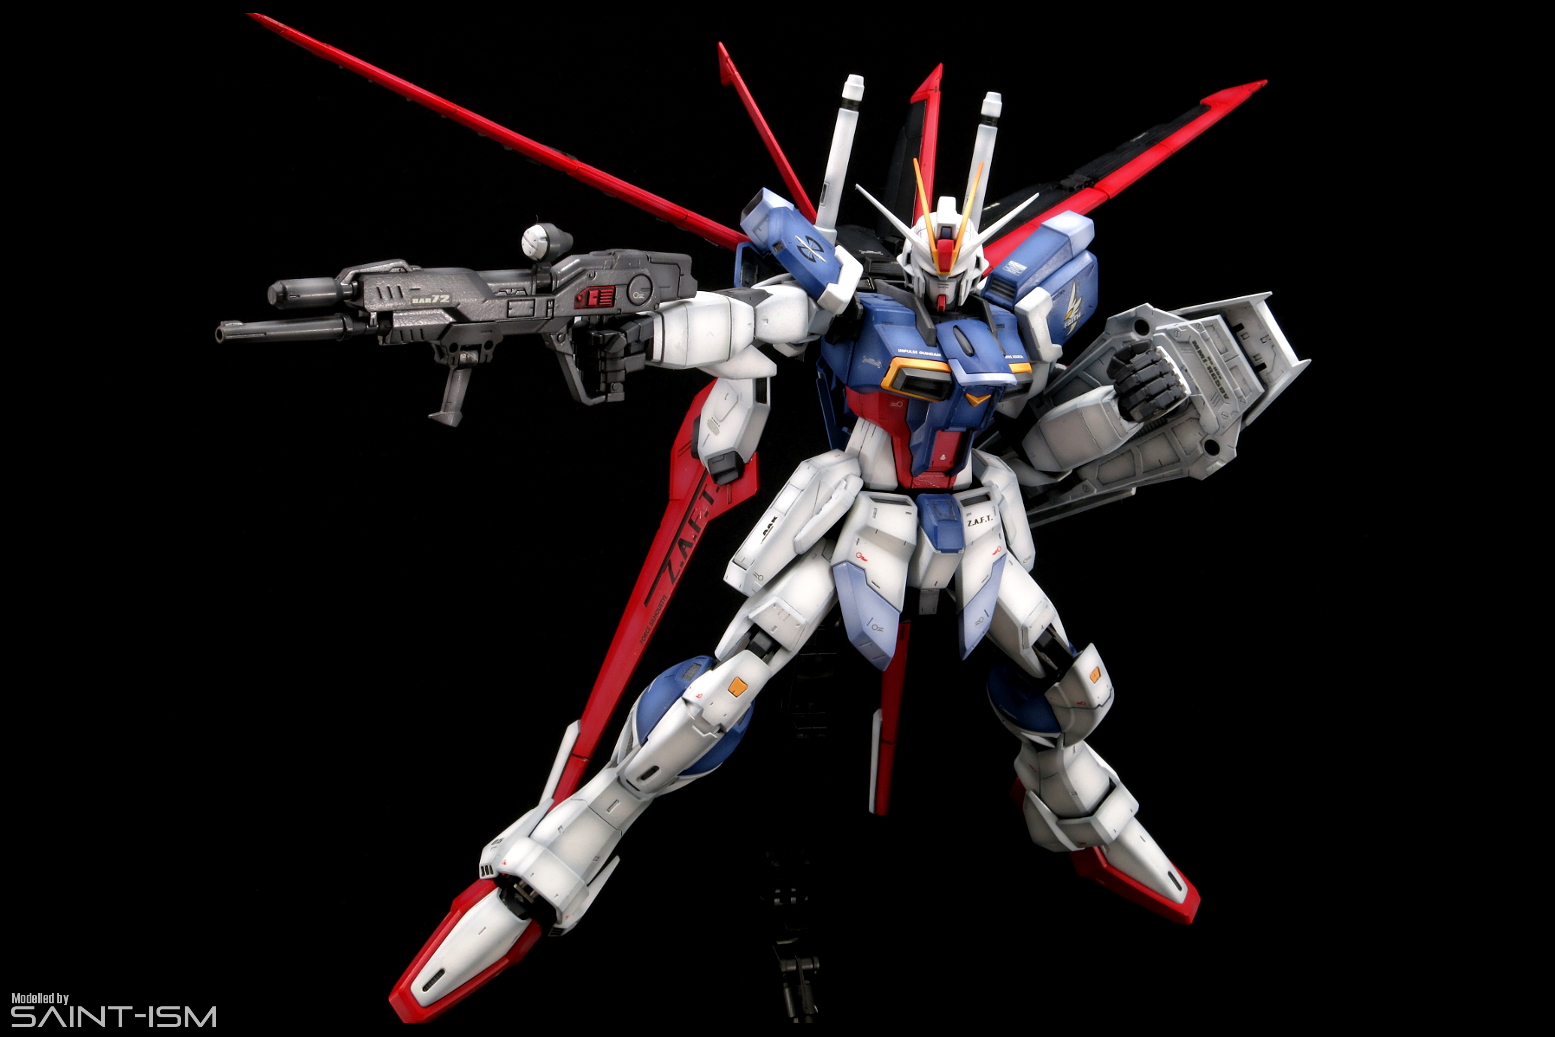
Posing
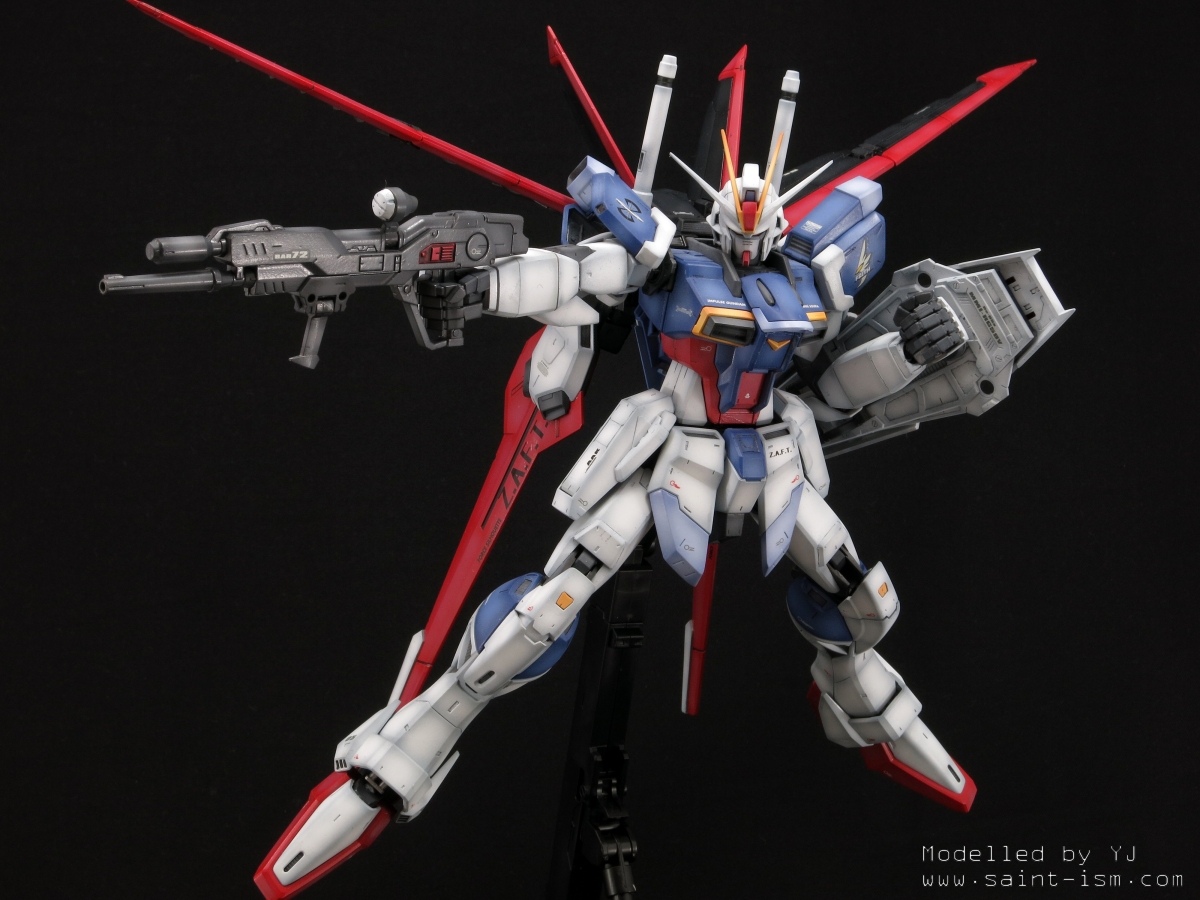
Pretty much standard MG fare for the day, the Force Impulse can bend it’s limbs 180 degrees. The Force Silhouette is lighter than it looks and the Impulse has no problems standing upright with it equipped.
There are some issues I did find though. First are the leg joints. Since the Impulse’s legs must kinda fold forward a bit for it to transform into Leg Flyer mode, it can be kinda hard to find the ‘normal’ leg position at times when you just want to have the Impulse standing up normally.
While the legs can do a nice split, the range of movement is blocked by the side skirts. The ankle movement is also blocked by the ankle guards, so you can’t have it stand with it’s feet too far apart before they start lifting off the ground.
The head also has a really long rear guard, so it kinda restricts the amount of movement the head can do laterally and vertically before they collide with the collar part. The Impulse also has a really heavy brow, making the eyes not really visible unless viewed from below. While these don’t sound like a big deal, it does affect the kit’s ability to have really expressive poses.
Summary
+ Fantastic proportions
+ Reproduces separation gimmicks from the anime without loss of integrity or stability
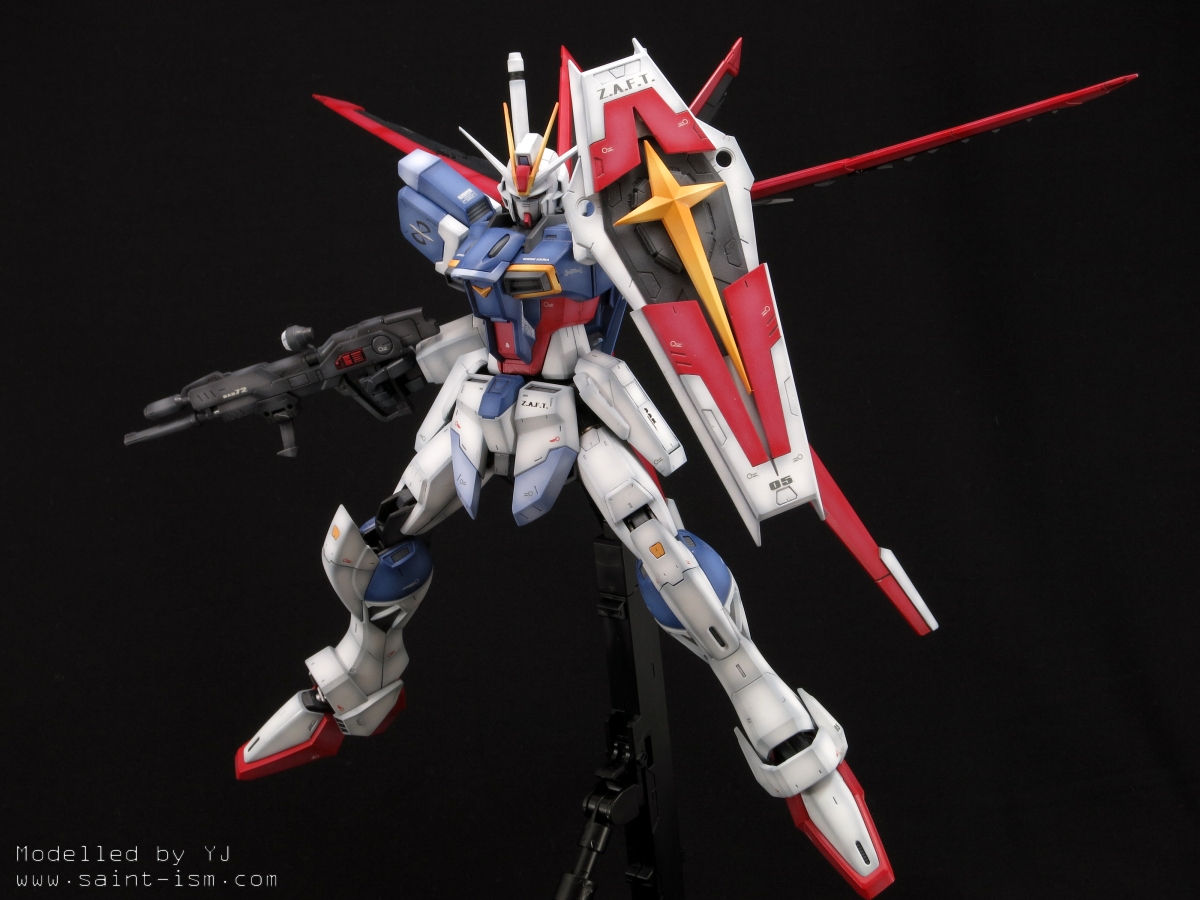
+ Extras like the Excalibur and Silhouette Flyer
– No Action Base
– Head mobility isn’t great
– Lots of vents which need masking to paint
– Legs can be a bit fiddly
Impulse Gundam


Force Impulse Gundam


Action Pose


Credits
Shoutouts to Ngee Khiong, whose MG Impulse build I took inspiration from for many of the little details. The guy is truly a master at detailing and I only wish he’d take up painting!
As far as “initial” Gundams go, the Impulse is probably my favorite (up to the point of me using it a lot in the SRW games it appears).
You did an amazing job with this kit. Congratulations for your second place, you deserve it.
@ZeroMiles
Thanks for your kind words. I never really liked the design of the Impulse in the anime, but the MG kit really makes the design shine.