It’s now time to tackle the worst part of these Zaku Warrior kits, which are the weapons. Specifically for the Slash Zaku, it’s the ammo cans on the backpack. Also on a side note, this is probably the last WIP for this particular kit. Since Melbourne entered Stage 4 lockdown last week, my Gunpla related activities have been cut down significantly and I can only squeeze in about an hour or so a day. Since I finished the main MS last week, this is the last major hurdle before I consider this project finished.
As with the Gunner Zaku, I feel Bandai have again made some cost-cutting measures when designing how this kit goes togther. Even though it’s not nearly as bad as the Gunner Wizard cannon with the giant seam line down the middle, I felt this bothered me enough to try to fix it.
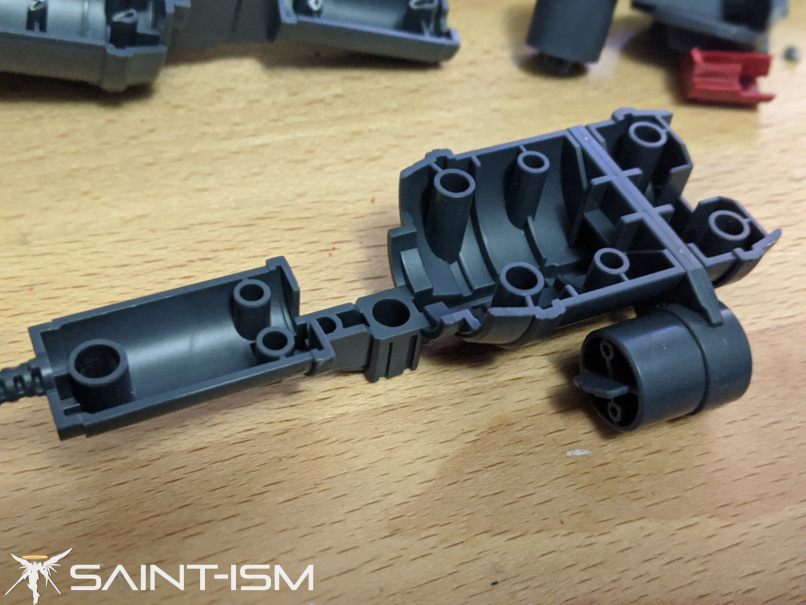
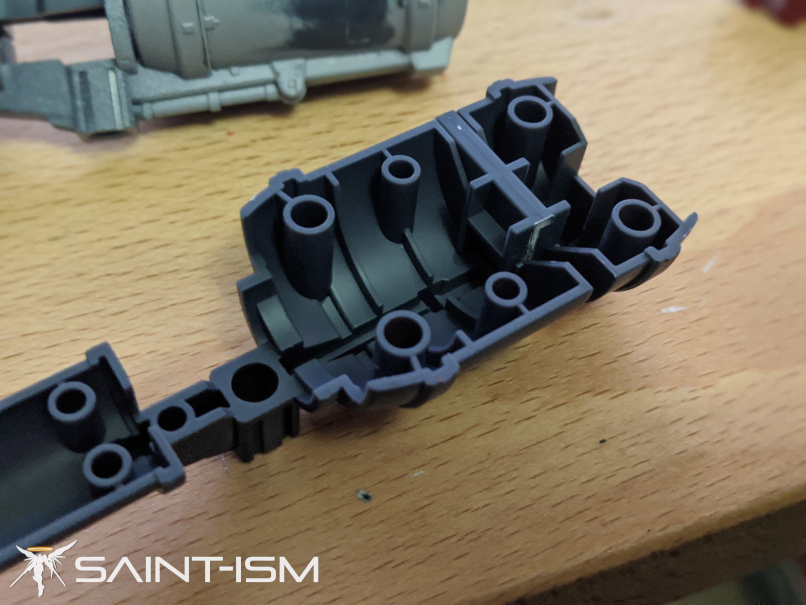
For example, these cannon/ammo drum parts are identical for the left and right sides, only by inserting L1-11 / L1-12 part determines which side it becomes.
This however leaves a weird looking bar on the other side of the can.
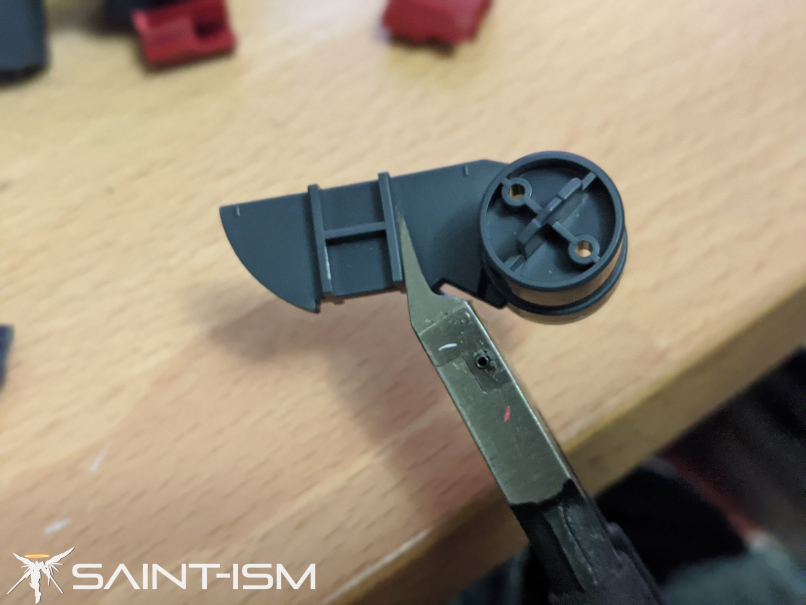
So in order to fix this up and make sure the rest of the small seam of the ammo can are fixed, we’ve gonna need to start cutting stuff up, something I’m admittedly not too keen or confident in. Generally this how quite alot of my botches start. So to begin, first we need to cut up these L1-11 / L1-12 parts in half, I pretty much used some old nippers and just cut it at the edge of this “H”.
You can glue in the part with the H into the ammo can.


The other half of the part kinda just slots in afterwards. Don’t worry if it’s a bit loose, because part L1-1/L2-1 connects from behind and will help support it.


Normally this red part M1-2/M2-2 is supposed to go in before you sandwich the cans together, so you’ll need to saw it in half and remove the peg, after that they can just be slotted in from the side.

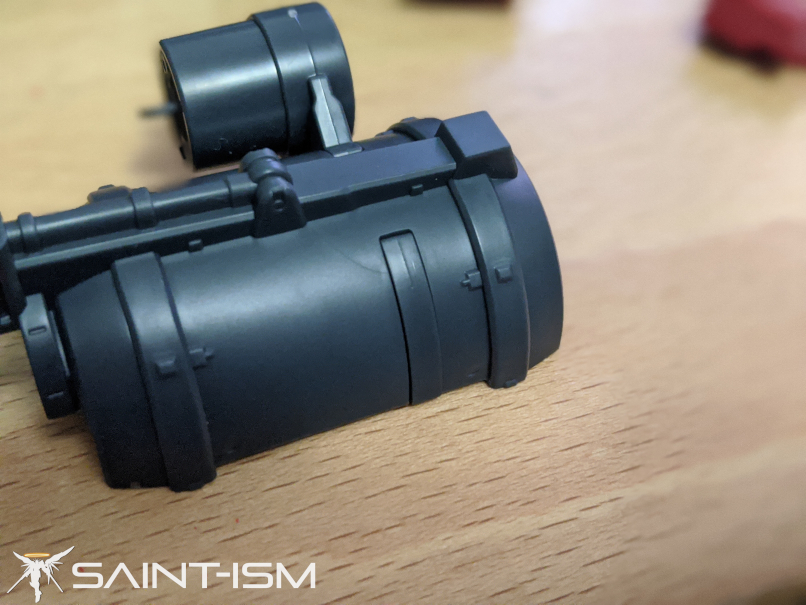
Sealing this gap was the least favourite part of this build. I’ve been using Tamiya grey putty for most of my gap filling, but it’s got a rather bad tendency of shrinking after it’s applied, so it doesn’t handle deep cracks very well. I ended up using CA glue (aka super glue) and some baking soda to insta dry it (credits to this old video from the Ghost of Zeon), however I’ve also previously had some bad experience with this method as super glue dries hella tough, and will often destroy the sandpaper you are using AND you run the risk of over sanding the part.
Anyway with all the mods done, you’re free to glue both sides of the ammo can together, fix the seams and you can just slot everything in afterwards.
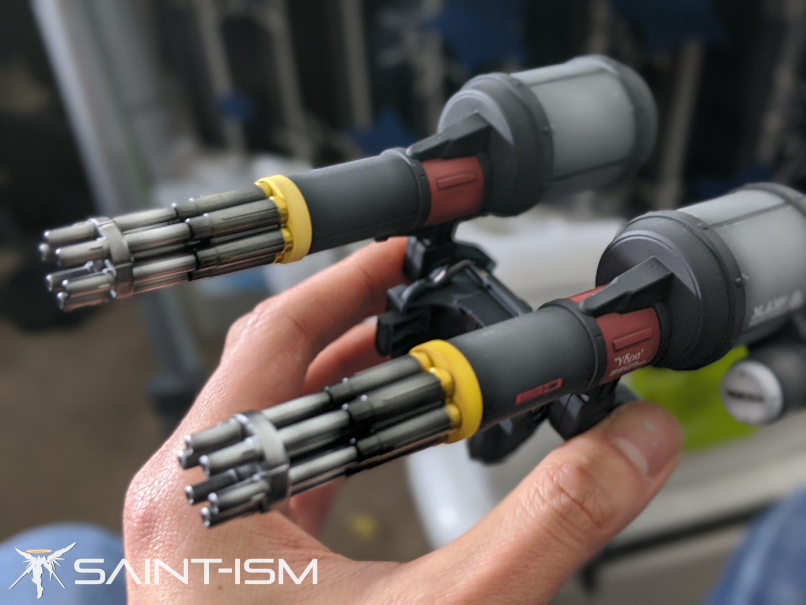
Some sleep was lost on deciding the colour scheme for this backpack. In the end I decided on the following:
Mr Color Neutral Grey for the main surface of the can, adding white for the shading.
The rest of the cannon is Gaianotes Neutral Grey V, followed by Neutral Grey IV for shading.
The red pieces are Mr Color Russet + a bit of green to make it a bit darker. Yellow and white added for highlights.
The yellow pieces were first primed white, I preshaded the edges orange, then did coats of Mr Color Yellow FS (???), and added a bit of white for highlights.
The darker part of the gatling is a base coat of Gaianotes EX Black, followed by coats of SMS Stainless Steel. The Steel is sprayed less towards the edges to give a shading effect.
The silver part of the gatling is a base coat of Gaianotes EX Black, followed by coats of SMS Super Silver. The silver is sprayed less towards the edges to give a shading effect.
The gold trim is Gaianotes Starbright Gold.


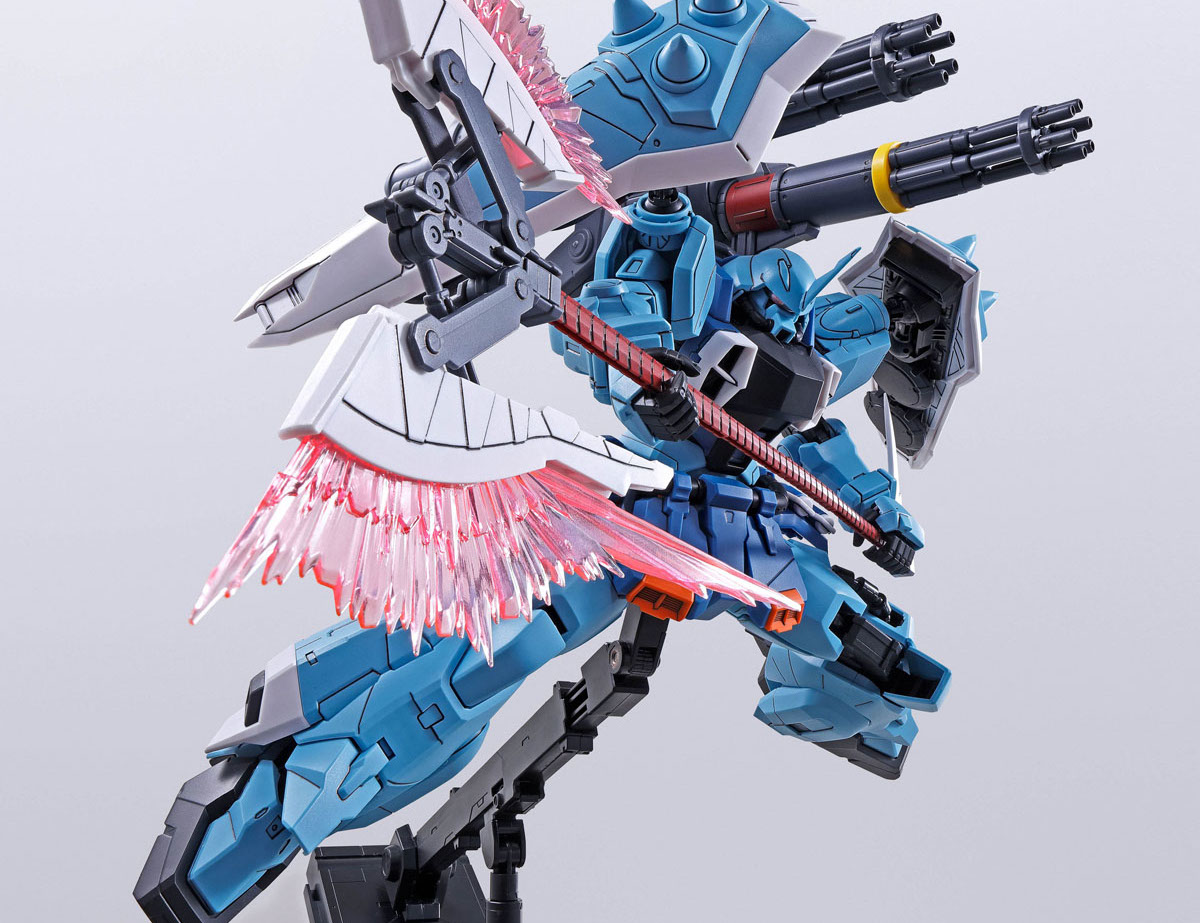
So this pretty much concludes the Slash Zaku WIP series, you’ve already seen the finished product in the retro post, but here are some random progress shots. It’ll be quite some time before I go back and take full photo series for this kit, but please stay tuned for it!