
It’s time to build last stolen GAT-X frame series, the Buster Gundam!
Colours


The first thing I usually do when building a kit is hit up Google images for some references to decide what kind of tones I want.
Left: Official image
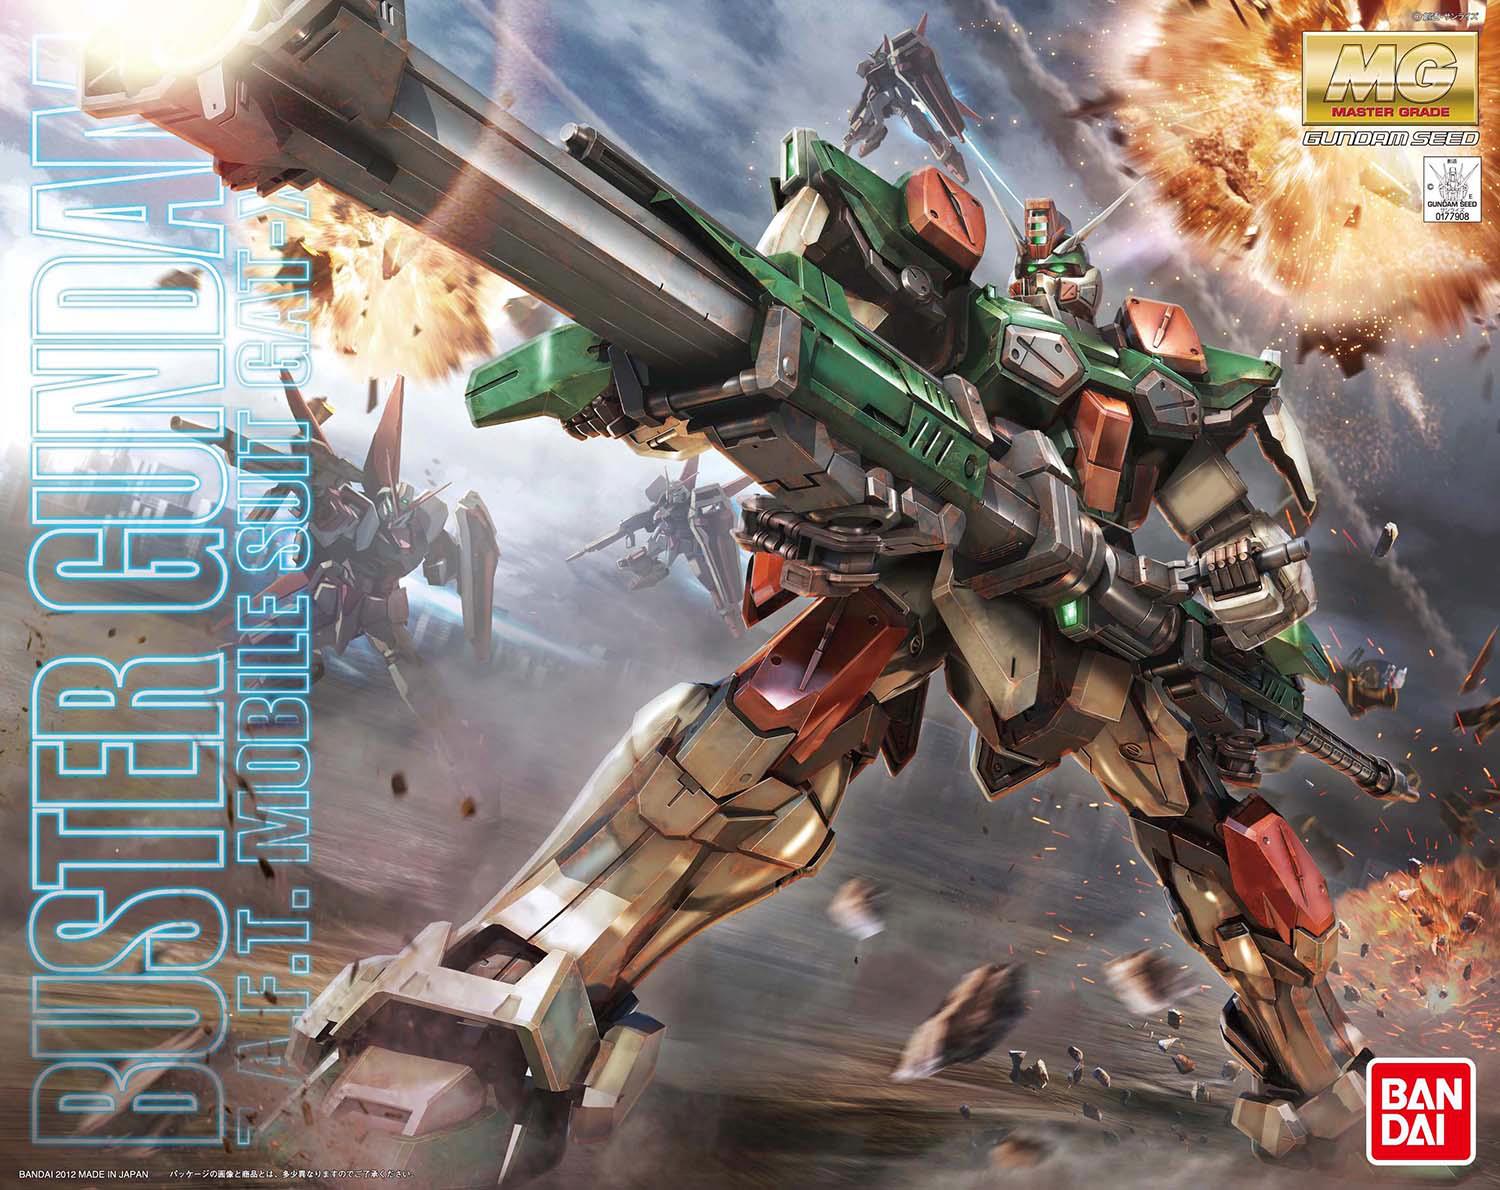
Right: Sketch of Buster by buuzen
The colours on the official model look a bit off to me. The tan is a bit too pale and the green is a bit too dark. Instead I quite like the colours on this sketch (which is similar to the box art), so I’ll be aiming for that.
Preparation


Left: Parts before priming
Right: Parts after priming
‘Tan’ Parts


Painting the main armour parts. For a test, I’ll use the mix out of the manual.
Left: Base coat of Light Brown (100%)
Right: Highlights done using White (95%) + Light Brown (5%) + Drop of yellow.
The end result was a bit too light for my tastes. The Buster Gundam has more of a yellowish tinge to it, so I’m going to redo this later.
Orange Parts


Left: Base coat of Shine Red (90%) + Yellow (10%)
Right: Added white and a bit of yellow for highlights. The yellow helps balance the colour out a bit.
The orange doesn’t quite match the sketch; the end result is more of a reddish orange as opposed to the straight orange in the sketch, but I’m still fairly happy with how it turned out. (Okay, it bothers me slightly, but not enough for me to fix it :P)
Green Parts


Left: Base coat of Green (100%)
Right: I forgot to take a picture while I was painting it, so here’s a shot in daylight. Added white and a bit of yellow for highlights. The yellow helps balance the colour out a bit, if you add too much white to green, it turns into a bluish tone.
‘Tan’ Colour retake


Left: Base coat of Sail Colour (100%). By default this colour has a more yellowish tinge to it.
Right: Highlights done using White (95%) + Yellow FS (5%) + Drop of yellow. The overall colour is more ‘mustardy’ as opposed to the cream colour which the first attempt gave. Finally I add more white to this mixture and spray an extra tiny highlight in each panel.
Parts Done

Left: Parts before painting.
Right: Parts after painting.


Stay tuned for WIP #2, I’ll be tackling the internals and weapons!
Please where is the WIP #2 ?
@stef14081973
Sorry there’s no WIP #2…I had a million problems with this kit and was too angry for the writeup haha!
@YJ
problems with this kit! tell me, because I am trying to do.