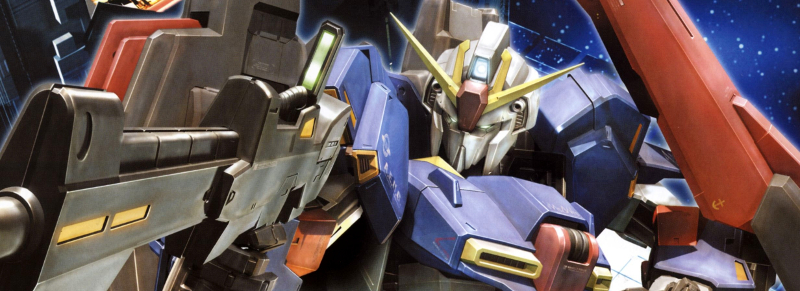
My first kit of 2014 will be the MG Zeta Gundam 2.0! I actually started this kit about 2 weeks ago, but I’ve been busy doing other stuff to post the WIP.
Notes
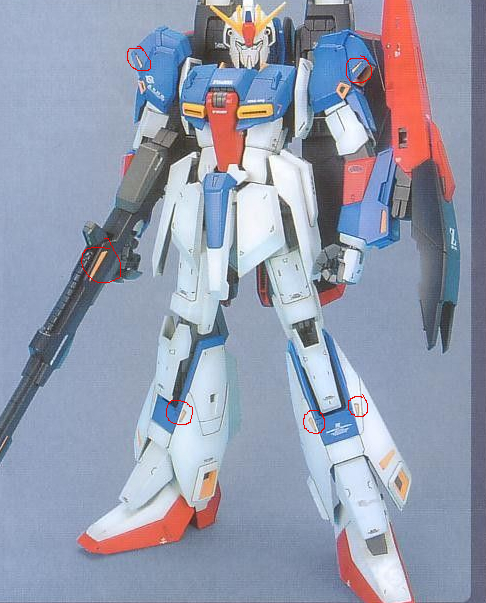
So some initial notes about this kit. The kit is mostly colour correct except for the various yellow highlights I’ve marked on the picture above (I missed the one on the forearm though).
This is also one of the first kits with very few seamlines. If I’m not mistaken this is also the first Gundam-type release where you don’t have to do a head mod. There are a few on the weapons where the two halves of the rifle/mega launcher intersect as you’d expect, but Bandai have moulded a small crevasse in between, kinda masquerading as a panel line. This is both a blessing and a hinderance – since there are multiple colours on both weapons, this allows you to paint each piece separately then assemble, but if that seamline still bothers you, prepare for alot of puttying/masking to fix it up.
Actual WIP stuff
Okay now onto some actual work. This build will be a straight OOB build. In the last 2 weeks, I’ve managed to paint the white, blue and black parts so far:
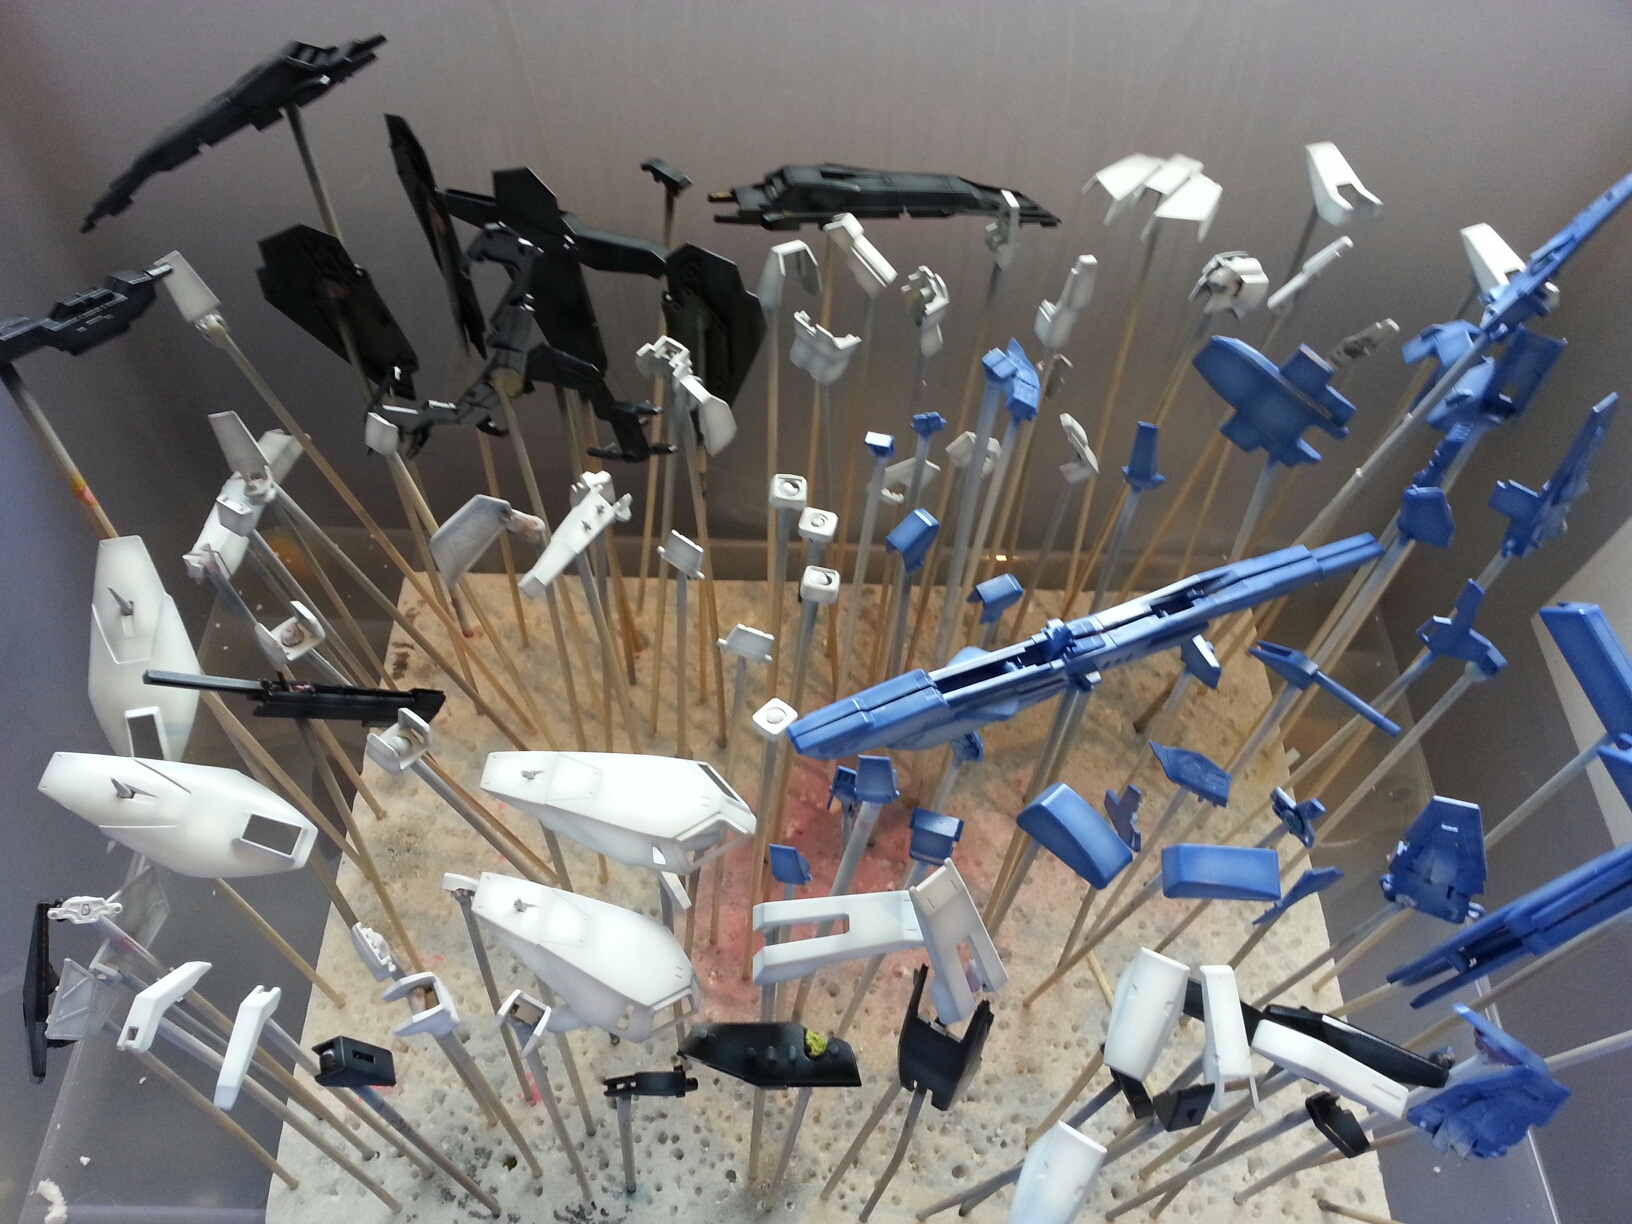
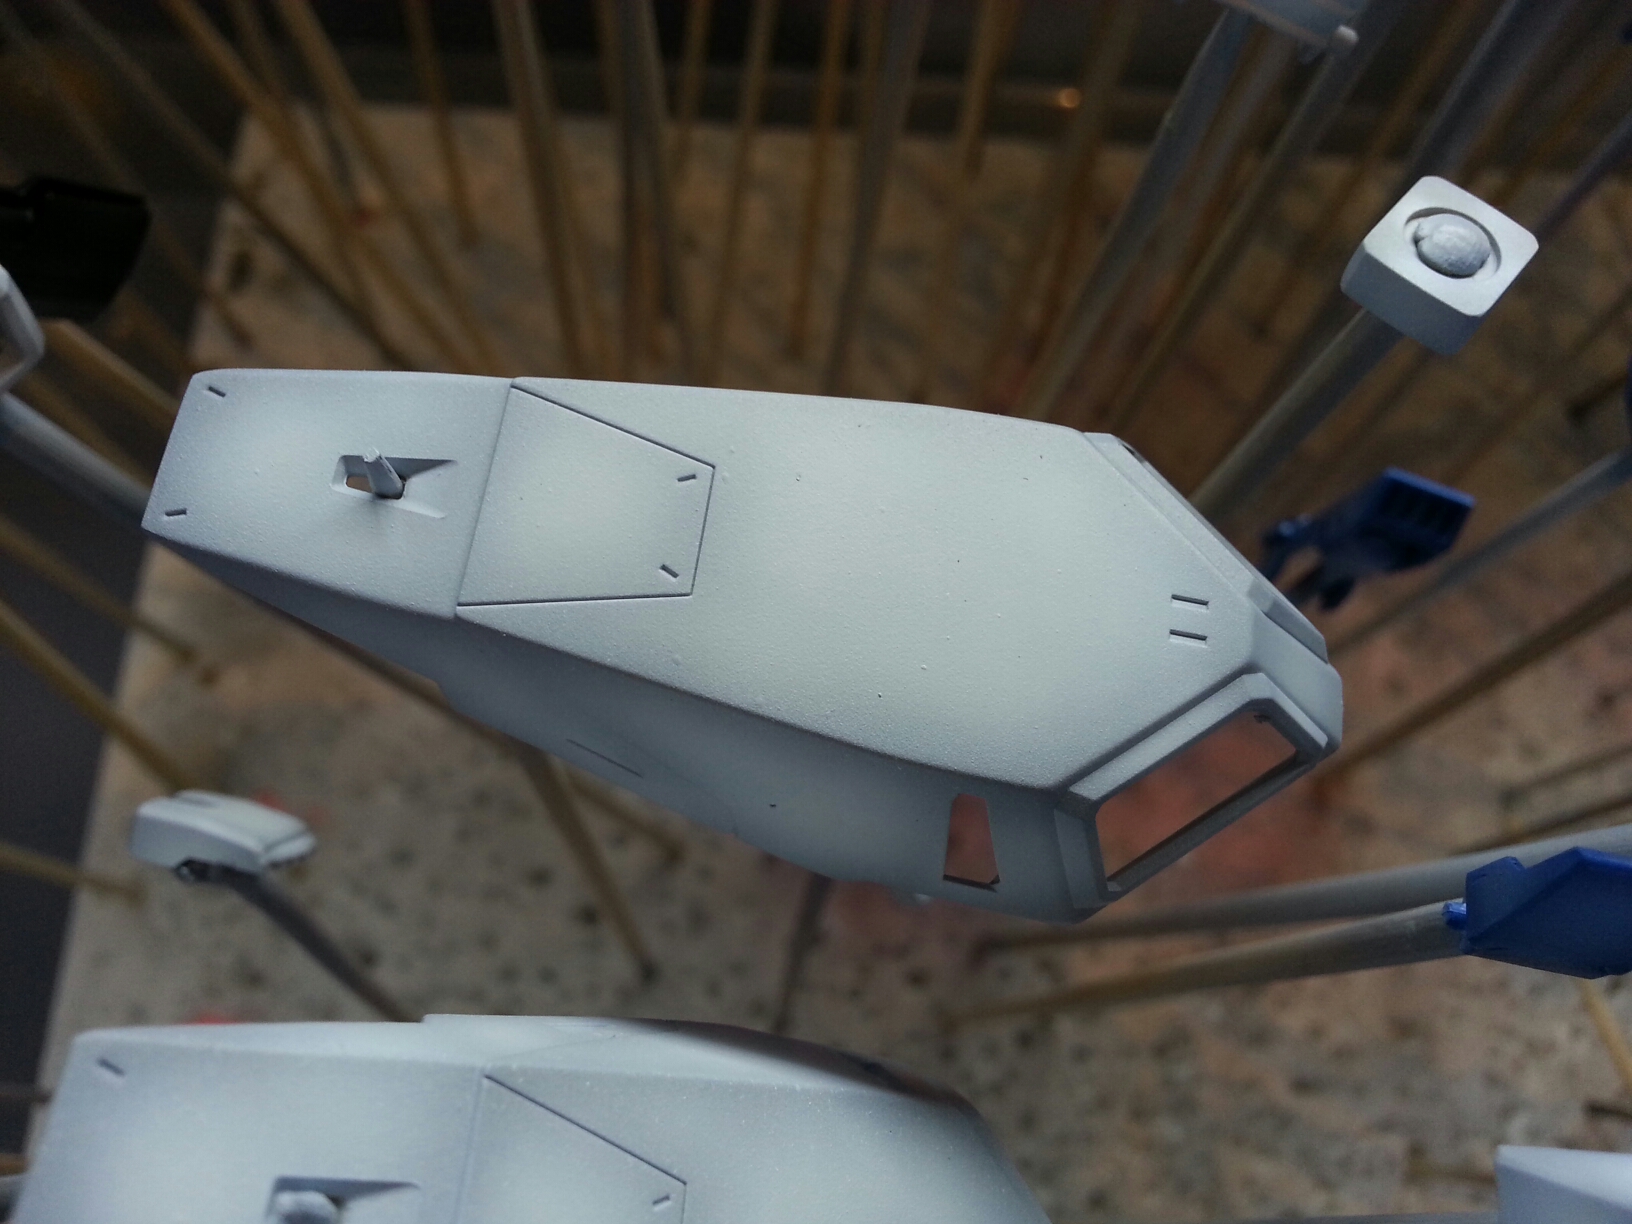
White parts were shaded using a base coat of White + Neutral Grey, followed by pure white for highlights.
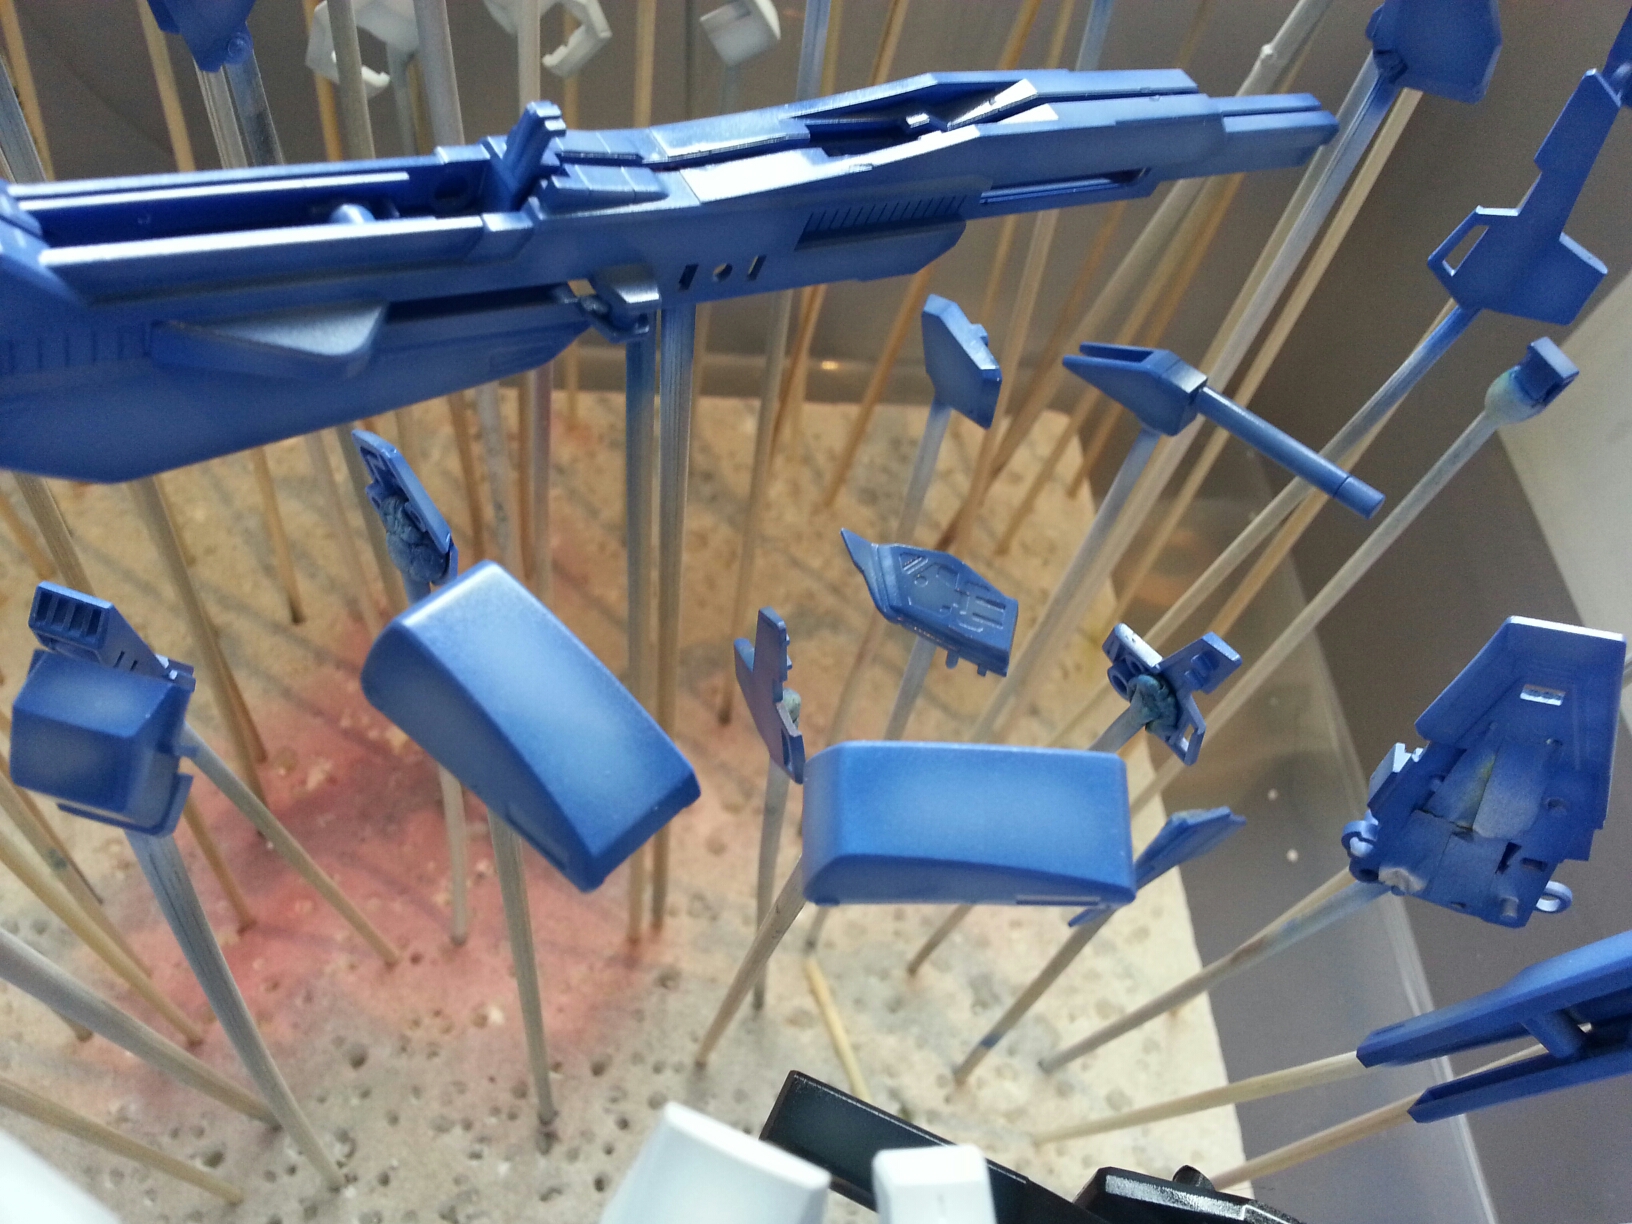
This blue mix is almost straight out of the manual. Cobalt Blue (50%) + White (30) + Bright Blue (20%). I added a bit of Fluro pink to the mixture. I’ve been experimenting with blue mixes starting with my Impulse build for the HLJ comp (you’ll see it early next month), and it seems that even a little bit of Bright Blue will really override the Cobalt Blue colour.
For future reference, I think I personally kinda prefer the Cobalt Blue look, which looks somewhat closer to the purplish blue on boxart listed at the top of the page.
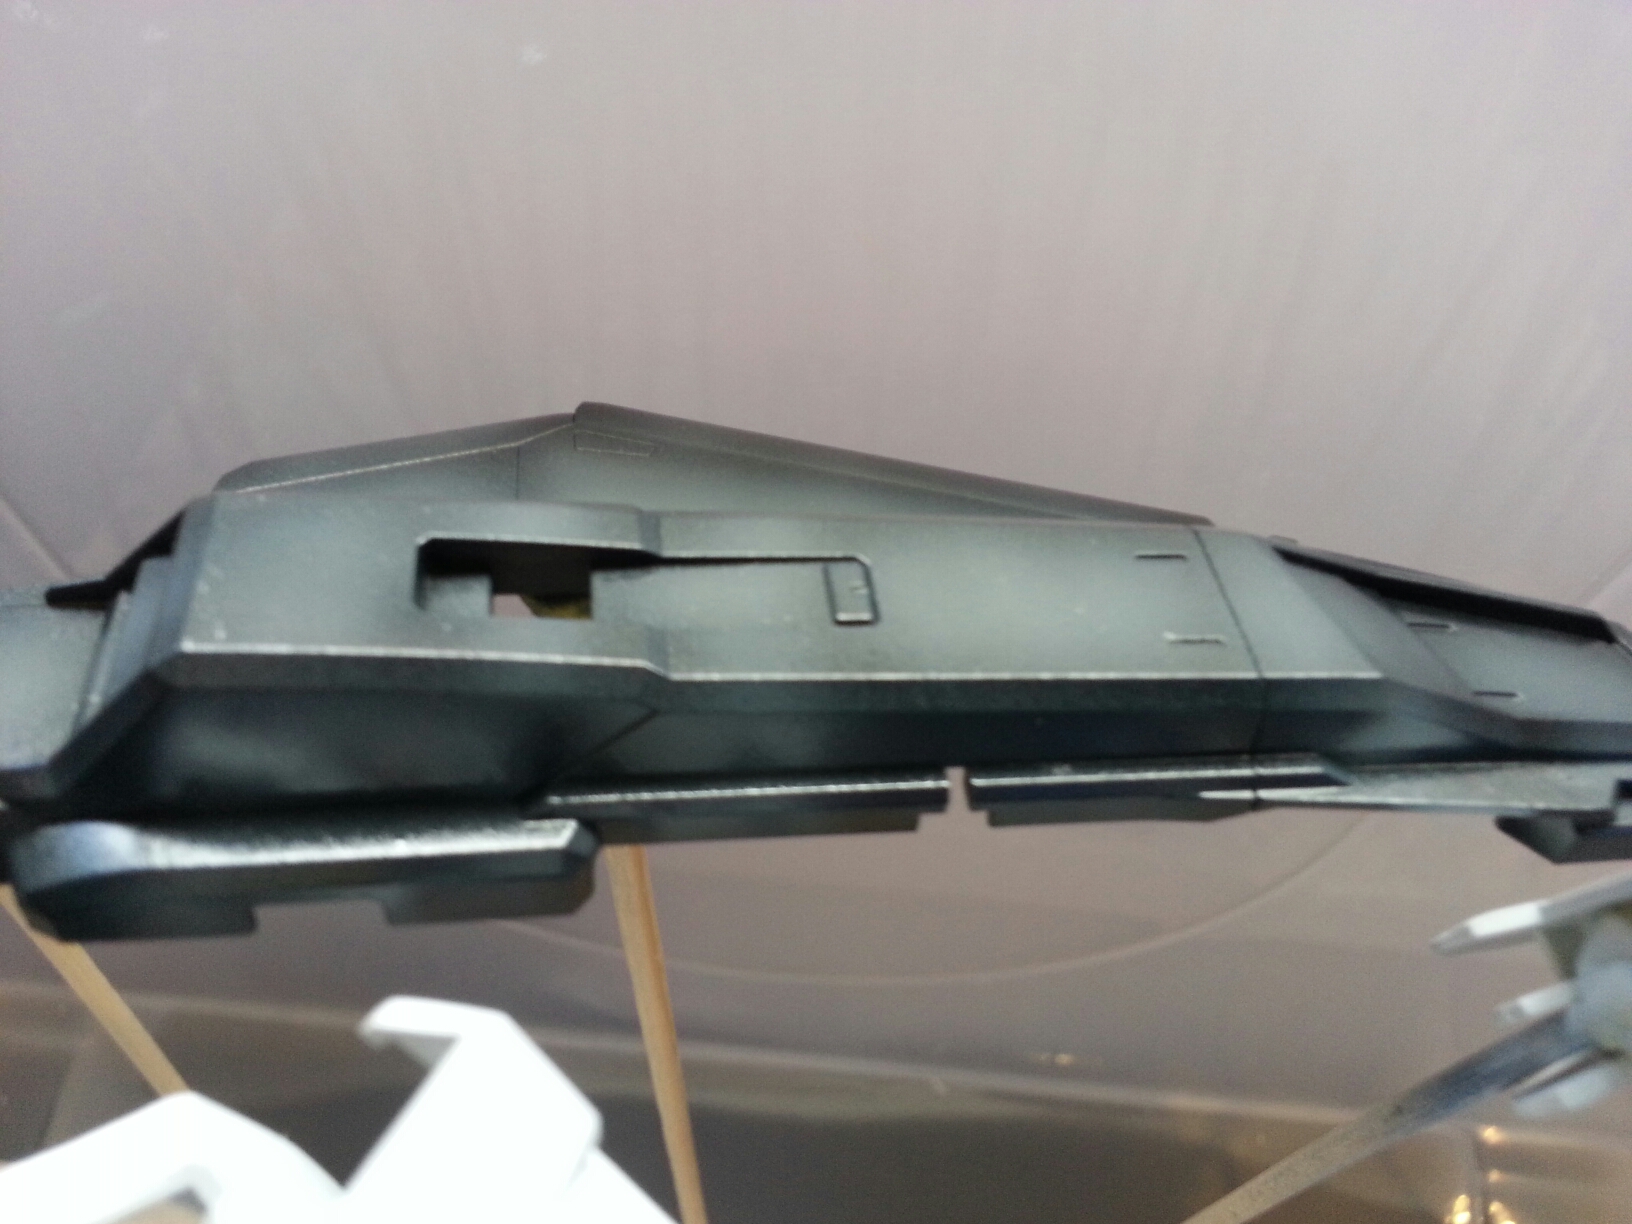
In the MG colour guide, these black parts are actually more of a very dark navy colour. The recommended mix was something like blue (40%) + black (30%) + red (20%) + white (10%). I opted for a more grey colour instead, which is what the RG kit uses, using pure black as a base then adding white for highlights. Not quite sure how this will turn out yet.
Man, I wish I had money to buy the airbrush and more time and money to paint my kit. Great colour!